3rd – 7th June 2019
Phase 3 Construction Week 8

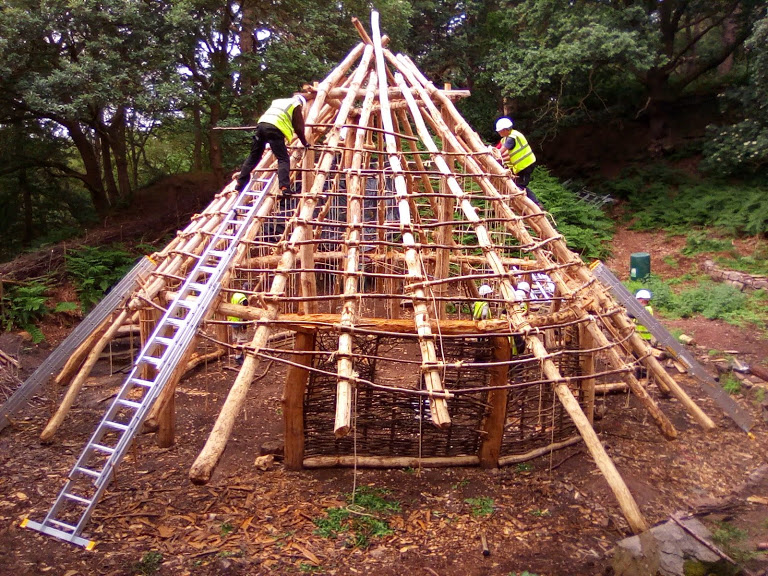
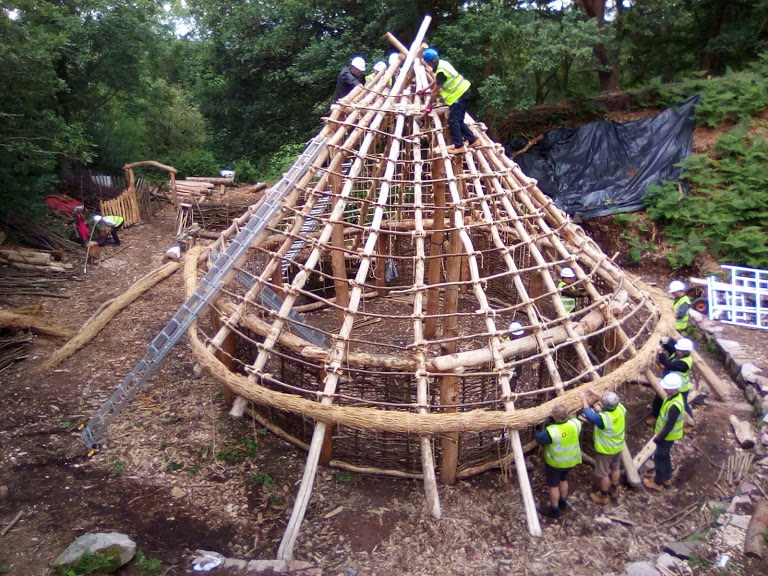
We have returned this week to start the epic task of thatching. Before we start however, we have the final battens to lash into position on the roof. Our two weeks away have given the sisal lashings time to move and it is interesting (if a little frustrating) to see that despite our efforts to stretch the rope (using levers) as we lashed them into position, some of the lashings are once again loose. These will have to be re-tightened before we proceed with the thatching. The conical roof shape allows for a little bit of slippage between the battens and the rafters. They can only slip a small distance before the lashings re-tighten against the rafter, but I would certainly prefer them all to be immobile before we proceed to the next stage.
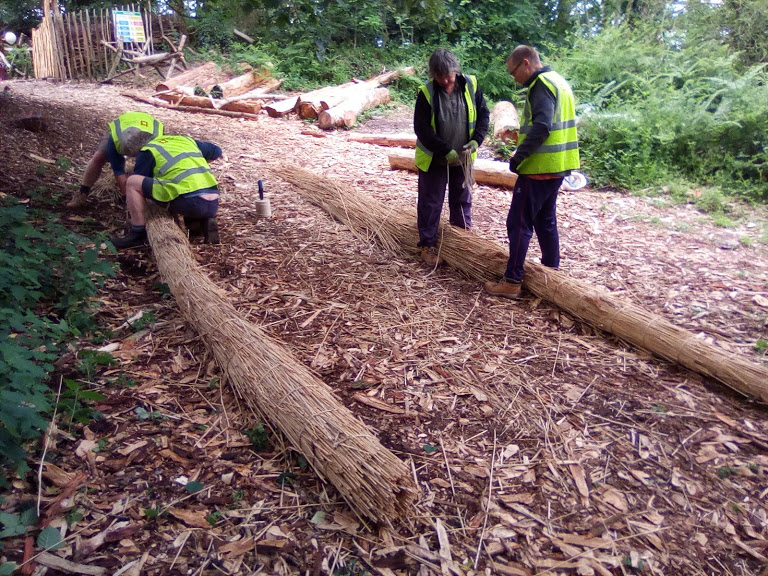
The thatch arrived on Monday. 1100 bundles of water reed that will make this building weatherproof. It was delivered to the base of the site, and on Tuesday, Denis Rowlandson and the volunteers moved the bundles closer to the construction site.
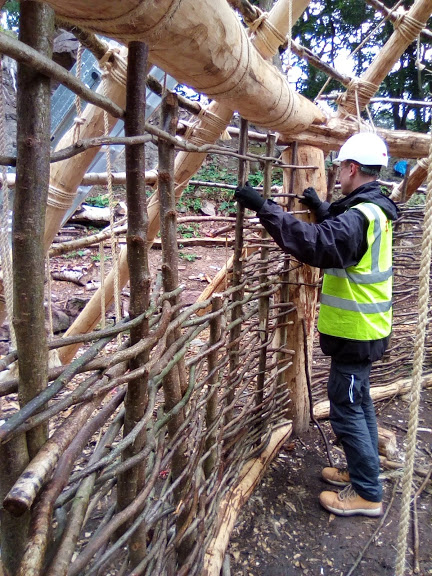
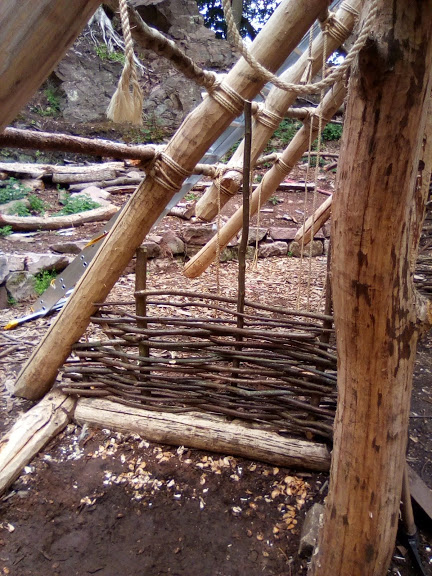
Other jobs this week include the construction of wall frames. The volunteers have been working on fitting the sill beams between the posts over the last couple of visits. These timbers form the foundation of our wattle walls. Each sill has been augured at roughly 360 mm intervals to provide holes into which the zales (uprights) are then driven. Our hazel weavers are then pushed into place to build a solid wall of woven material. As with all jobs on this project, it sounds deceptively simple – and it is deceptive. The construction of a solid woven wall (hurdle) is an art and requires an understanding of materials, and care and attention to use those materials in the best way. It is crucial that the weavers are bent around the zales – rather than allowing the zales to be displaced by the weavers. If this is done carefully in the first few rows of weaving, the zales effectively become “set” in position and prevent the many issues that can result from misaligned zales higher up.

The wall building stage has also raised questions of things like windows. The vast majority of roundhouse reconstructions do not utilise windows. This has always been a bit of a puzzle to me. I am not voicing a preference for windows in any way, but experimentally they must be an option? As far as I am aware, there is no evidence for or against them in the archaeological record (in western Europe at this time), and yet they never seem to crop up in reconstructions. My logic concerning windows centres on evidence from the Neolithic Period that clearly demonstrates the ability of ancient builders to block holes in buildings (doorways) using well carpentered doors. The surviving Neolithic door from Zurich clearly demonstrates this, but is a stand alone artefact from a waterlogged environment. My logic then, is that if the capability and sophistication in techniques existed to block large openings such as doorways, why do we assume that smaller opening in walls (windows) were not a “thing”? The ability to open an close an opening in a wall immediately allows access to free light, and extends the use of a building interior. Even with long overhanging eaves, the reflected light from a window offers free light into a building. Obviously, there are unknown cultural factors at play here too. But in principle, the technology existed, and the potential need existed for some kind of wall openings in bronze age buildings.
Volunteer Dave is working on developing an “annex” that sits beneath three rafters that touch the floor at the back of the building. Dave’s thought process is entirely valid – and centres on the use of a space that is created by some of the rafters extending beyond their “designed” eave length. I have certainly utilised this space in other buildings in the past. In one Iron Age building, we turned this space into a wood store and a pen for housing our Soay sheep. What makes this experiment interesting is the that access to this space is via the main building – effectively bringing it into the main floor plan rather than as an covered outside space. It will be interesting to see how it performs in use over the next few years. Again this raises the ongoing issues of what we think these buildings look like, and again, it reiterates the issue of trends, fashions and accepted norms in experimental reconstructions like this. We have all seen many roundhouses in our time, and they all follow a very similar format, despite the fact that their original evidence reflects potentially very different cultural traditions, specific local needs, and the nature of locally available raw materials. I am very happy that the volunteers on this project are brave enough to try things out, in the spirit of discovery that projects like these should embrace. At the end of the day, only through use will these modifications show themselves to be potentially valid or potentially flawed. They can be adjusted, improved or scrapped altogether, and as long as we are not directly contradicting available evidence, they are worthwhile.
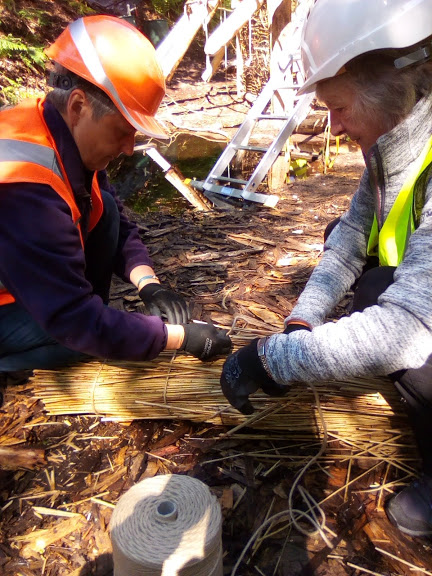
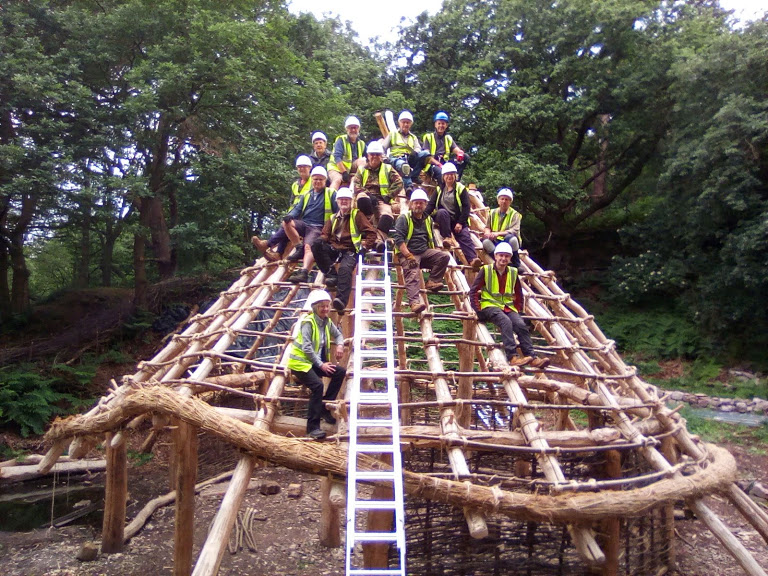
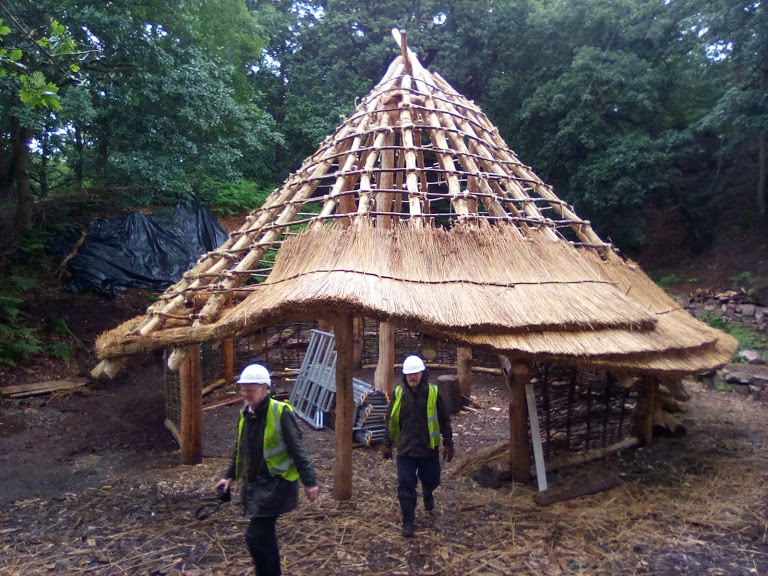
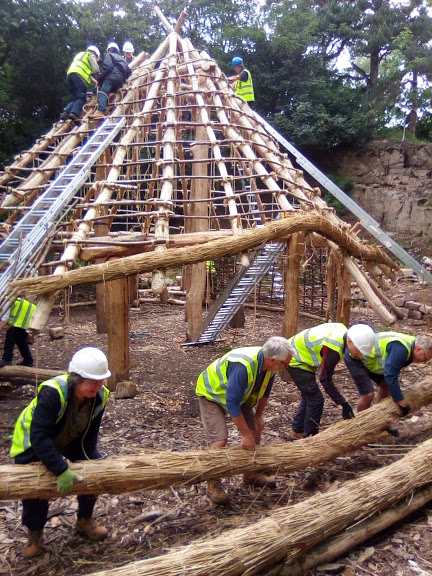
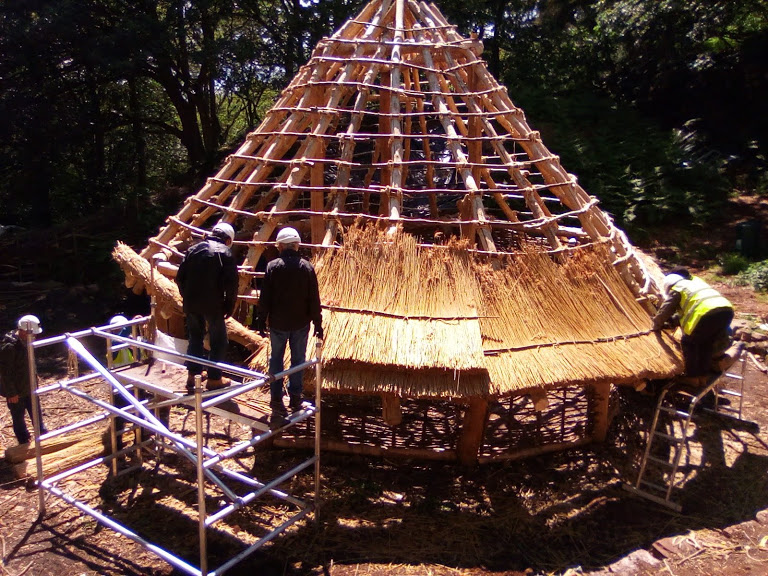
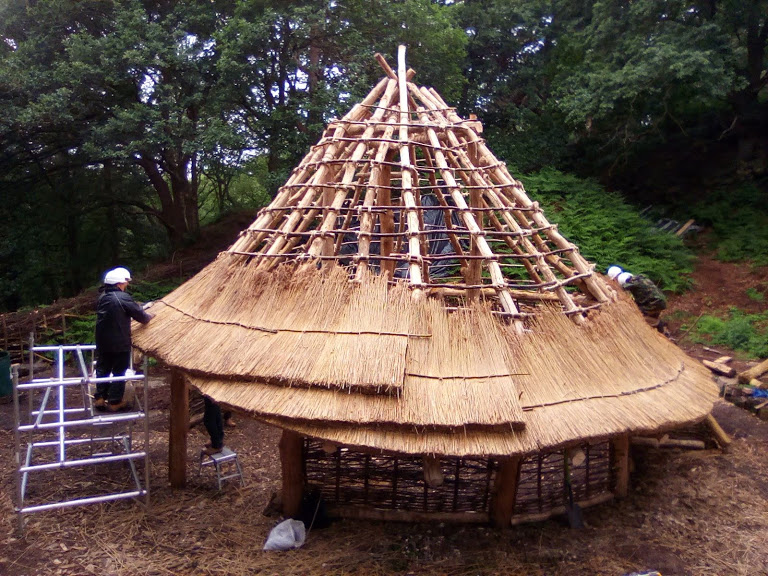
Thatching has begun this week. This task – like so many before, is superficially straightforward, but is an art in its own right. The volunteers understand the theory and the practicalities of thatching, they now have to quickly find their own rhythm and refinements to tackle the massive task ahead of them. The decision has been made by general consensus to start the roof in visible layers (to keep a close eye on the thickness of each layer), but with a view to possibly grading the roof to a smooth finish later on. The task is awkward, working in difficult positions, managing bundles of thatch that want to follow the rules of gravity, and ensuring the tension of each tie is good.
The bottom layers of thatch are the most awkward to do. Not only is the process alien to the volunteers, but it is difficult to apply enough pressure to the sway with awkward access solutions.
There are many ways to thatch a roof, depending on the materials and cultural traditions of the area. Our roof uses hazel sways (thin hazel rods) to clamp each layer of thatch in place with hemp or jute ties. The layers are put on according to the battens beneath – the aim being to produce a relatively thin roof (certainly in modern thatching terms) that will be weather proof, but crucially, will allow smoke to escape through the thatch efficiently.
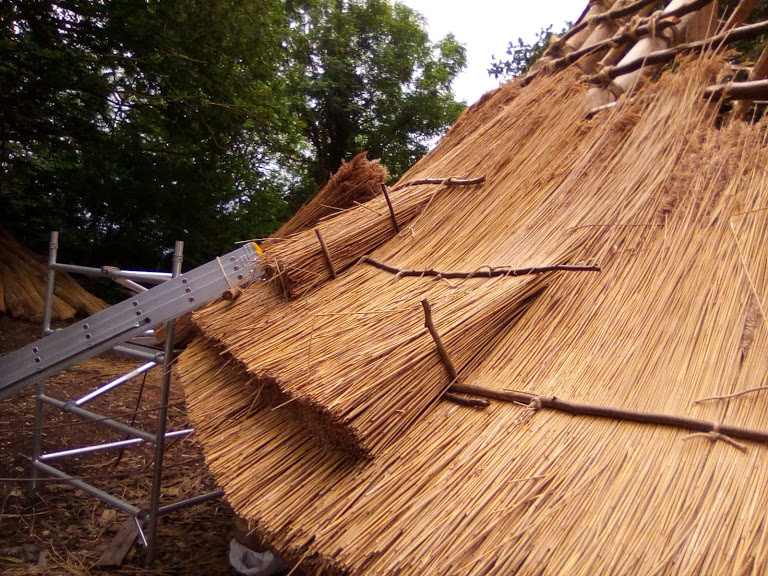
The layers are built up in concentric layers to keep a close eye on this thickness. Once it is finished the visible steps can be left in position or graded into each other to form a more recognisable finish.
The next few project weeks will focus on this epic task – and see the frame become a building!
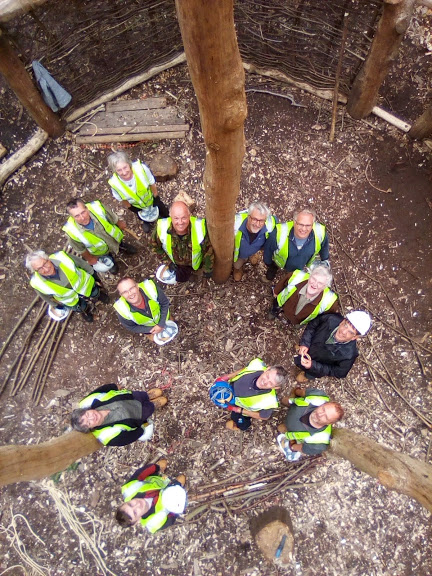
Well done all!