Monday 16th April 2018
Easter has passed and the week has opened with glorious sunshine and the promise of warm temperatures as the days progress!
The sound of tools on timber and the burble of voices mingle with the birdsong at La Hougue Bie. This week we hope to really push the Longhouse on, taking advantage of the weather and a good volunteer turnout.
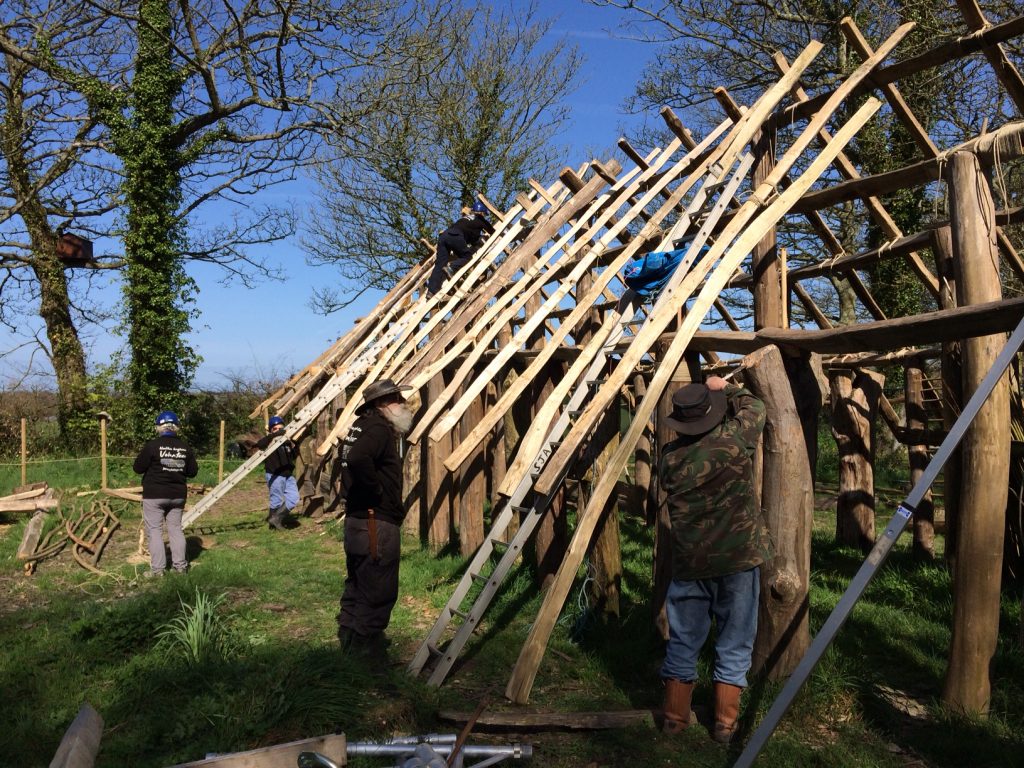
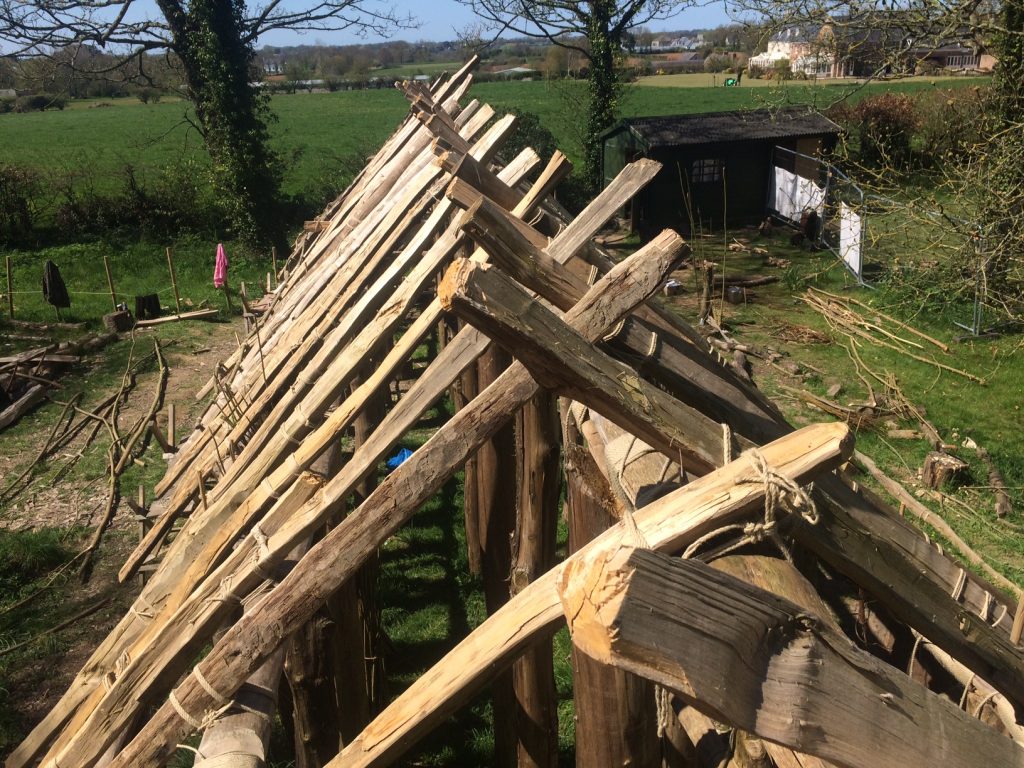
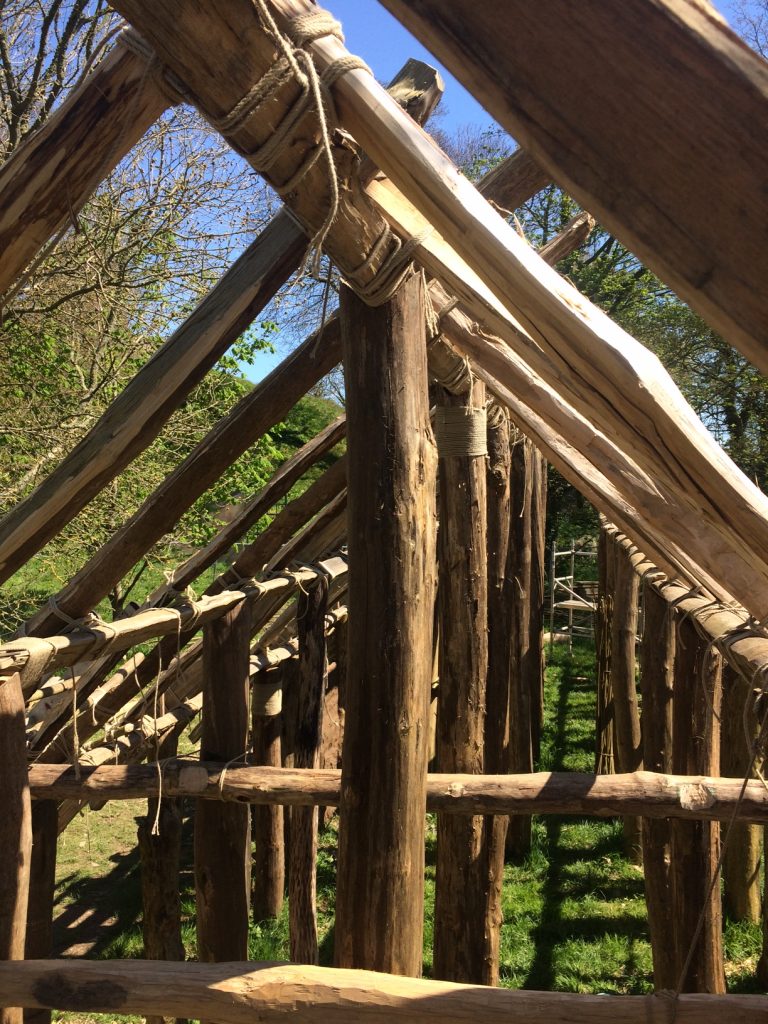
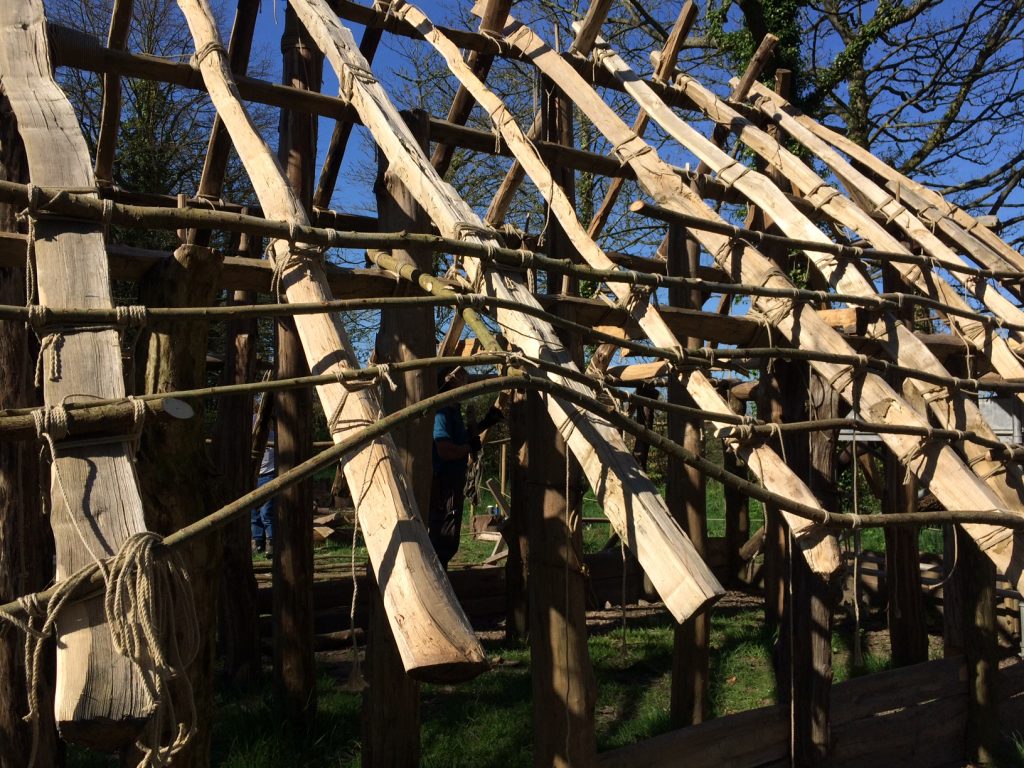
A team (Dave, Paul and Mike) are continuing with the lashing of willow battens to the rafters. They are using 4mm hemp string to form the square lashings. Each lashing will have to support human weight as we work our way further up the roof. I have calculated there will be around nine rows of lashed batten on each rafter – effectively forming a ladder up the roof. There are 47 rafters which makes a total of around 450 lashings. Each lashing requires around 5 metres of hemp – so we are looking at an incredible 2 kilometres of rope to hold the battens in place. This highlights once again the sheer volume of cordage making that must have been a constant aspect of daily life in the past. There is no knowing if every intersection of batten and rafter would have been lashed – our focus is to produce a building that will not require the constant maintenance that a permanently inhabited dwelling would be able to provide, but the scale of material processing is an inescapable part of producing this type of building.
Nicky, Pippa and Chloe are making final adjustments and lashings to the remaining rafters on the north side of the building.
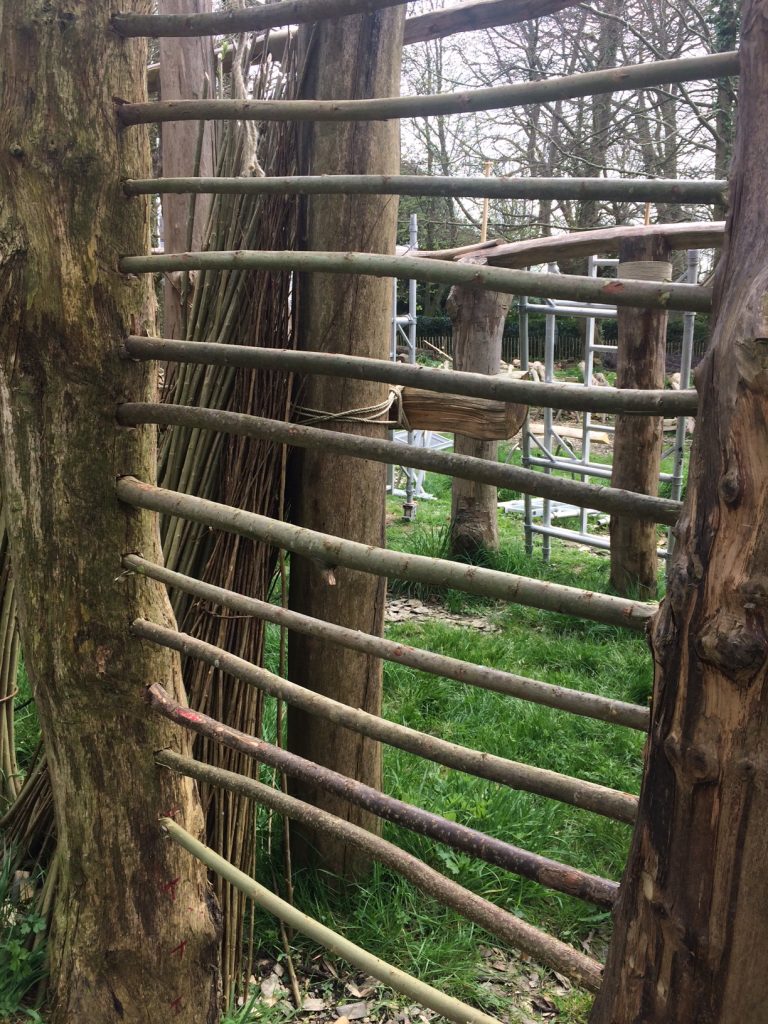
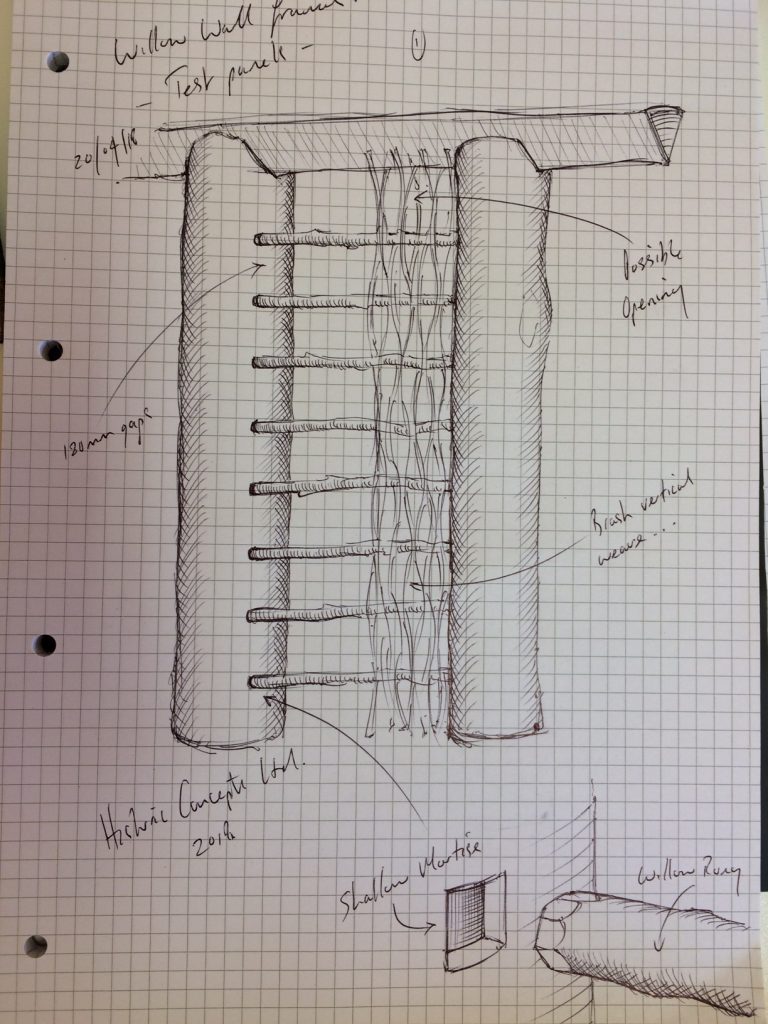
Astra, Danny, Edward and James are starting to work through some ideas for creating wall panels. For many years, I have filled in the spaces between posts with densely woven hazel wattle. This was as much a result of having access to large volumes of well managed hazel coppice. This woven wattle is packed tight and forms a strong but slightly flexible wall for the daub ( a mix of soil/clay with fibre and water) to adhere to. It is certainly a good method if material volume is not an issue. This project suffers from a lack of local woodland and coppiced materials in large volumes and requires us to think slightly differently. The idea is to create a series of shallow vertical mortises on each opposing wall post and to flex short willow lengths into the gaps. At this stage we are unclear as to what gap needs to be left between each willow strut to ensure any daub mixture adheres well. Two panels are being created. One with 18cm gapping and the other with 9cm gapping. These panels will be daubed (at least in part) to discover any issues. We are hoping that this method will use less than half of a traditional wattle wall and also enable us to use the really uneven and irregular lengths of willow that are traditionally regarded as waste when creating wattle.
It is interesting to note that the availability of specific raw materials in specific volumes can account for the emergence of individual building styles. This project is interesting because it is forcing us to move away from methods that I have used for many years simply because the material sets are different. This is a really positive thing and makes us move away from the idea of specific construction traditions in experimental archaeology. Experimental archaeology suffers from the recurring issue of successful experiments. The relatively infrequent reconstruction of buildings at full scale creates an environment where a successful experiment (whatever it may be) rapidly becomes “the way it must have been done” simply because it is successful. Other practitioners are often put off trying alternative versions of the same experiment because “it’s already been done” and worked. This creates a mythology that can easily form an unintentional blueprint for the way a roundhouse was built, birch tar was produced, or what Neolithic longhouse walls looked like. Other practitioners tend to copy the successful model rather than seeking other successful methods to answer the same question.
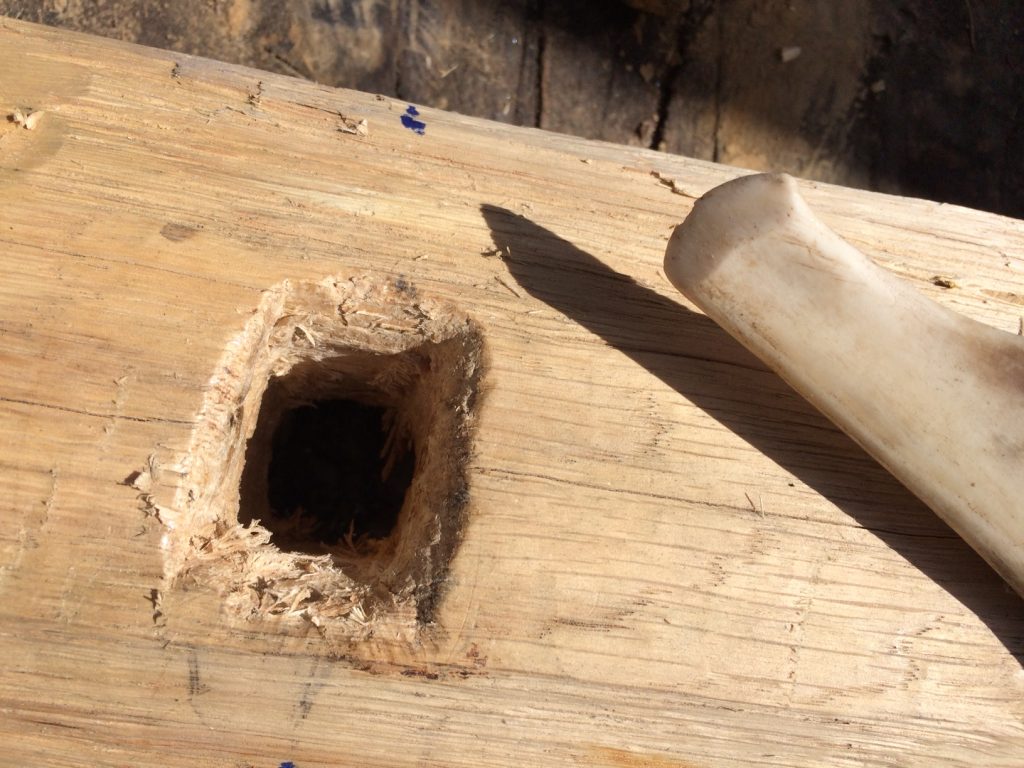
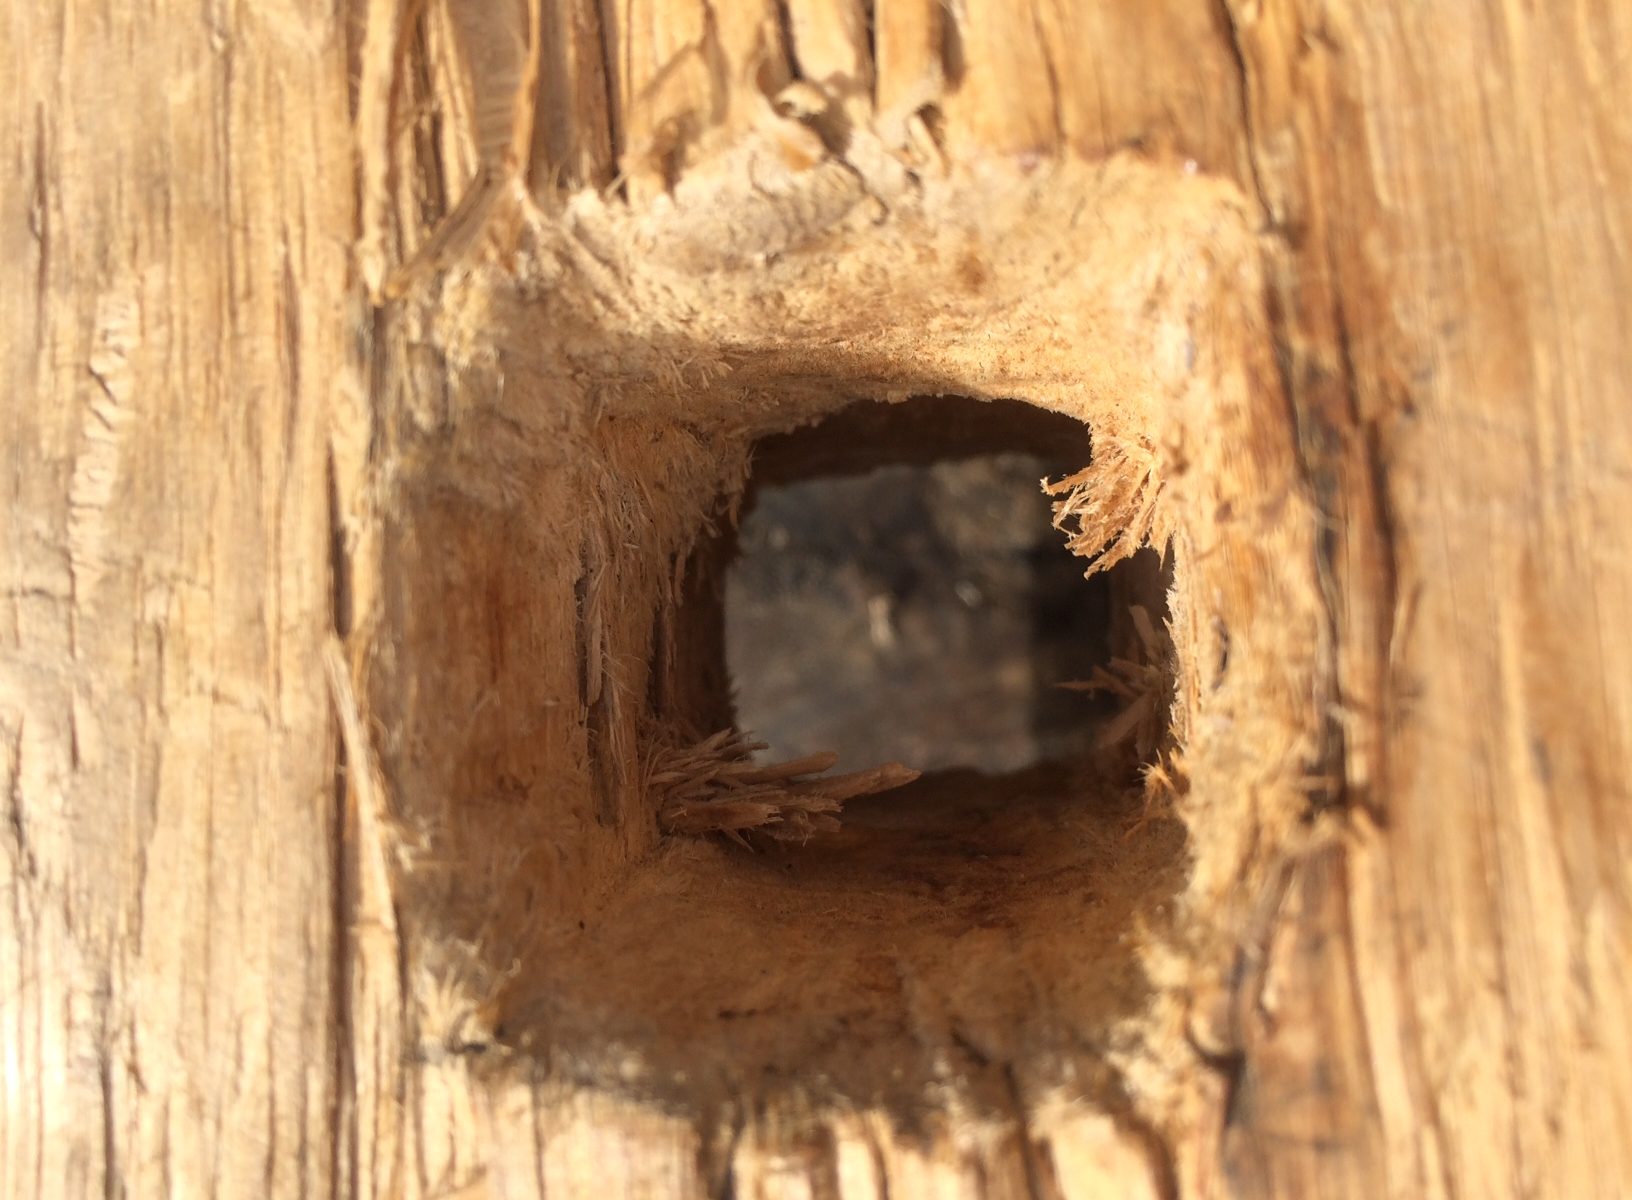
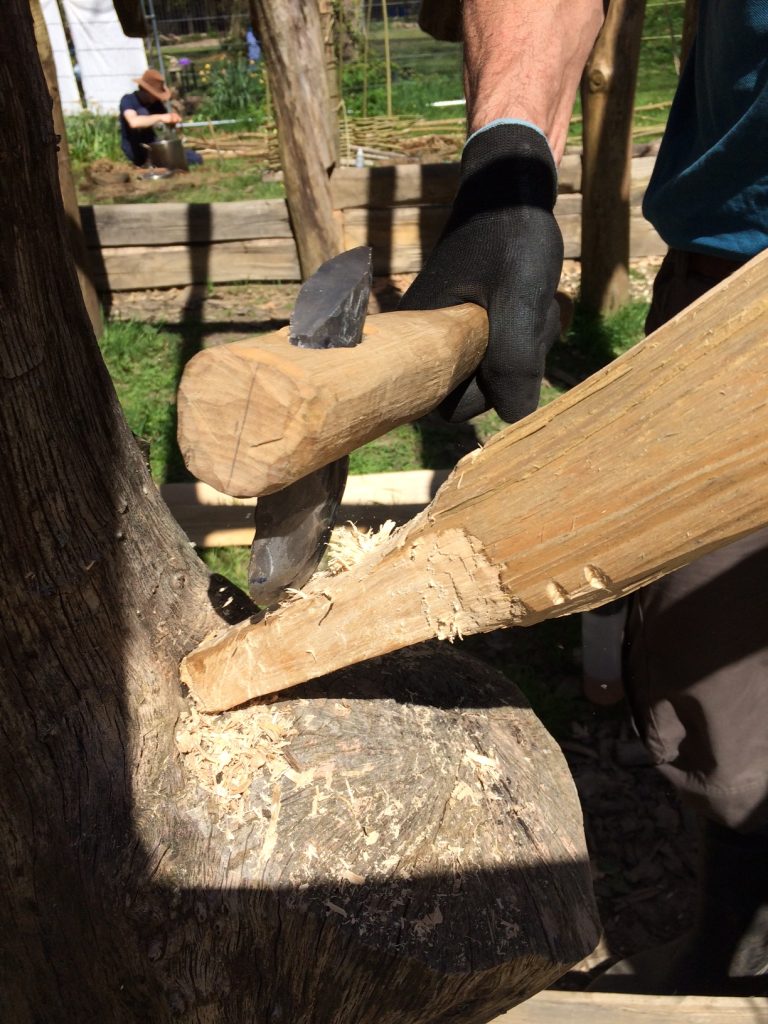
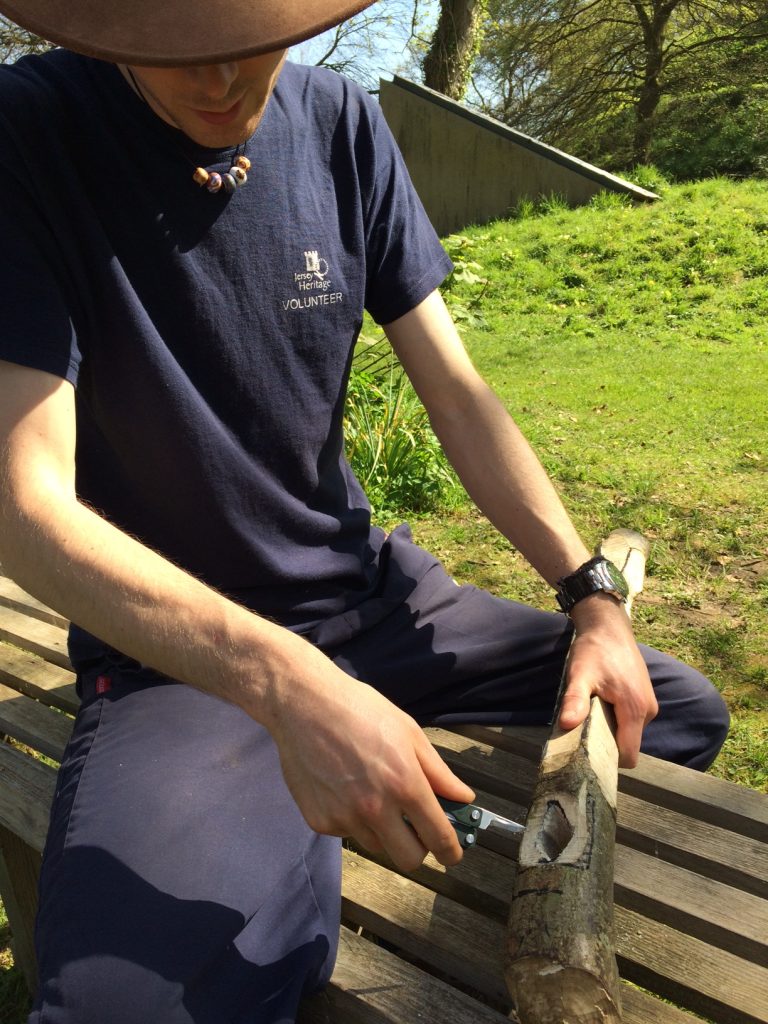
Derek has finished cutting the first mortise through the tie beam that will support the floor above the “livestock” end of the building with a bone chisel. The total time taken was 285 minutes. The mortise is neat and surprisingly square and although the bone chisel required resharpening (by grinding on a flat stone) several times, the result is impressive. This square mortise mirrors those found on well preserved Neolithic well linings from Germany.
Tuesday 17th April 2018
A second bright day has dawned at la Hougue Bie!
Today work continues with the placement and lashing of rafters in their final positions on the south side of the house. Nicky, Astra and Pippa are working as one team while Derek and Danny find the remaining matched pairs of rafters and put them on the roof.
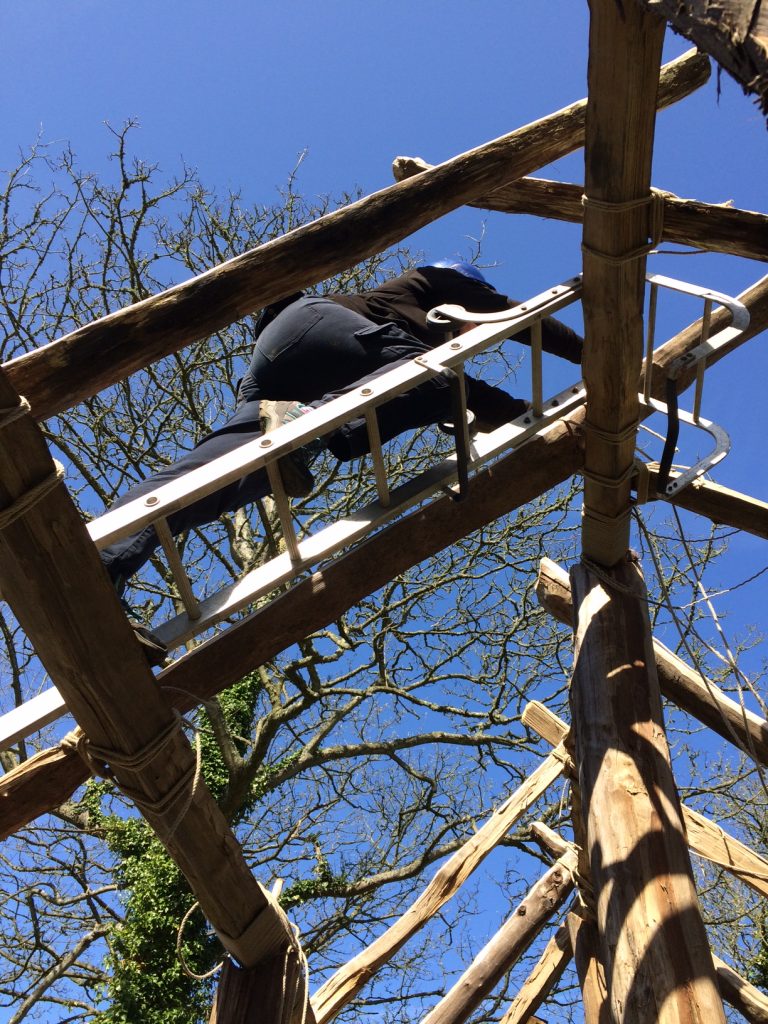
Mike and Ruth are continuing with the lashing of battens to the rafters, This is (like all of our tasks) not as straightforward as it first appears. It is crucial that joints between two battens are neatly matched to create a smooth surface for the thatch to lie over – and in places, the battens have to curve around the corners of the roof. This requires the selection of specific lengths that will accommodate the required bend at a specific point.
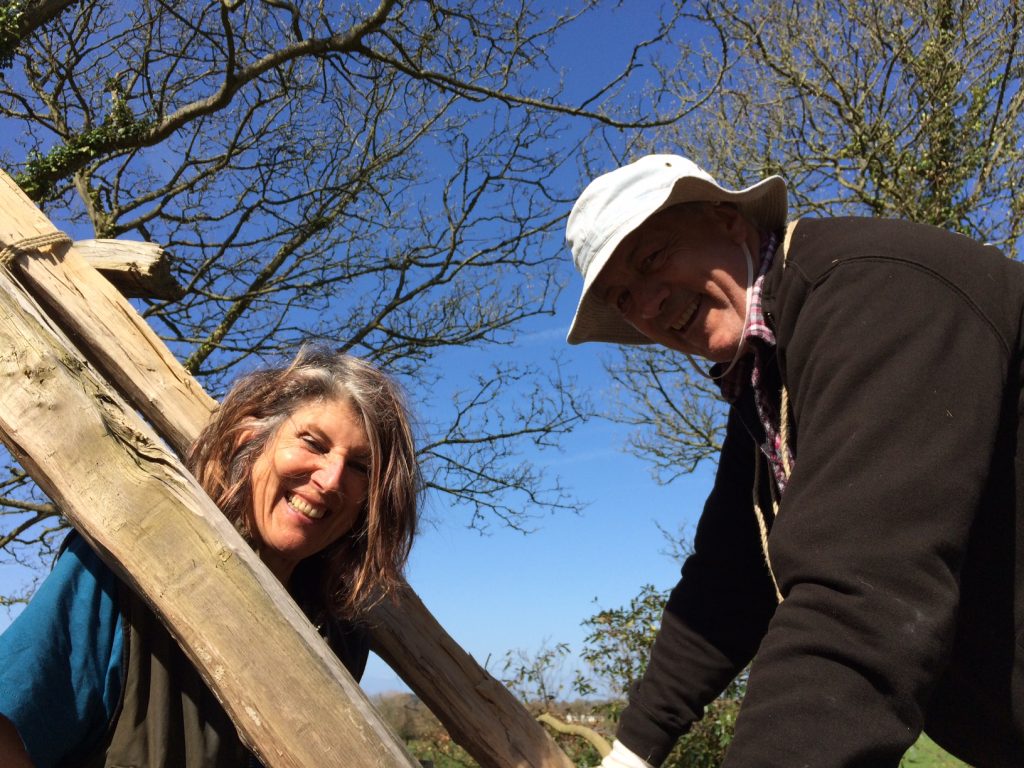
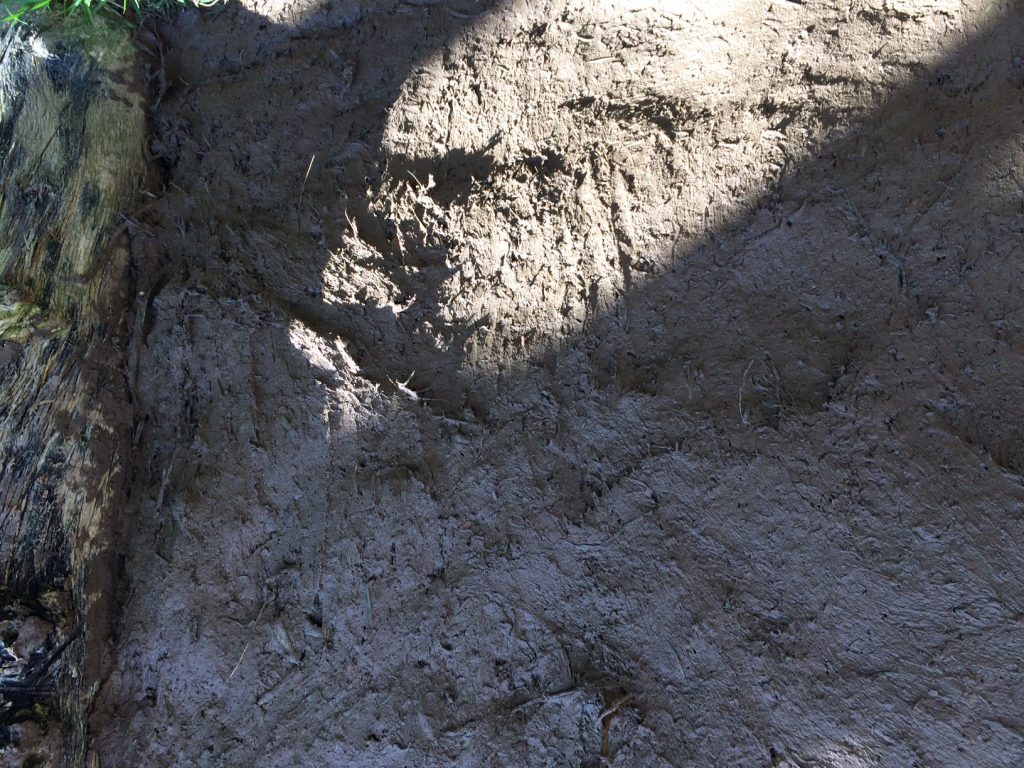
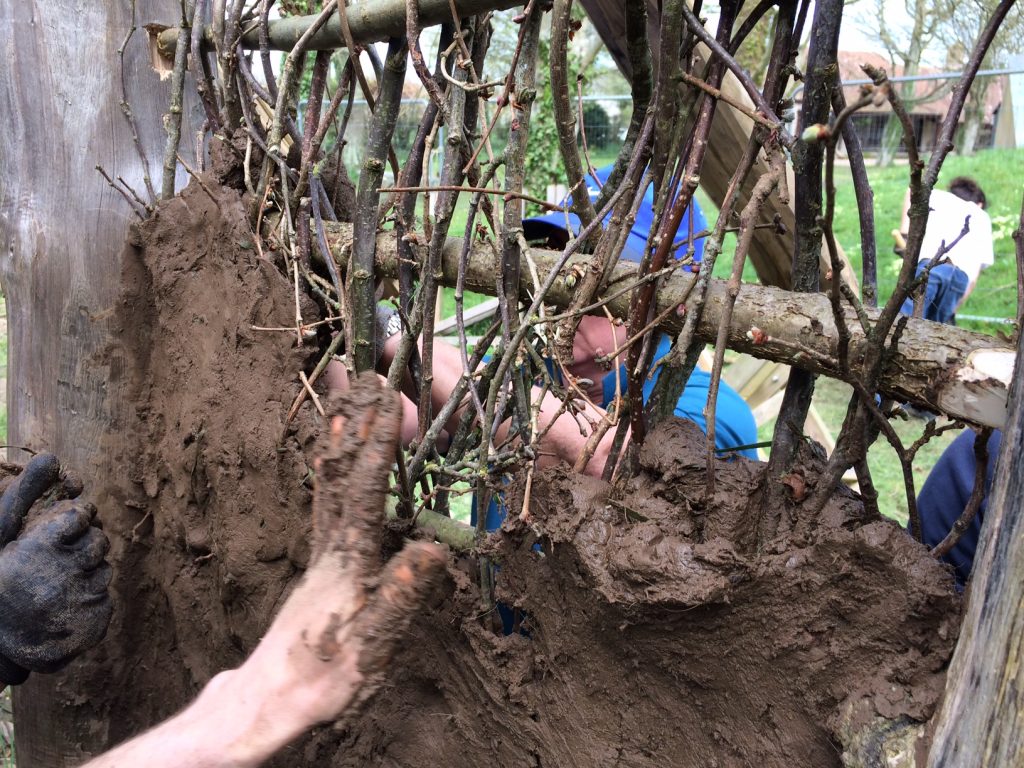
Today we are also testing the first batch of daub to apply to our test wall panels. This process needs to be thoroughly tested before we call for large numbers of volunteers to help as it would be easy to apply a lot of the wrong mix only to see it fall off two weeks later when it dries!
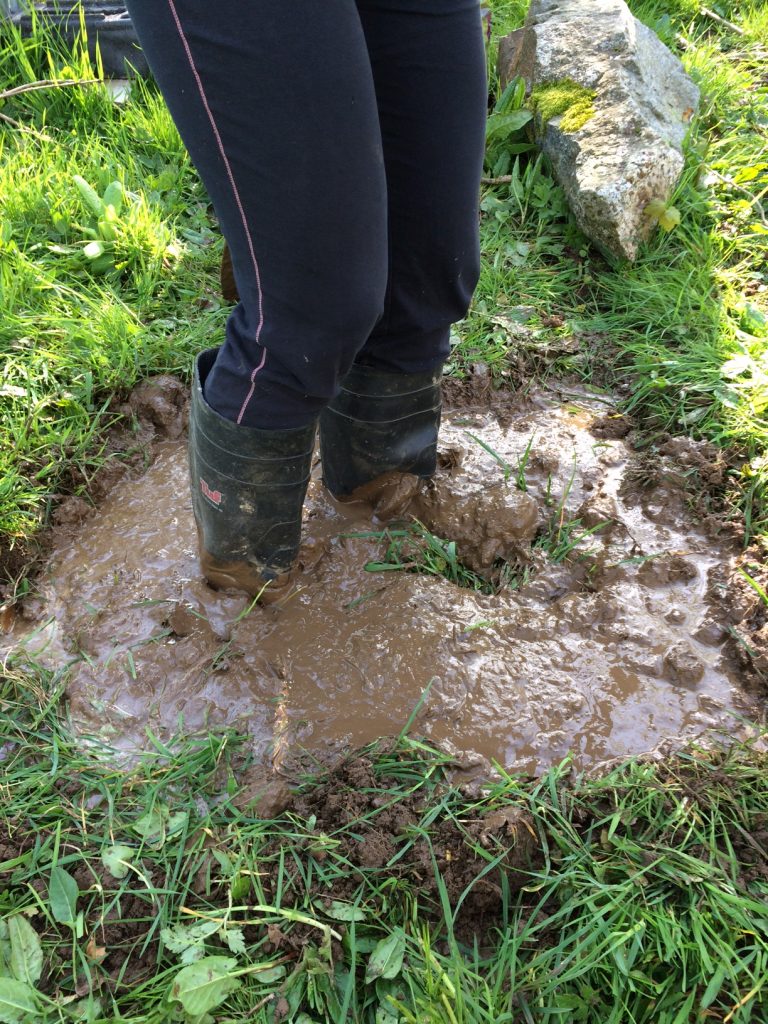
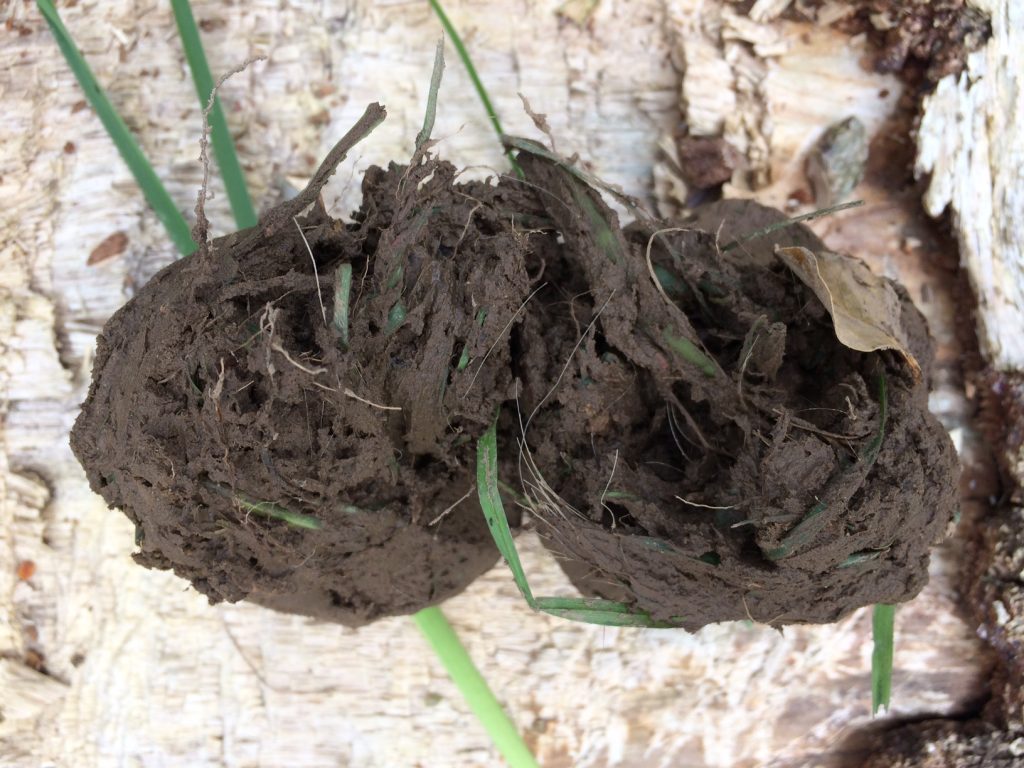
Mixing daub is an art. The base material is the earth around the building (in this case Loess), mixed with large volumes of fibre (dry grass, green grass, horse hair and even dung) and a little water to create a good working consistency. The idea of cramming the earth with other materials is to prevent too much shrinkage and cracking when it dries. In this fine weather we will know pretty quickly if we have got our daub mix anywhere near right!
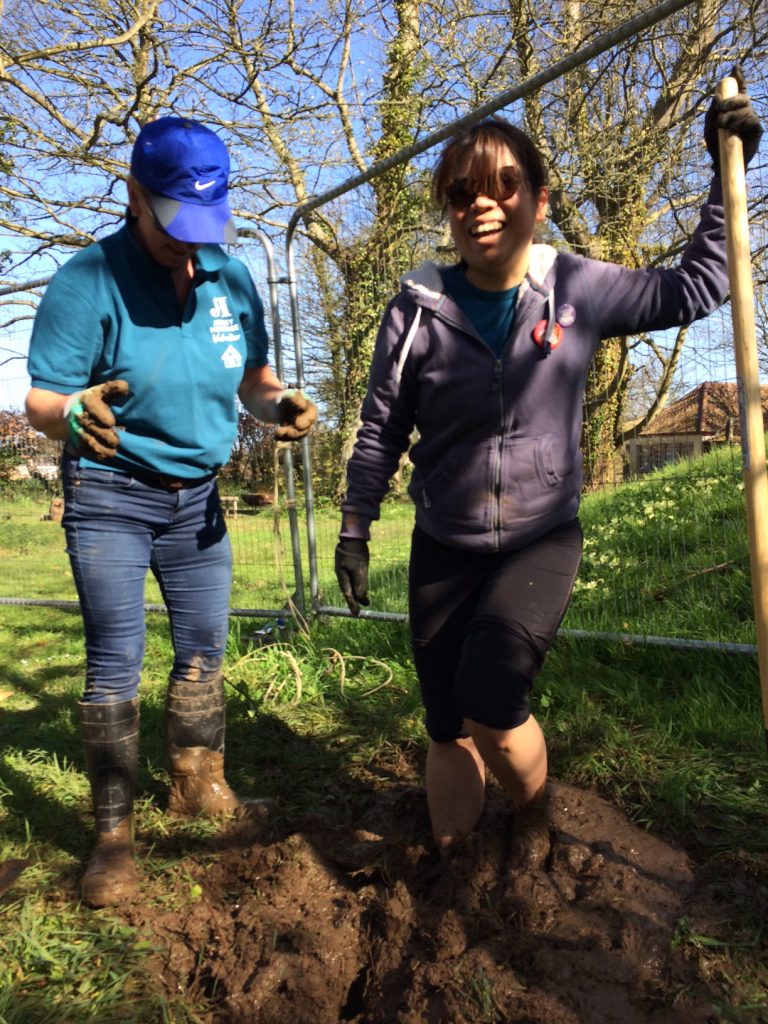
Rosie got into the Neolithic spirit of things and puddled the daub with her bare feet! In a couple of hours of mixing and applying, the daubing team (Ed, Carol, Ray and Rosie) finished the first test panel Now we wait….
Wednesday 18th April 2018
Another fine day at La Hougue Bie! The temperature is set to rise today – but it is welcome after the seemingly wet and very long winter!
Tasks are continuing today with the lashing of battens to the rafters. Nicky and Pippa have taken on this job today and are being careful to make sure there is a 16 inch (40 cm gap between each one. This gap is essential to ensure the thatch is supported and lashed in place at the correct position to allow subsequent layers to overlap to the required amount.
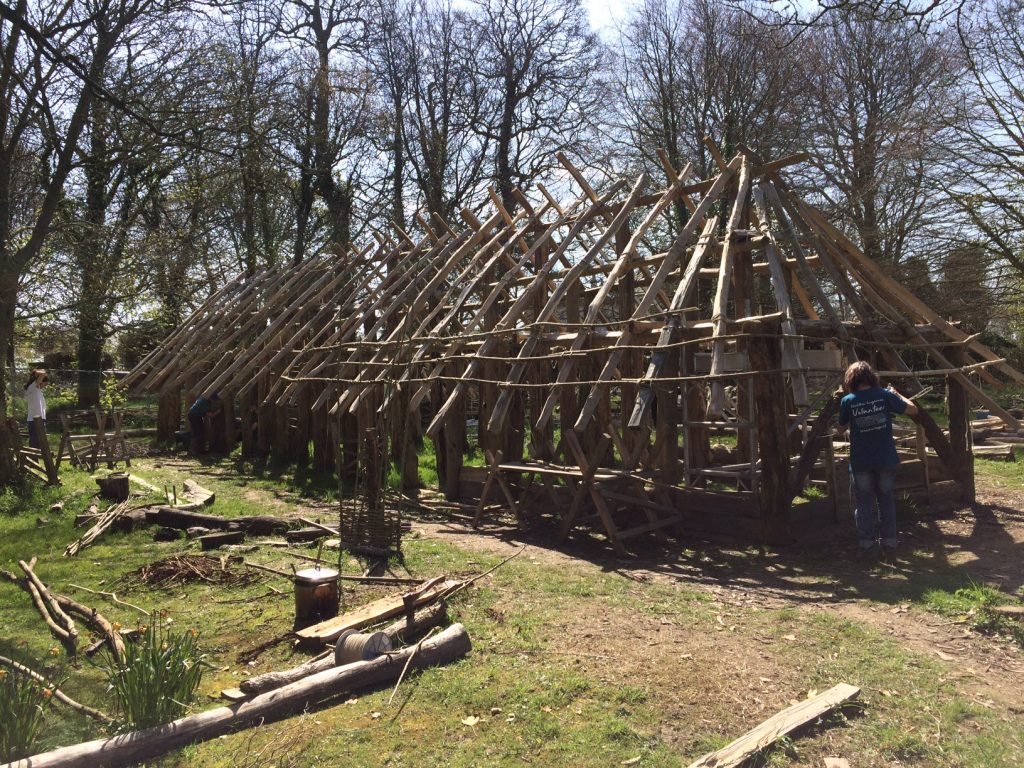
The final rafters are also being positioned by Danny, Tim, Bill, Derek and Astra. As with many of the others, they require bending to shape in some places. This is being achieved using the classic “Spanish Windlass” to winch the two timbers together. It is incredible to see the effectiveness of this simple method. One rafter is so irregular that Derek has suggested replacing it entirely with two shorter rafters that will meet side by side on the purlin. This is a really good example of making the materials work for us and making those decisions that builders have always made through history.
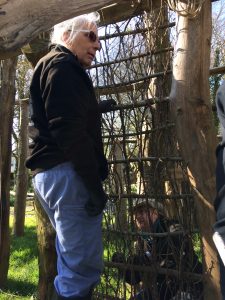
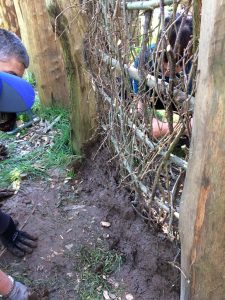
The second batch of daub has been made by Rosie, Jan and Erin. This is being applied to the second test wall built by James. The aim here is to see how little supporting material (in this case willow and hazel) is actually required to produce a solid wall. Although we suspect it might fail (half of the wall has only simple willow struts at 9 cm spacing), we felt we should test that it fails rather than assuming it would!
Thursday 19th April 2018
Another stunning day at La Hougue Bie!
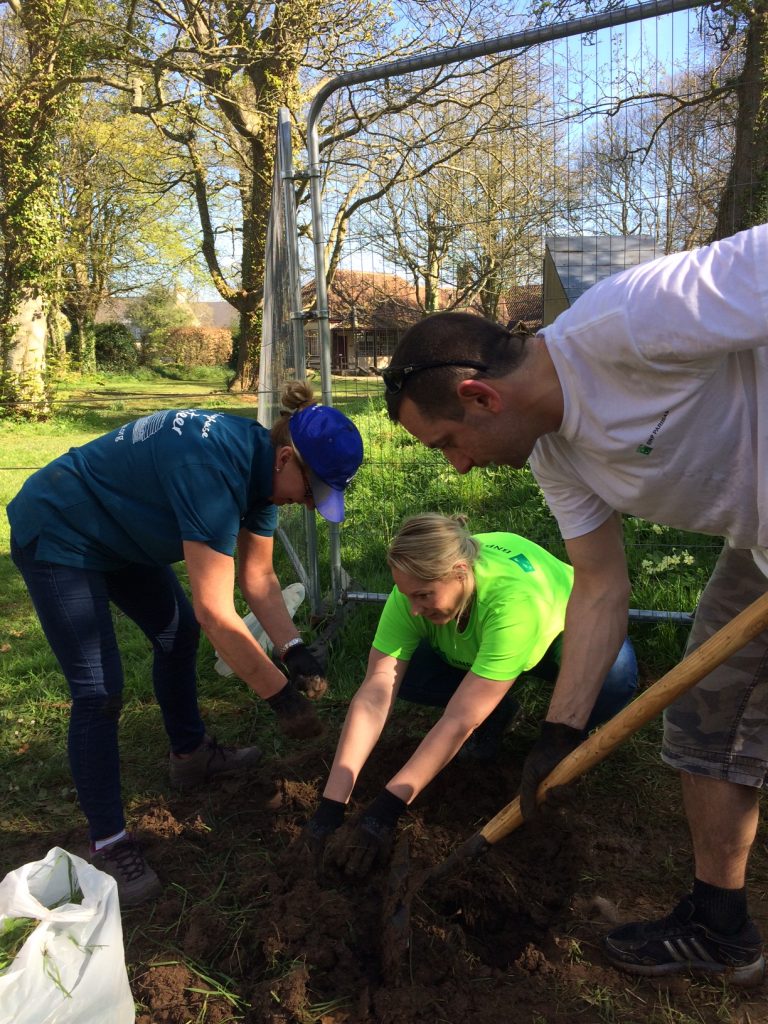
Today we have more volunteers from BNP Paribas who are getting stuck into the test panels of wattle and daub. Great so see their enthusiasm and drive for a project that is so far outside their everyday workplace environment! And thanks to carol for taking them under her wing and making them so welcome, Well done!
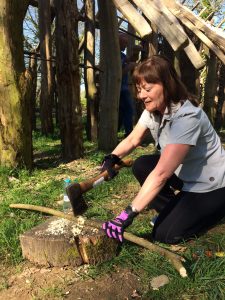
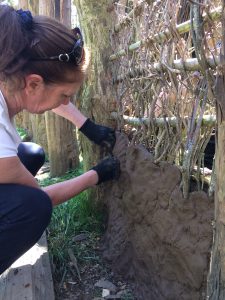
Tasks continue with the lashing of battens to the roof. Today we have two teams on this task and we are aiming to finish one end of the roof this week. This will allow the thatching process to begin when materials arrive.
The third batch of daub is being prepared to apply to Tim’s’ willow wall frame. Two further willow frames are being prepared to test the effectiveness of their structure and how the daub adheres to them.
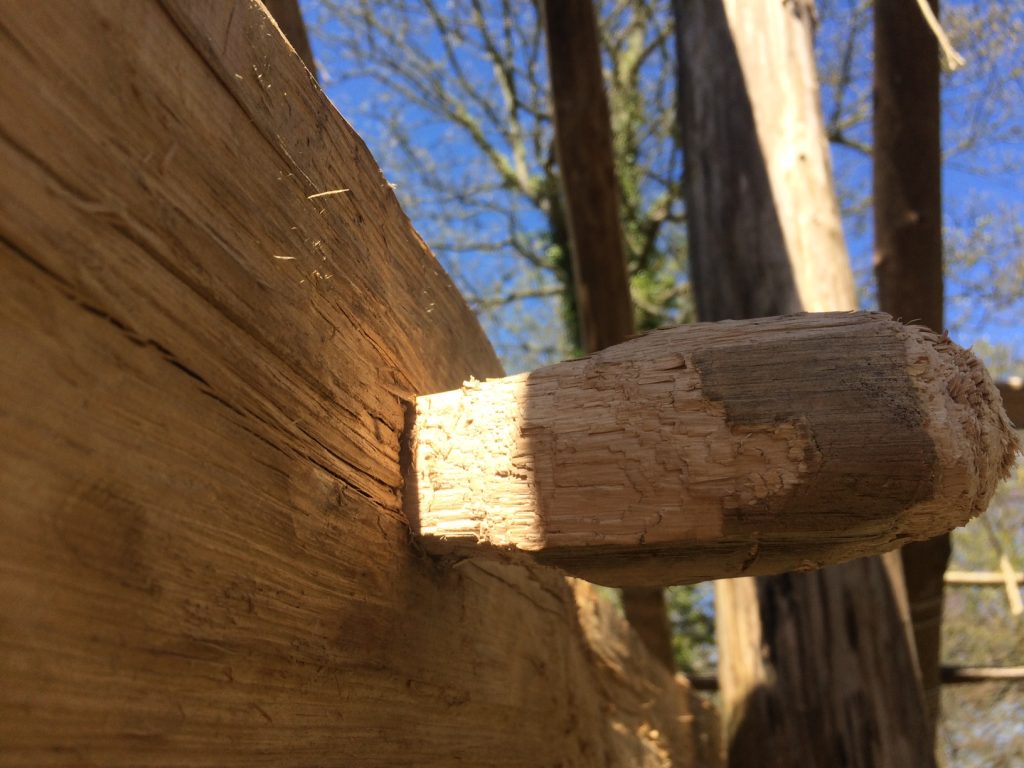
Derek has just has completed his authentic mortise and peg joint! The second mortise into the post and the making of a square peg using only a flint axe and bone chisel took 7 ¼ hours. The peg is 3 ¾ inches long and is 1 ½ x 1 ¼ wide. Combined with the 4 ¾ hours spent putting the first mortise through the oak tie beam, this once again highlights the sheer level of input in seemingly simple tasks. The question is, “would they have avoided making pegs and cutting mortises because of the time and energy required? I think not. The idea that this process is lengthy is entirely modern and based on our own experiences of how quickly the same task could be achieved now. Once again, the evidence from Neolithic well linings in Germany show clearly that, in areas where strength was required in carpentry, pegs and mortises were readily employed.
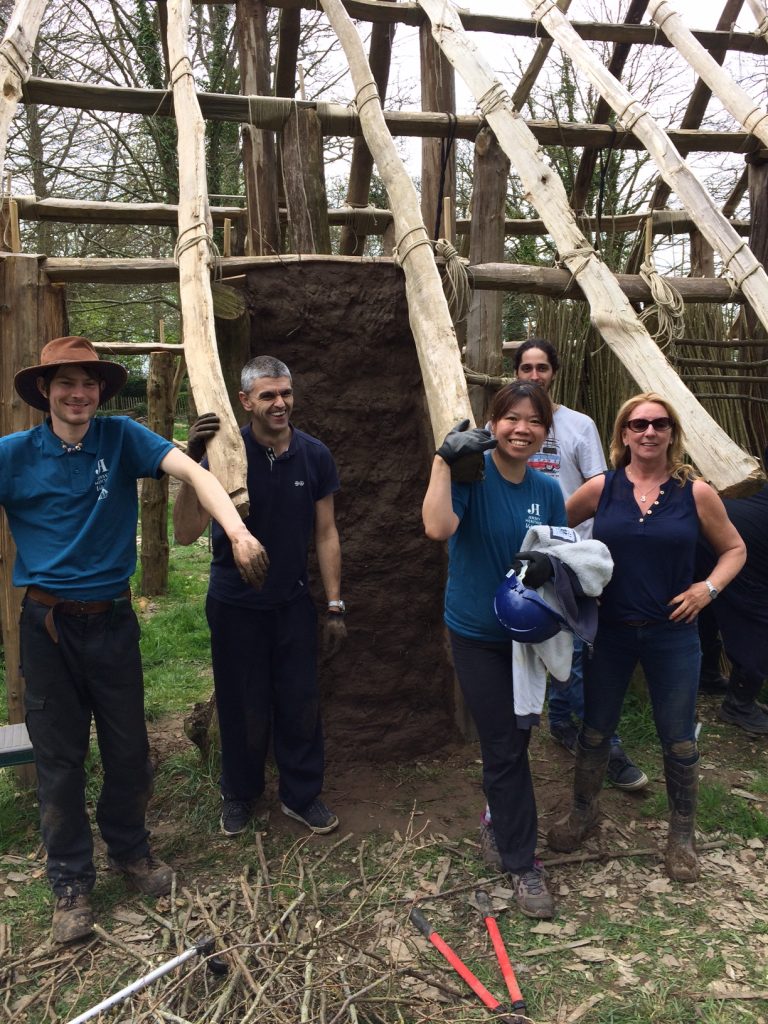
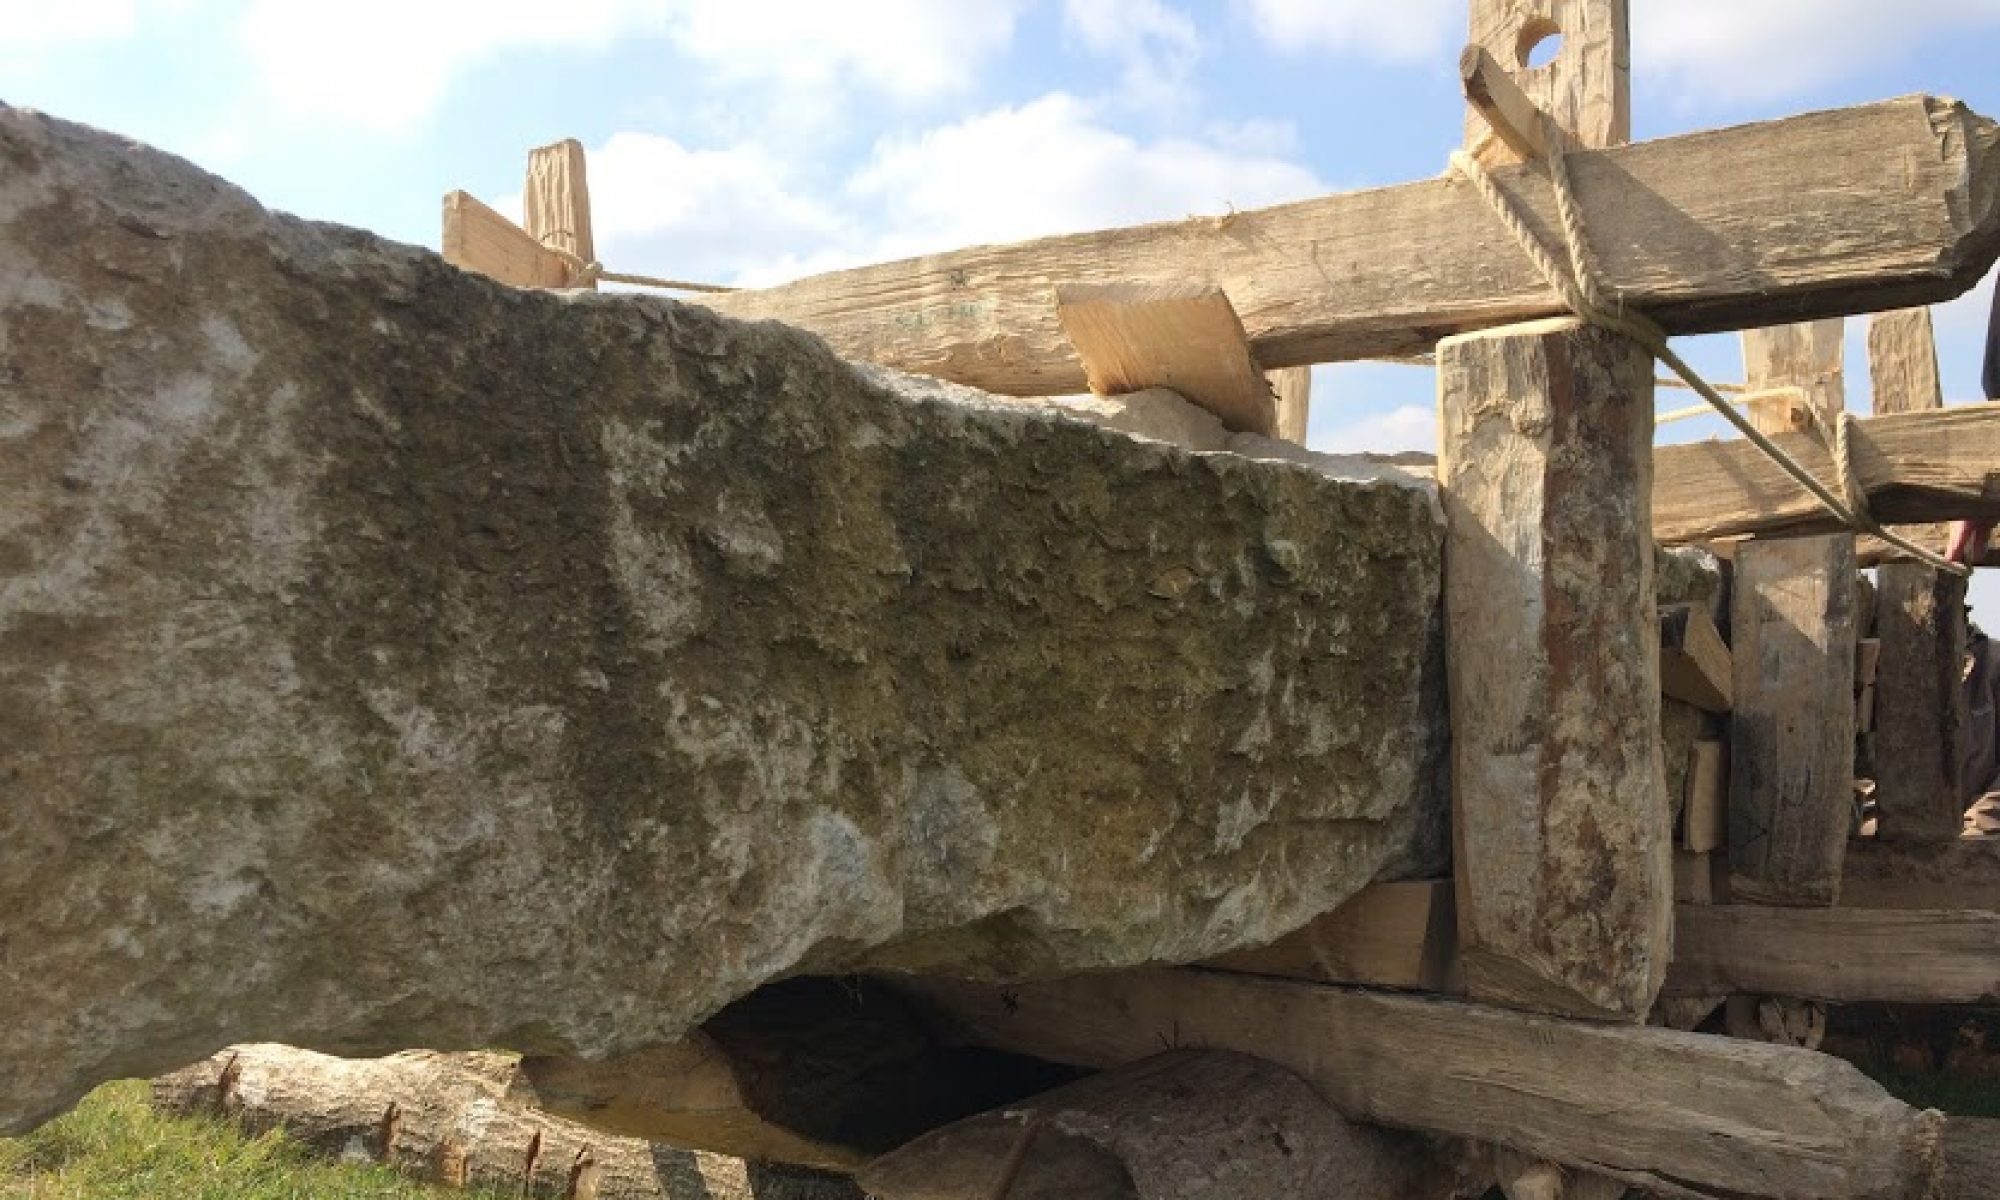
Doug is starting to think in detail about how we construct the mezzanine floor at the “livestock” end of the building. There are various ways of achieving this and it may well be (like every other aspect of the building) that we try a range of alternatives. The mezzanine floor consists of 3 bays. Each bay is separated by a tie beam that will support the joists or the joist supports (depending on the method). Our intention is to produce a good load bearing floor, so any solution will need to accommodate the requirements of Neolithic storage!
As with every “above ground” aspect of this project, there is no such thing as an easy decision! We are constantly evaluating how the next stage may be achieved and whether it is in keeping with the limited Neolithic evidence we have. What becomes clear during all of these decisions, are the limitations and properties of the materials we are using. Particular timber species and dimensions suggest specific uses. If we had an entirely different set of materials, the finished building might look quite different. What remains constant though, are those basic principles that tell us when something looks or feels “right”. The ability to confirm your construction decisions on the basis that it “looks right” is only possible with experience with materials over many years (especially when a structure has to be proven to be safe with engineering calculations). But I also feel that human ability to recognise when something “looks right” is in some way innate. Leave a group of children alone in the woods for a few minutes and their need to build “dens” is clear to see. The older the child, the more elaborate the den, based of course on previous experience and knowledge. During the many projects I have designed and built over the years, engineers have been used at the end of the design and model building stage to check if the proposed building will stand. I have never used engineering calculations to kick start a project and to inform the dimensions of timbers required. In terms of construction, I trust the builders of the past to know their own trades far more comprehensively than I ever will, and if the archaeology suggests timbers of a certain dimension at ground level, then for me there is a certain common sense, based on practical experience and a good knowledge of material properties and traditional methods, that leads, via piecemeal windows of evidence, to a structure that works and that might have been in some way familiar to those ancient people.
Friday 20th April 2018
We are starting to get used to this fantastic weather – and to expect it each day. Spring/summer feels like it is finally here and the project seems to be moving fast!
Today, all hands are on the construction on willow frameworks for the walls. We have learned a couple of useful lessons already, firstly, that although a traditional wattle or hurdle panel clearly works, it uses large volumes of good quality material to build. Secondly, its is possible to build a sturdy framework using a ladder of willow rungs at 18 cm spacings and to infill with the “brash” of the stems (the twiggy bits) to create an impressively strong frame. This method uses only ¼ of the materials a hurdle uses – and also uses up every part of the tree. Lastly, although it is possible to daub a panel consisting only of willow ladder rungs at 9 cm spacings, it is difficult and time consuming to ensure the daub stays in place between the rungs. In the name of time and material efficiency, we are pushing forward with the general pattern of wider rungs (18 cm spacings) and brash infill.
The jury is still out regarding the exact daub mix we eventually go with. Our test panels are drying, and although the weather has been very wartn this week, the shrinkage is less than expected. James is going to do another daub test today, using local clay and straw. It will be really interesting to compare all of the panels nest visit.
Derek is pushing on with the installation of the first tie beam. The tap tap tap of a bone chisel on oak is resounding across the site like a tired woodpecker…
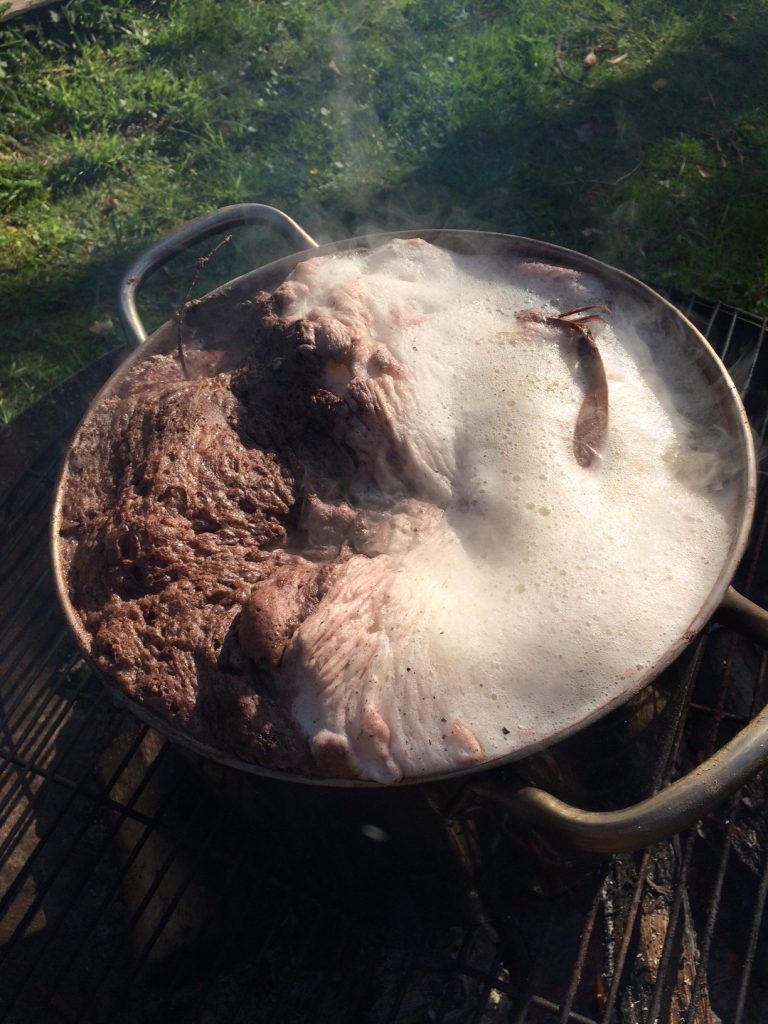
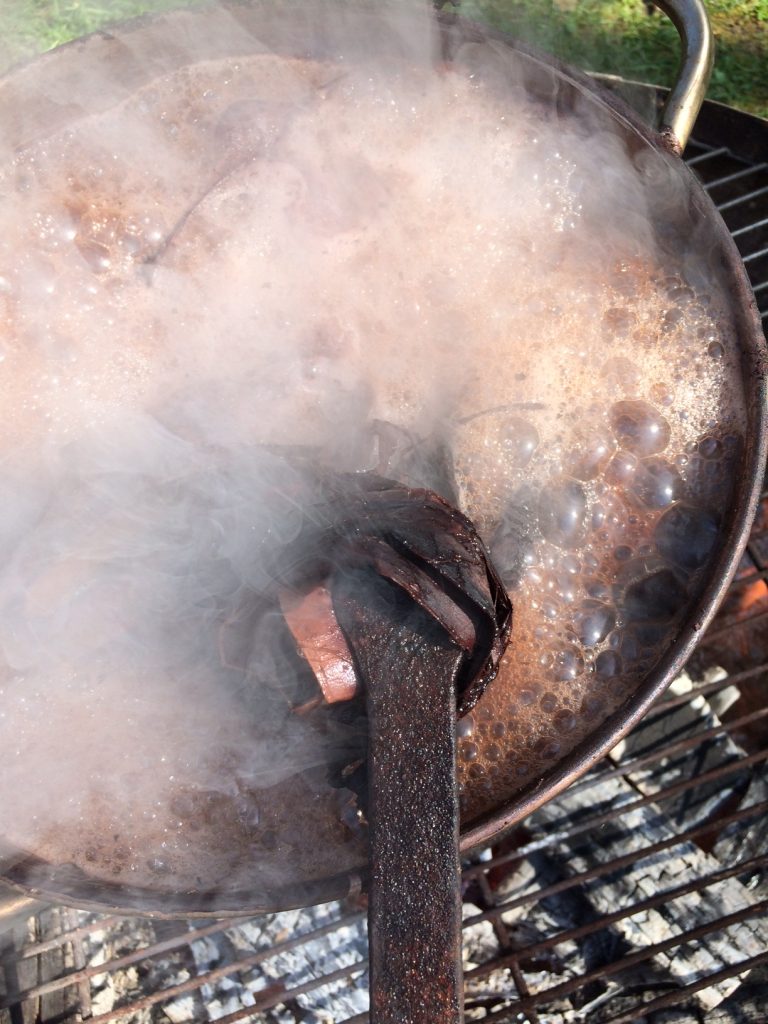
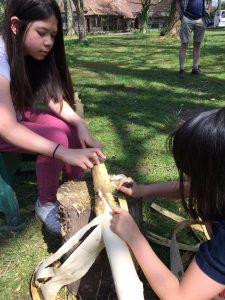
We are boiling the first batch of willow inner bark prepared with our new methodology. The outer bark is scraped off with a flint scraper. The inner bark is then peeled from the stem. We found this is best done in stages on a long stick to avoid the inner bark drying onto the stem. The peeled inner bark is then bundled and placed into a pan with wood ash and boiled for around two hours – or until the bark changes colour to a deep nut brown. The bark is now ready to process and twist into cordage.
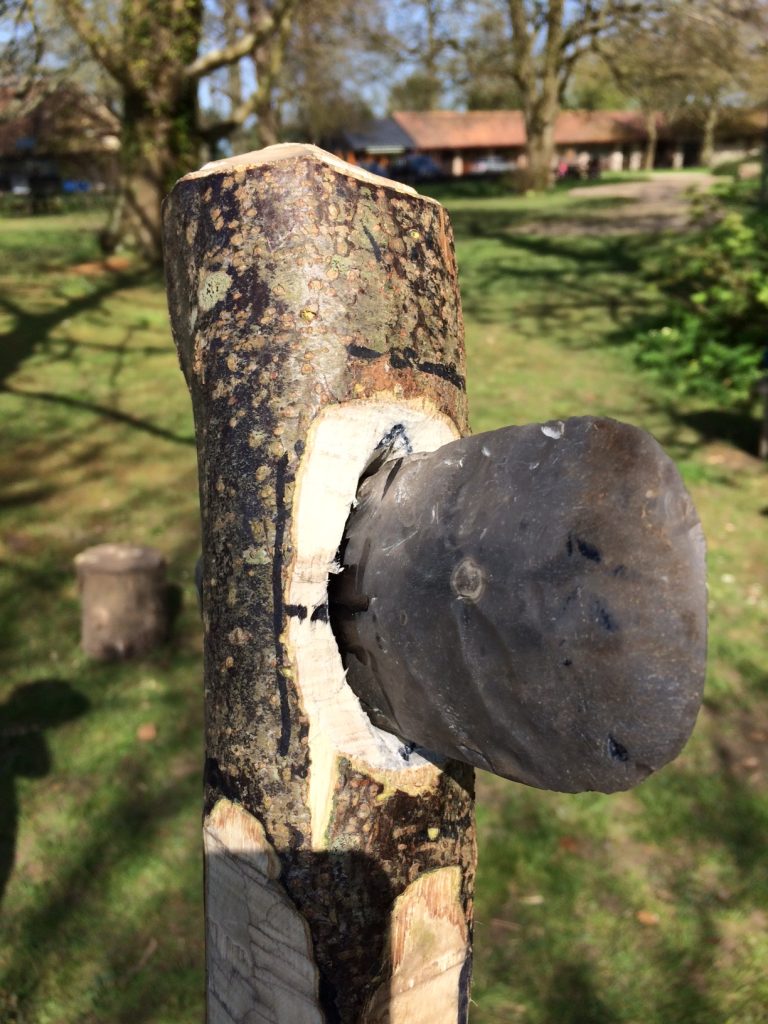
Edward is working on a replacement haft for one of our flint axe heads. Version two went the way of version one and split during use. Getting the socket just right for a flint axe is really tricky. The axe needs to bear on its top and bottom edges rather than its sides to avoid it acting like a wedge and simply splitting the haft in two. It sounds simple in principle – the reality is quite different. It will be interesting to see how version 3 holds up to its arduous future!
Saturday 21st April 2018
A sharp shower this morning has reminded us that it is still only April – despite the incredible week of sun we’ve had!

The daub wall tests are holding up well to the heat. It has been a good test of their resilience to see them baked for a few days. Although so cracks have appeared, they are minor and demonstrate that we managed to achieve a good level of fibre content and mixing. They are now dry enough to “tap” and seem to be holding well. At some point we will have to consider how we finish the walls in terms of colours or further coatings.
We have a great turnout this morning – with lots of volunteers working hard in the sun. Work focuses on the construction of more willow wall panels today. Our emphasis is on function rather than aesthetics! We keep having to remind ourselves that the willow frames will not be seen once the daub is applied, so as long as the frame is solid, appearance really doesn’t matter.
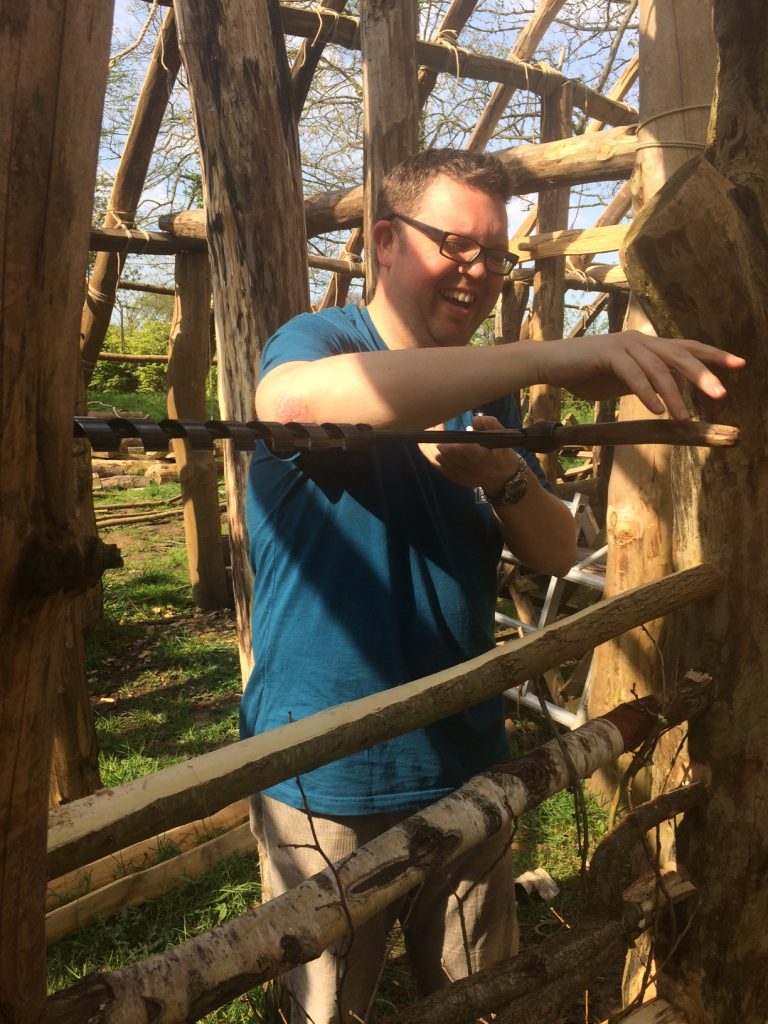
We have decided that the battens that run across the roof over the main living hall will be stripped to give a lovely smooth and white finish. This will provide some really good quality inner bark for rope making while making a visual difference to the living area.
Its been a really productive week!
The weather has given us a premature taste of summer and everyone has felt compelled to get stuck in. All of the tasks are now leading to the inevitable moment of thatching!! Coming soon to a Neolithic Longhouse near you….
