Monday 4th June 2018
After a blazing week of sunshine, Hougue Bie sees some light rain this morning.
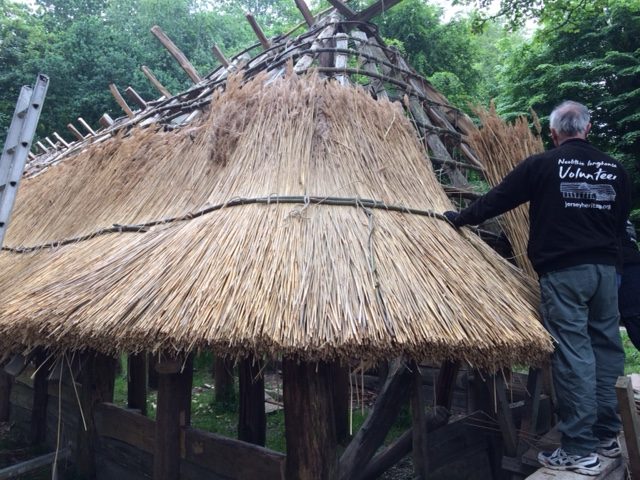
The project is entering a new phase of construction this week with the beginning of thatching.

The volunteers will be taken through the process of this task during the week and have enough hands-on experience to set the method in their minds.
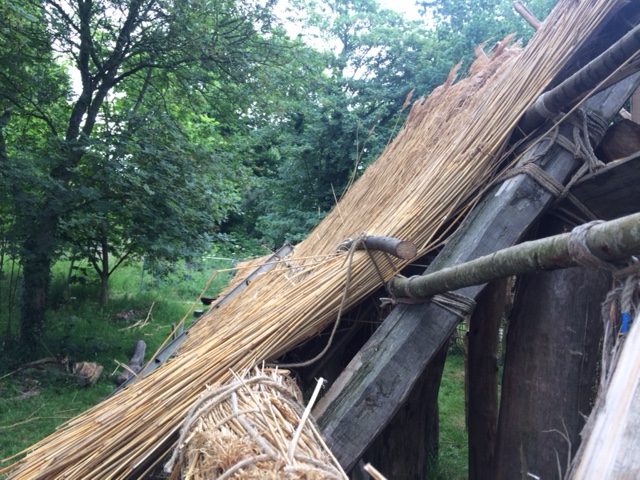
The first stage of the process is to make and attach a thatch roll that sits along the first batten (at eventual eave height). This is formed by laying out three thatch bundles on the ground, cutting their ties and merging them to form a continuous “sausage”. The roll is lashed and then attached to the batten using slip knots.
The aim of this roll is to create some height at the eave that forces the subsequent layers of thatch to bend and kick out at their base. This builds tension into the thatch and helps it to stay in place.
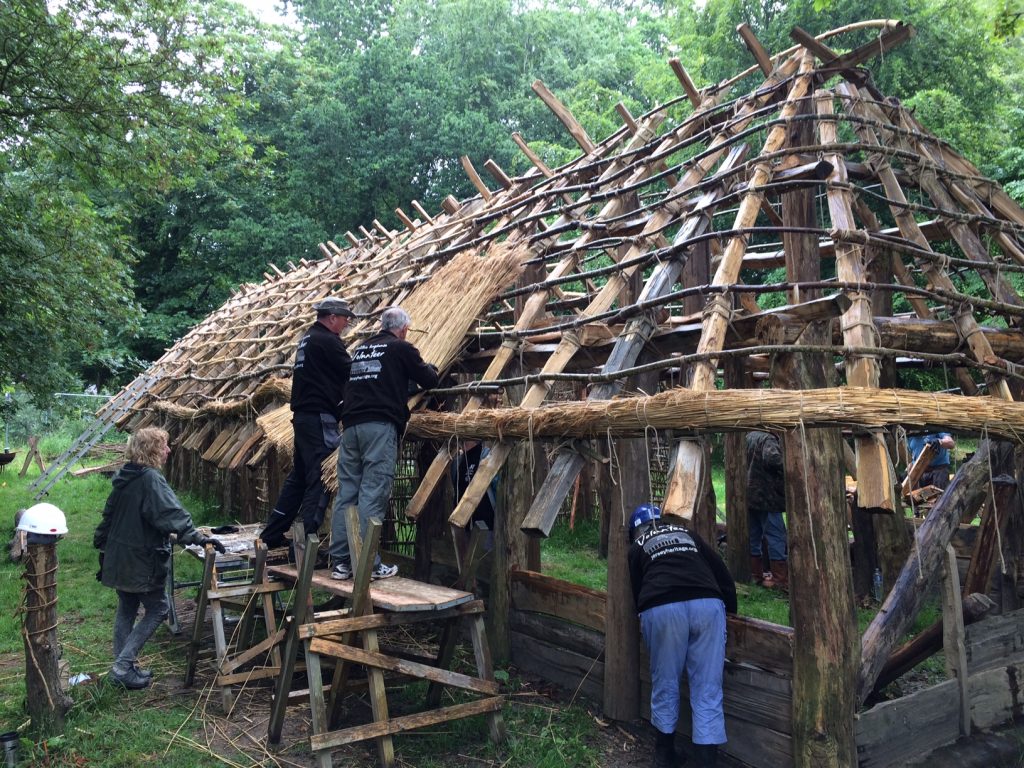
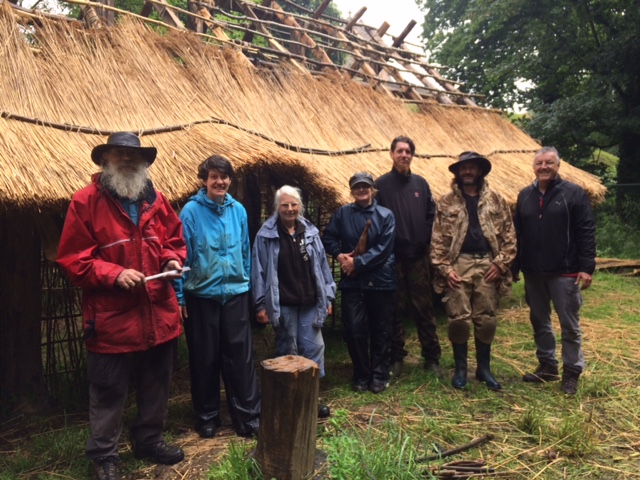
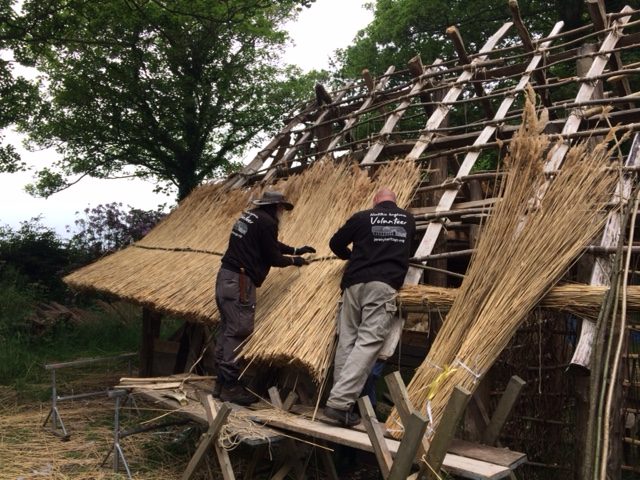
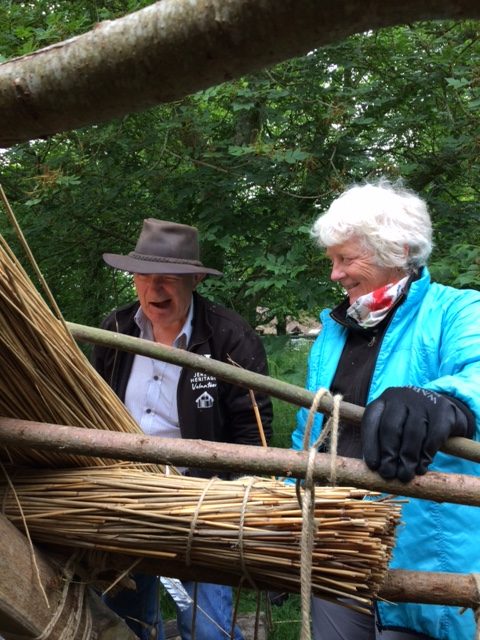
In the afternoon, the first willing volunteers learned the basics of thatching. Nicky, Tim, Mike and Jane formed a team and learned the knots, the process and the subtleties of placing bundles on a roof. There first section is 6 metres long and has 18 bundles of thatch in in. A great first go and what will become very familiar territory over the next few project weeks!
Tuesday 5th June 2018
Grey cloud is blanketing Hougue Bie today – but the rain is holding off.
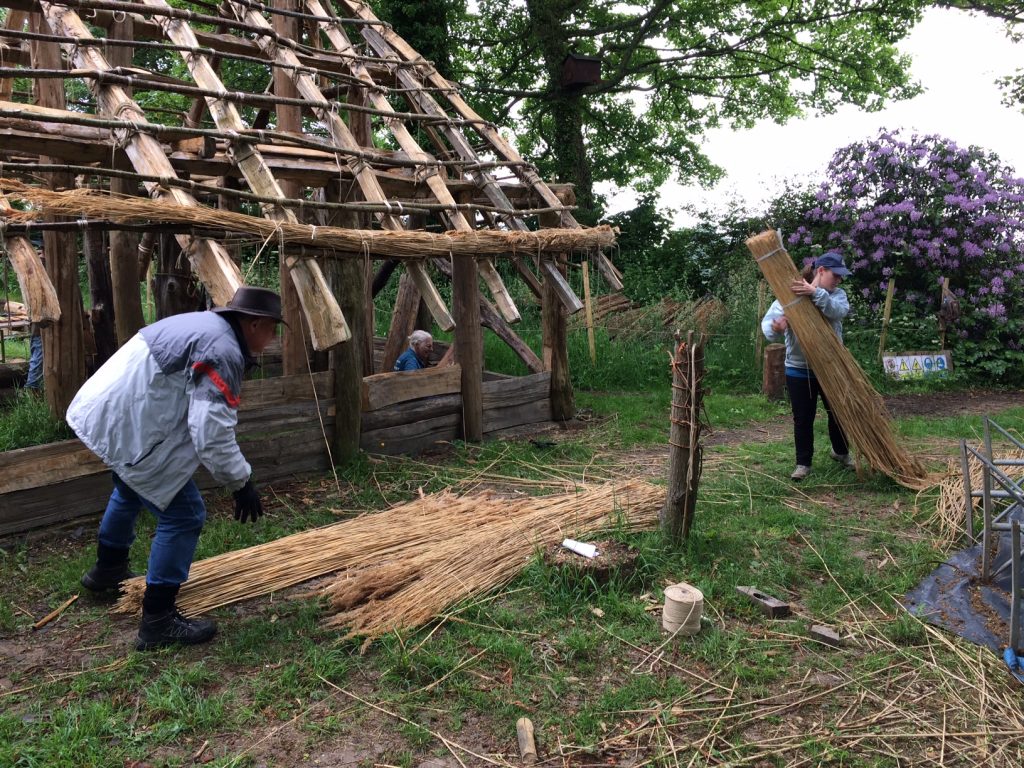
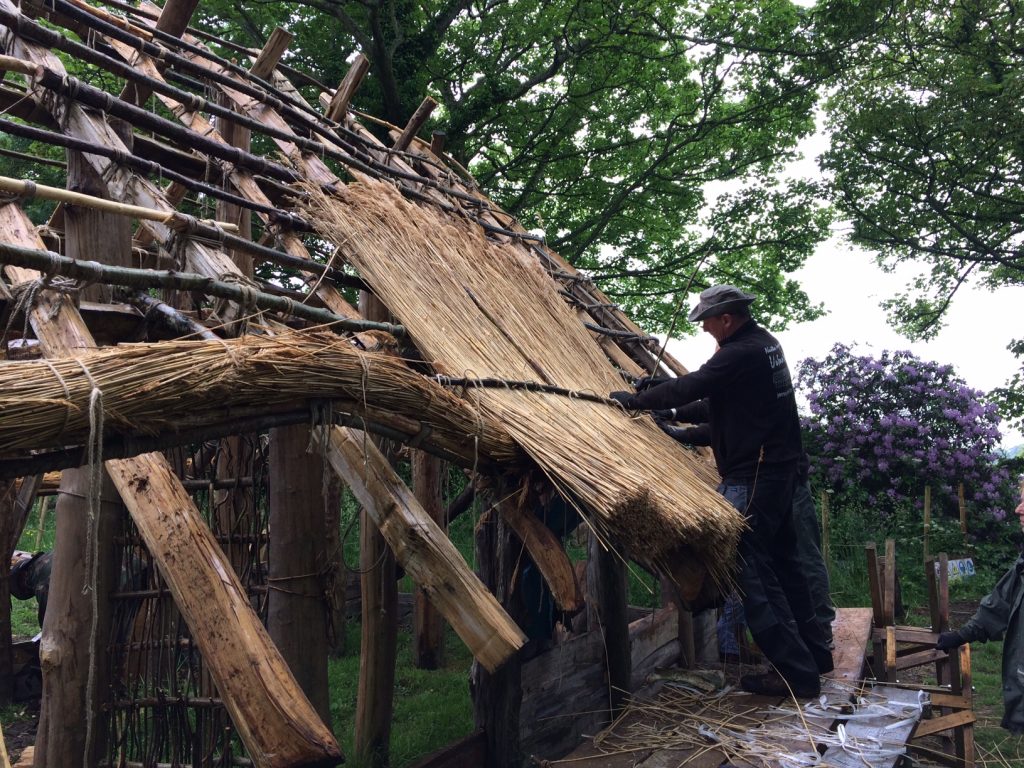
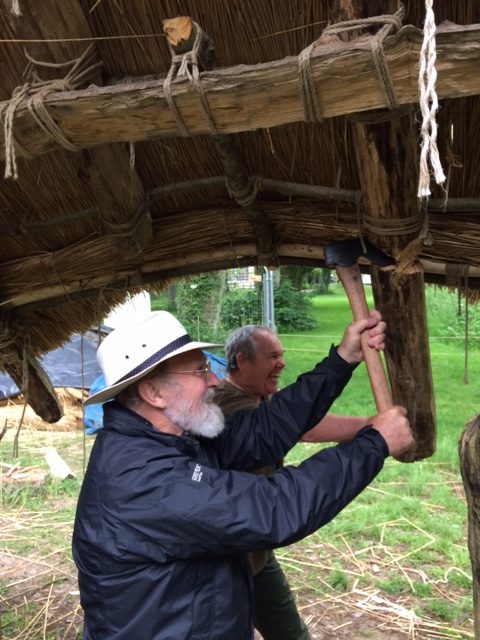
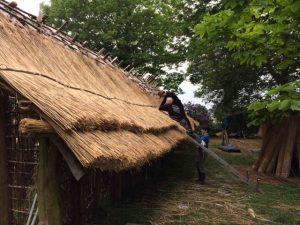
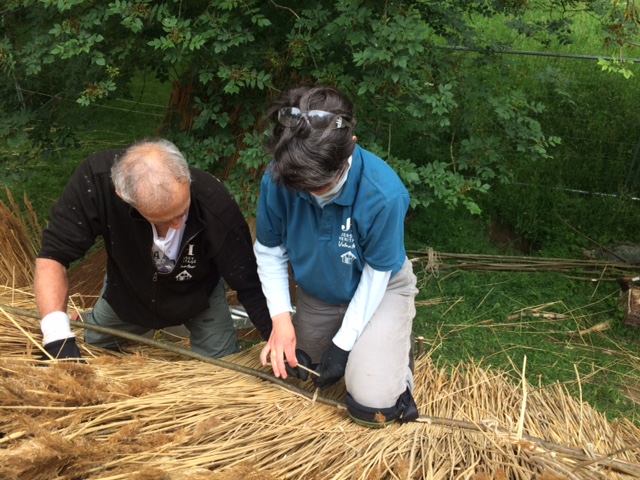
A range of jobs continue on site. The main focus this week is to get volunteers up to speed on the theory and practice of thatching. Tim is transferring his knowledge to Bill and Ed this morning and as the day goes on, we will rotate more people through the process. Thatching has its own kind of rhythm and often requires more hands than are available. For the straight runs of thatch we are putting 3 bundles of reed on the roof at a time. Three bundles cover 1 metre of the roof to a depth of around 100 mm (compressed). The process is as follows…
- Measure a metre on the roof.
- Attach one end of the sway with a temporary lashing.
- Roll three bundles of reed under the sway.
- Clamp the sway in position (with hands or temporary ties).
- Cut the reed ties (and hold!).
- Spread the three bundles across the measured metre – ensuring they are untangled and following the rafter line.
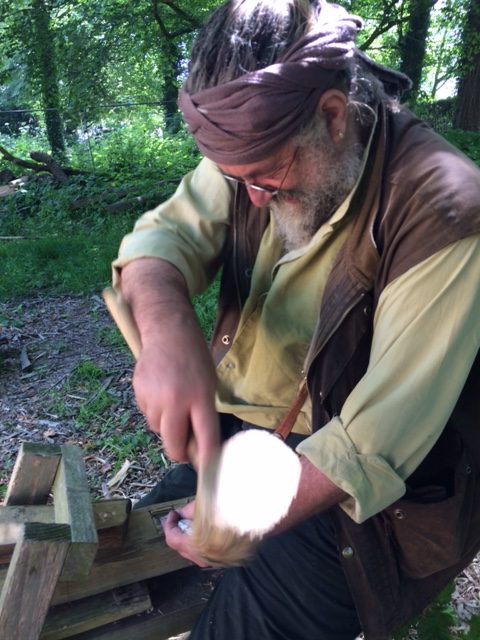
- Thread a thatching needle and push through the thatch around 200 mm from the temporary lashing at the end of the sway.
- Unthread the needle on the underside – pass the string around a batten and rethread the needle (this is done by someone on the inside of the roof).
- Pull the needle through the top side and tie the string around the sway – applying as much downward pressure to the sway as possible.
- Repeat the last process 3 times to reach the end of the measured metre.
- Dress the ends of the thatch using a hand or scapula to force it upwards (tightening the thatch and knots) to a finished level.
- Repeat…


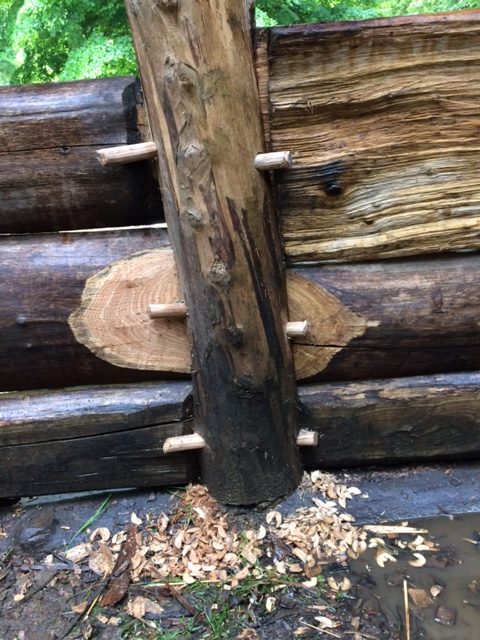
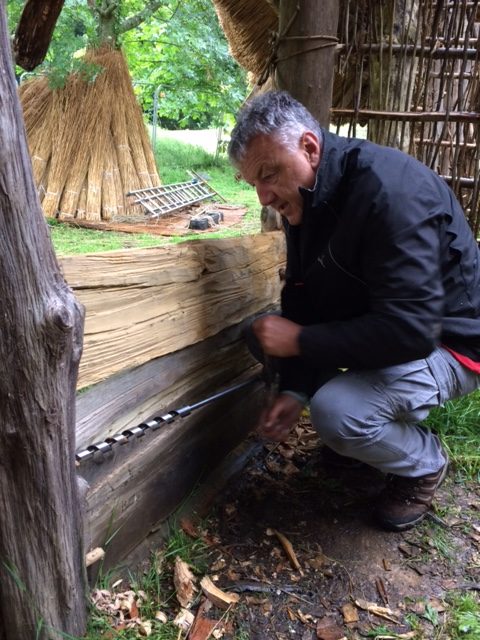
Danny and Astra have finished installing the third wall planks in their respective bays. Danny has now moved on to trimming the wall plates at the corners of the livestock end of the building. This is required to allow the roof to curve around the corner rather than make an abrupt turn (making the thatching easier to complete, and importantly, easier to weatherproof.
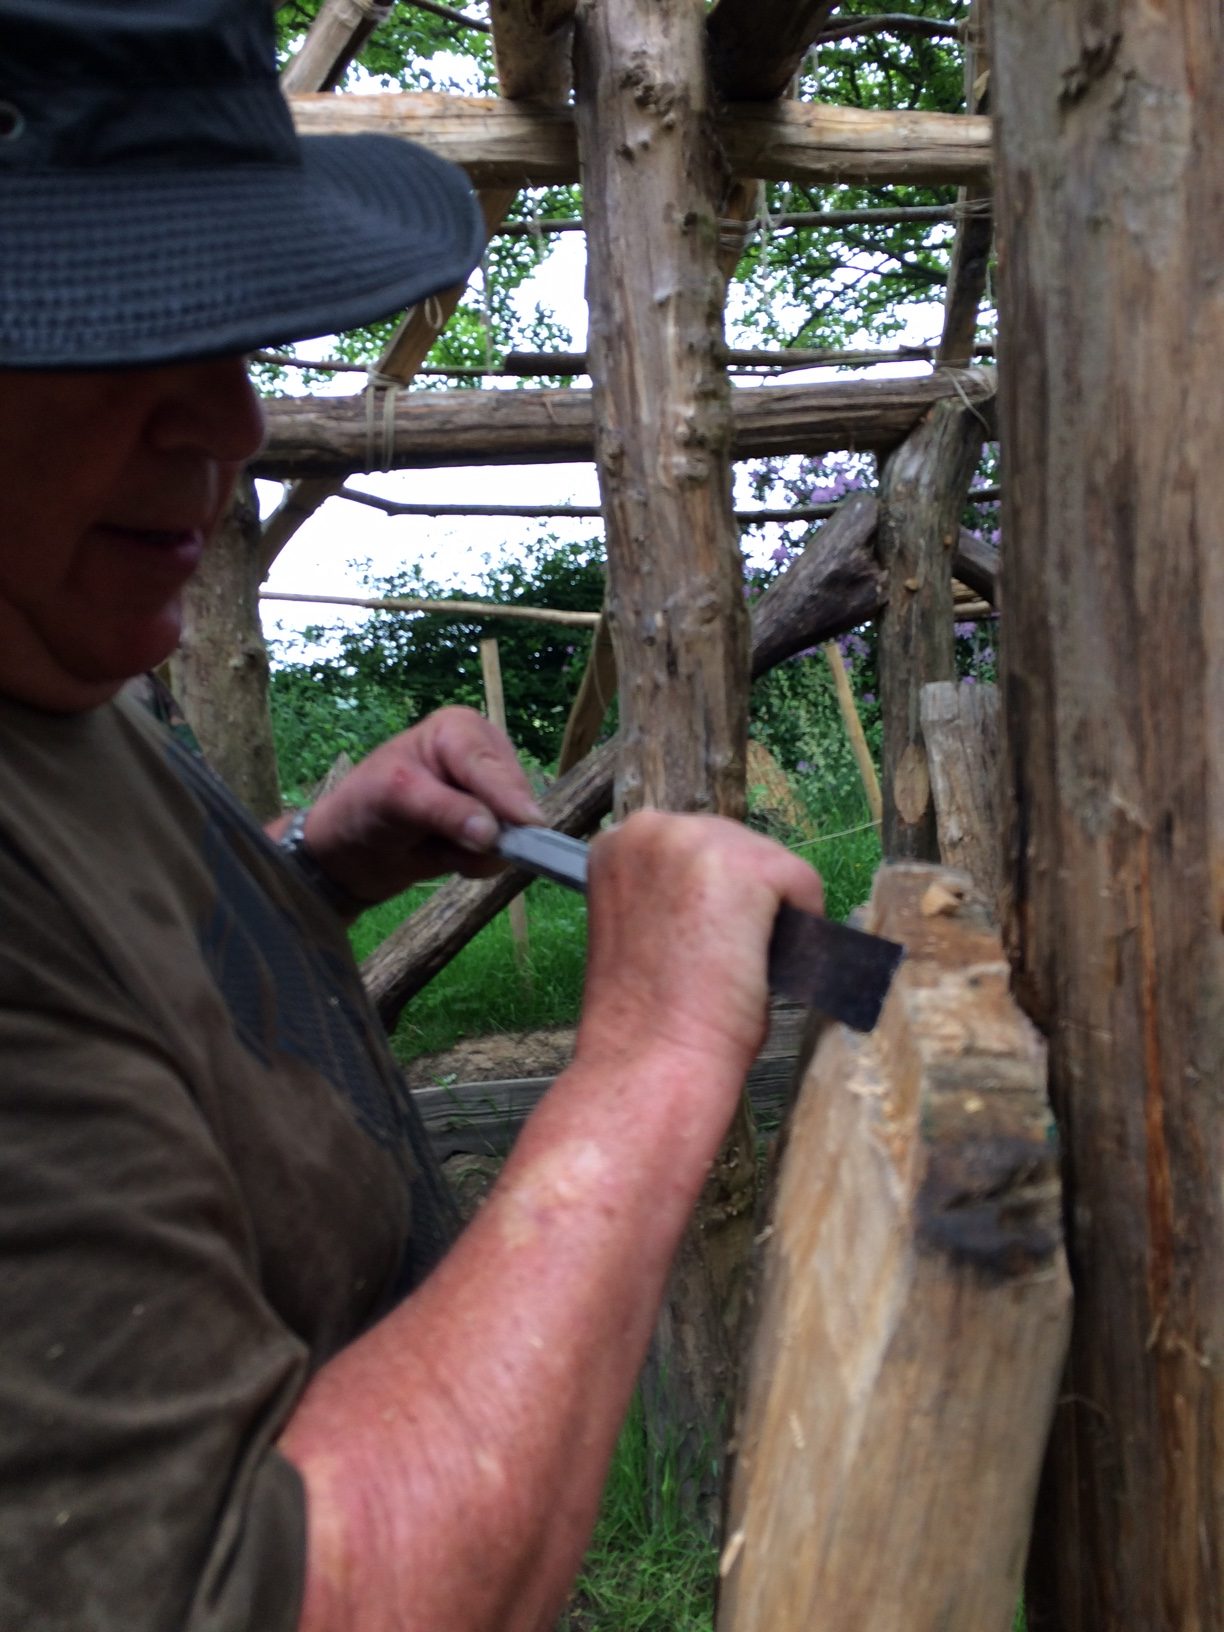
Astra and Ray are working on the final internal wall sections – using the now familiar wattle technique of horizontal rungs and vertical fill.
Dave is trimming the rafters in the newly thatched porch to stop visitors from banging their heads!
Wednesday 6th June 2018
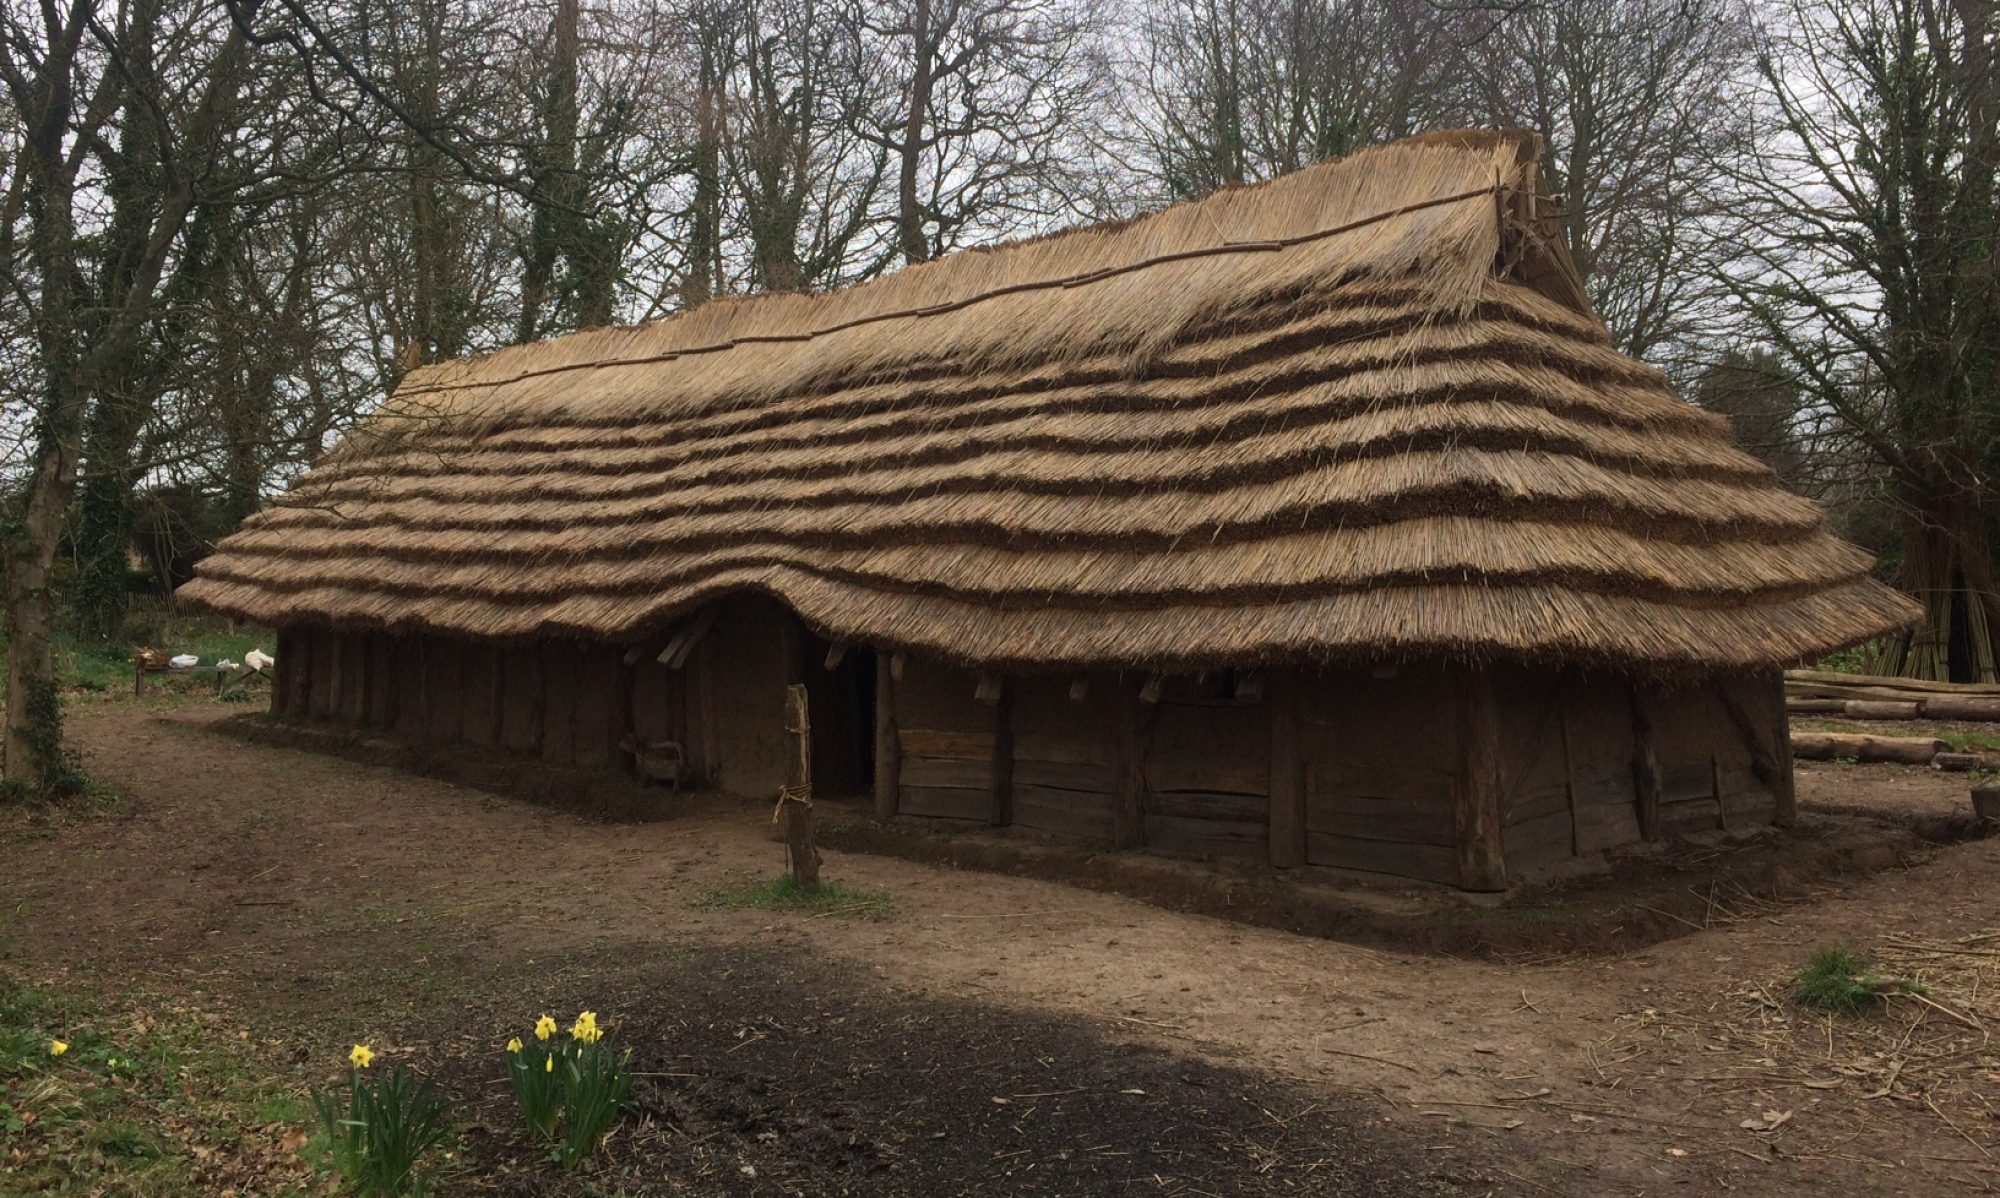
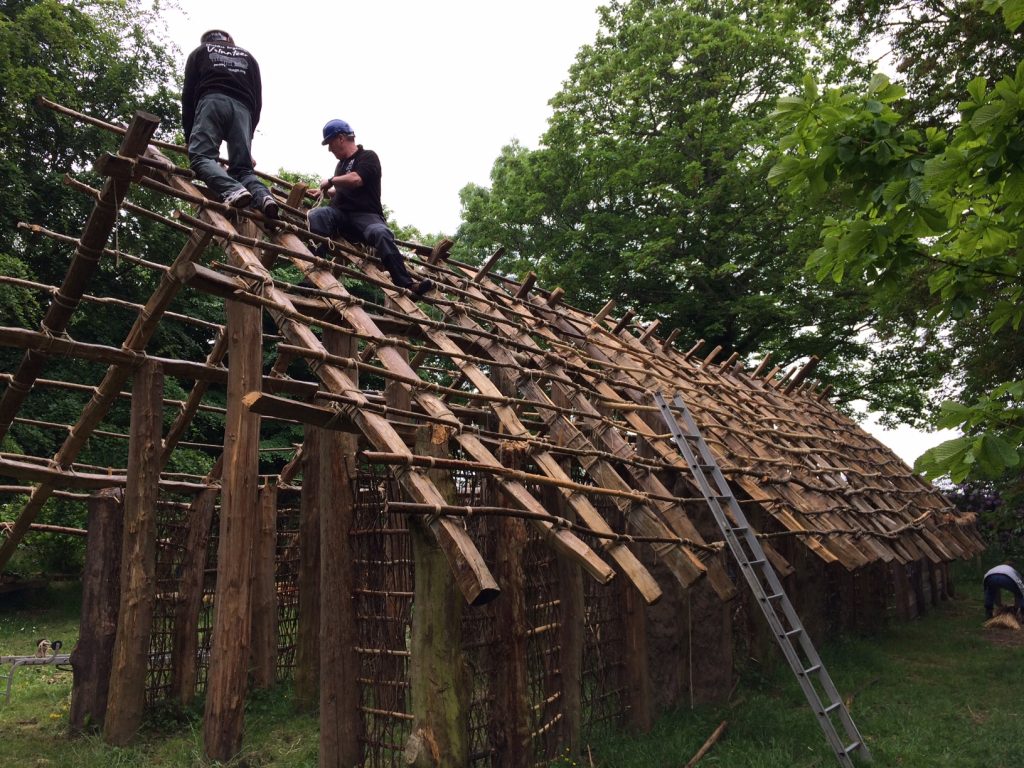
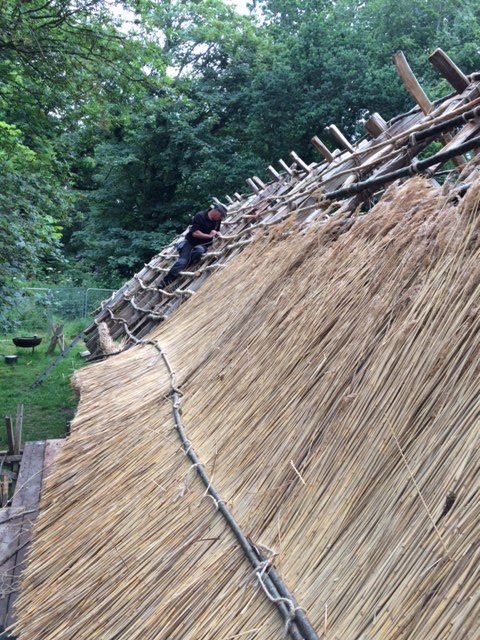
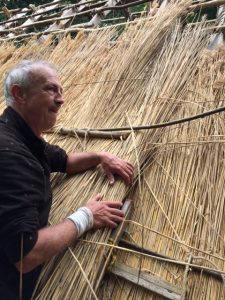
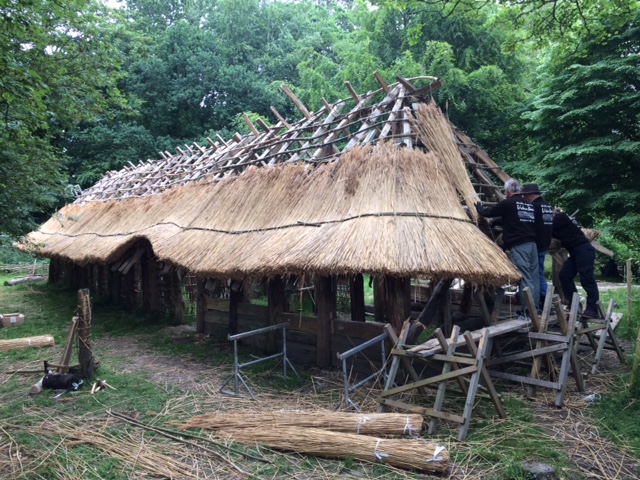
The grey cloud persists over Hougue Bie. The first layer of thatch is completed on the north side of the house. 18 metres of the first layer has required 3 bundles of thatch spread across each metre. This means a total of 54 bundles used so far. This work has been done by one thatching team in a day and a half – while learning a new skill! Although it looks beautiful and impressive we are all aware that the first layer gives the impression of achieving much in a short space of time, the reality is that there will be another 7 or 8 layers above the first – each taking as long, to reach the top of the roof. The first 18 metres belies the epic task of thatching a total of 340 metres total length!
Like all of the tasks on this building, an initial learning period is followed up by an impressive improvement in speed and efficiency. By the time we reach the ridge of the building, all of those involved will be competent at making a traditional building watertight. This style of thatching is simple (that doesn’t mean easy!) compared to the complexity of methods used by master thatchers on medieval roofs.
At this stage the thatch is being stepped in visible layers. This is a good way of keeping track of each layers thickness as the roof progresses. Unlike a modern thatched roof (which has a chimney), our roof will need to “breathe” in order to let the smoke from the fire escape through the thatch so the thickness of the thatch is critical. When the roof is covered we then have the option of “dressing” the edge of each layer to form a constant gradient (as you would see in a modern thatched roof).

Thursday 7th June 2018
A grey start has turned into a warm and brighter day.
This morning we organised the thatch bundles on site, sorting them into, short, medium and long and piling them under tree cover on both sides of the building.

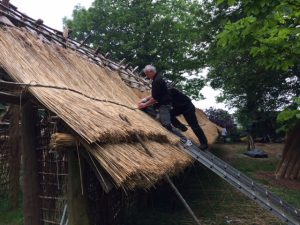
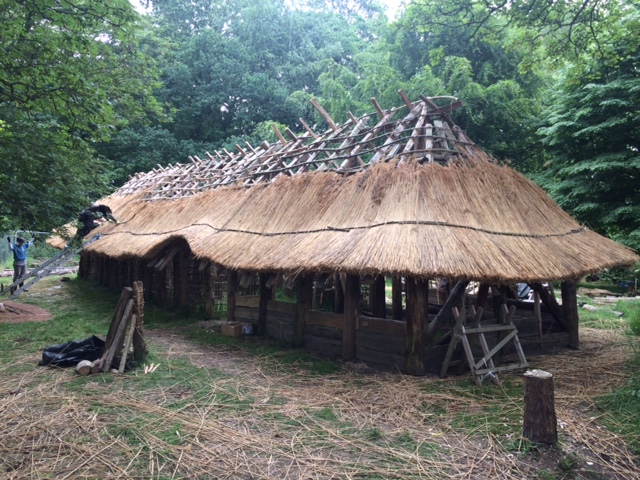
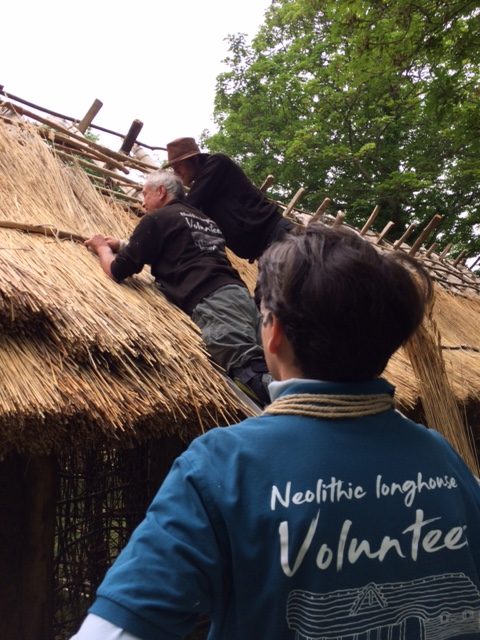
Today we are attempting to that with two teams on the roof in different locations. Team 1 is starting the steepest part of the learning curve – working from ladders and still efficiently performing the many jobs that thatching requires! They are starting layer 2 on the north side of the roof, working back from the gable end.
Team 2 are working on the south side to complete layer 1. As with all of these tasks, efficiency and refinement can only be gained by doing it! Each team is rotating to give members a go at each aspect of the job. In this humidity, the work is surprisingly energetic and tends to involve positions and actions that are entirely unfamiliar in modern daily life.
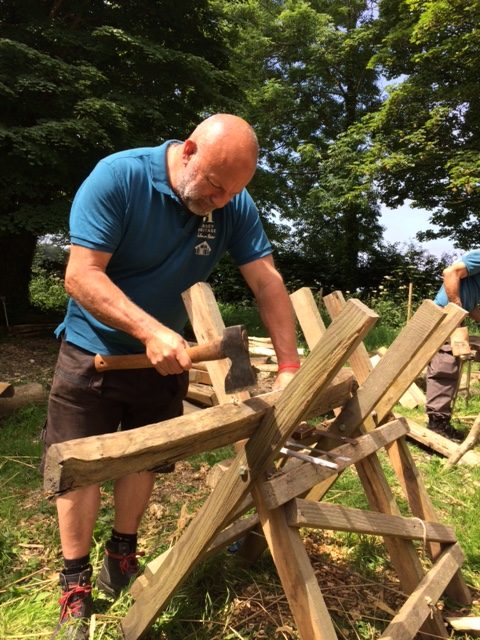
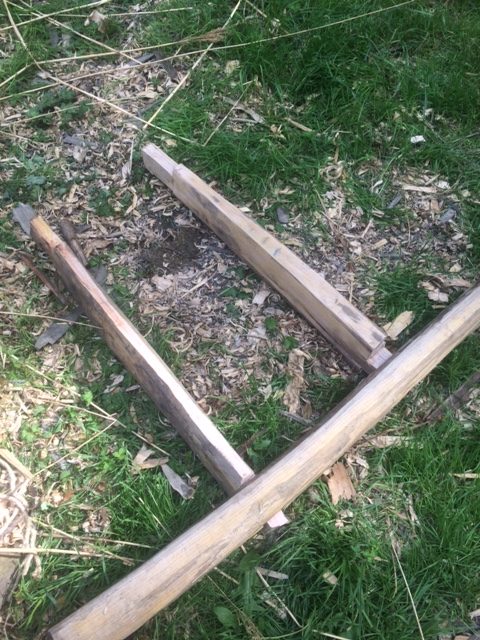
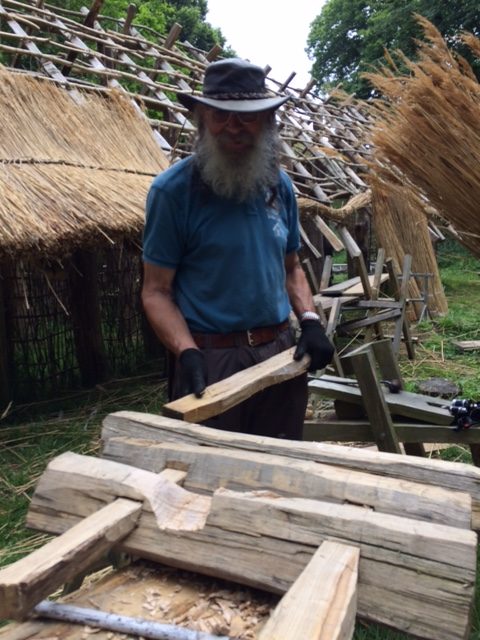
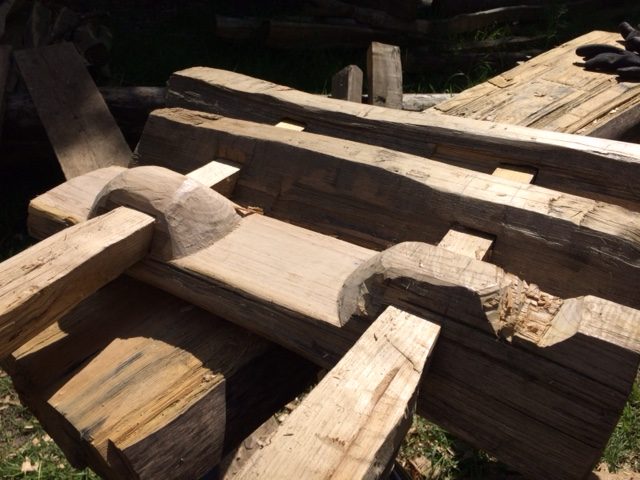
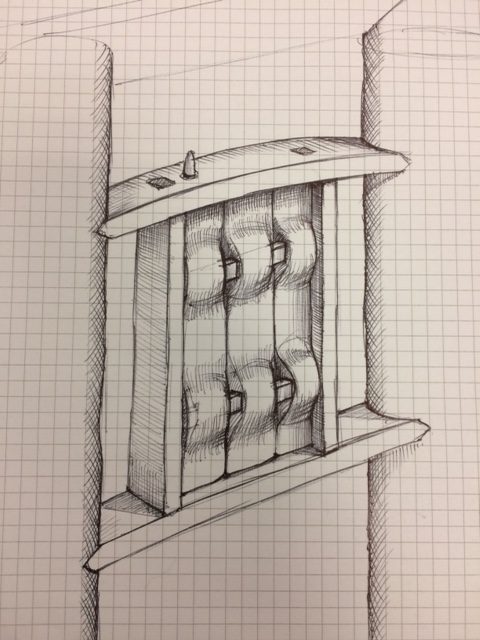
Derek is making great progress with Shutter 1. Based on the amazing preserved Neolithic door from Zurich, Derek has now completed the mortises in three planks and has shaped and fitted the runners that tap through the mortises to stabilise the three planks and make them as one.
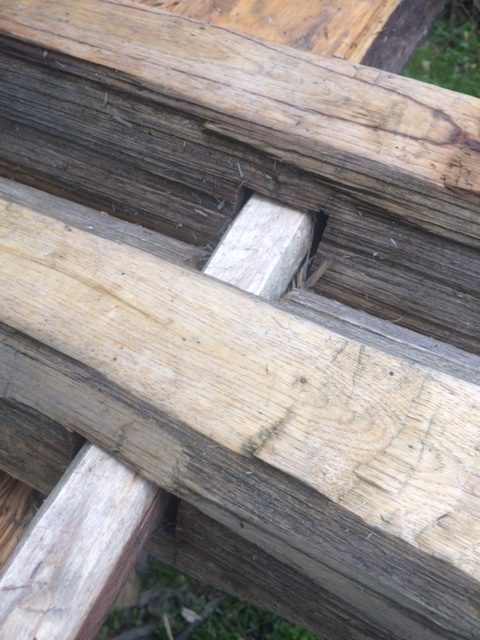
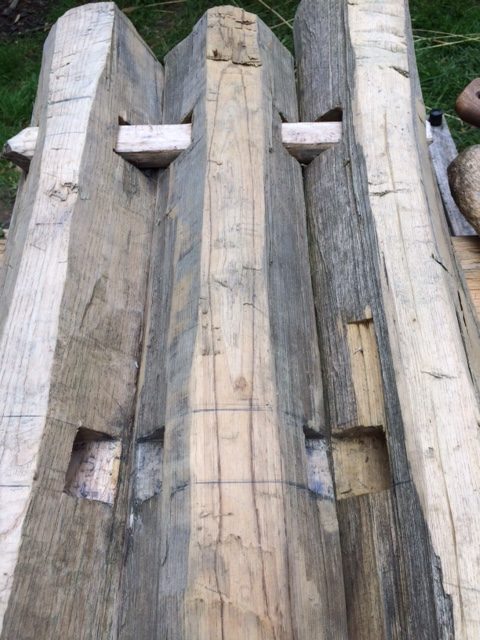
The idea here is that this first shutter will form the model for the remaining shutters to be made. Even at this stage, the level of carpentry and skill required is plain to see and I am looking forward to the moment our first visitors question the complexity of this technology in the Neolithic and we can securely tell them that it follows known evidence! It should be a real “eye opener”!
Friday 8th June 2018
A fine day has dawned at Hougue Bie. Today thatching has paused while we get to grips with other essential jobs on site. There are still some interior willow walls to construct, wall planks to fit in the end of the building, and joists to fit in the mezzanine floors.

Derek is also continuing with Shutter 1 – based on the Neolithic door evidence from Zurich. Derek raised a good point this morning concerning the use of detailed carpentered shutters in the “livestock” area of the building when the “living” space will only have simple openings at the top of its walls. It is a good observation, and led to the decision to attempt the contruction of several “standardised” window frames and shutters that can be installed in any appropriate wall within the main living space. The question of windows in ancient buildings is problematic. There is simply no evidence that they did or didn’t exist and so, once again we are left with a decision to make. For me, the Zurich door clearly shows high levels of carpentry employed to fill a hole in a wall (a doorway). Do we really suggest that other holes in walls (windows) would not have been used where light and ventilation was required, especially on those murky winter days when daily tasks have to continue under cover?

Its a difficult question, and again comes back to questions relating to the purpose of the house and the spaces within it, the prevailing weather conditions and access to direct sunlight, and of course the ever ambiguous cultural considerations of the people involved.
Phil and Alcindo are now working on the first of these “shutter” frames for the building….the idea being that each constructed frame will slot into prepared notches in the wall post that will effectively lock the vertical frame elements in place without the need for pegs.
Iris has taken on the task of fitting planks into the triangular gaps at the end of the building where Derek’s diagonal braces slant from the central to outer posts. This requires careful work, chiselling an approximate angle and then fitting and adjusting.
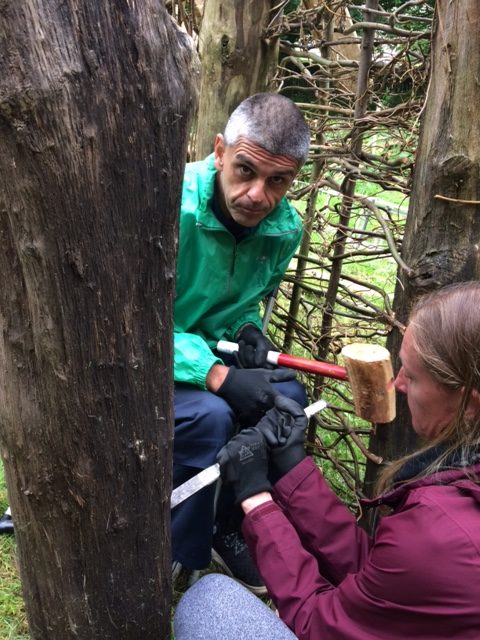
Doug is adzing off some of the thicker split planks to allow them to be used in the walls or even to become eventual shutters or furniture. Ruth, Bill and Mike are fitting the split joists that will support the mezzanine floor above the livestock pens. Each joist is located in the tie beam by cutting a notch and pegging.
Heather is working on the final internal wall panel – cutting the mortises for the willow rungs into hard Holm Oak.
Saturday 9th June 2018
Thunderstorms and heavy rain are bringing the week to a close. Unfortunately, this means a pause on the thatching (due to treacherous ladders and sodden thatch).
Our ever keen volunteers are not put off by a bit of torrential rain and standing water so jobs are continuing under whatever shelter we can find.
Bernie and Murry are pegging wall planks in position. Derek has started on the frame that will eventually hold his beautiful shutter in position. Astra, Chloe and Ania are making cordage in the shelter of the site hut (a wise move), while Pippa and Daryl are working on the other shutter frames for the main living space of the hall.
All in all, this week has seen another major push towards some kind of finishing point. Everyone is impressed with the first layers of thatch and their affect on the look of the building. The project is now entering the “home” phase, where we put our minds to the question of what goes inside the building!