Monday 15th October 2018
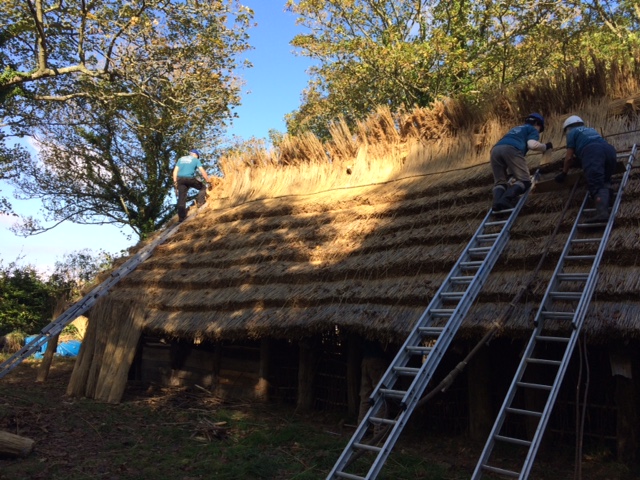
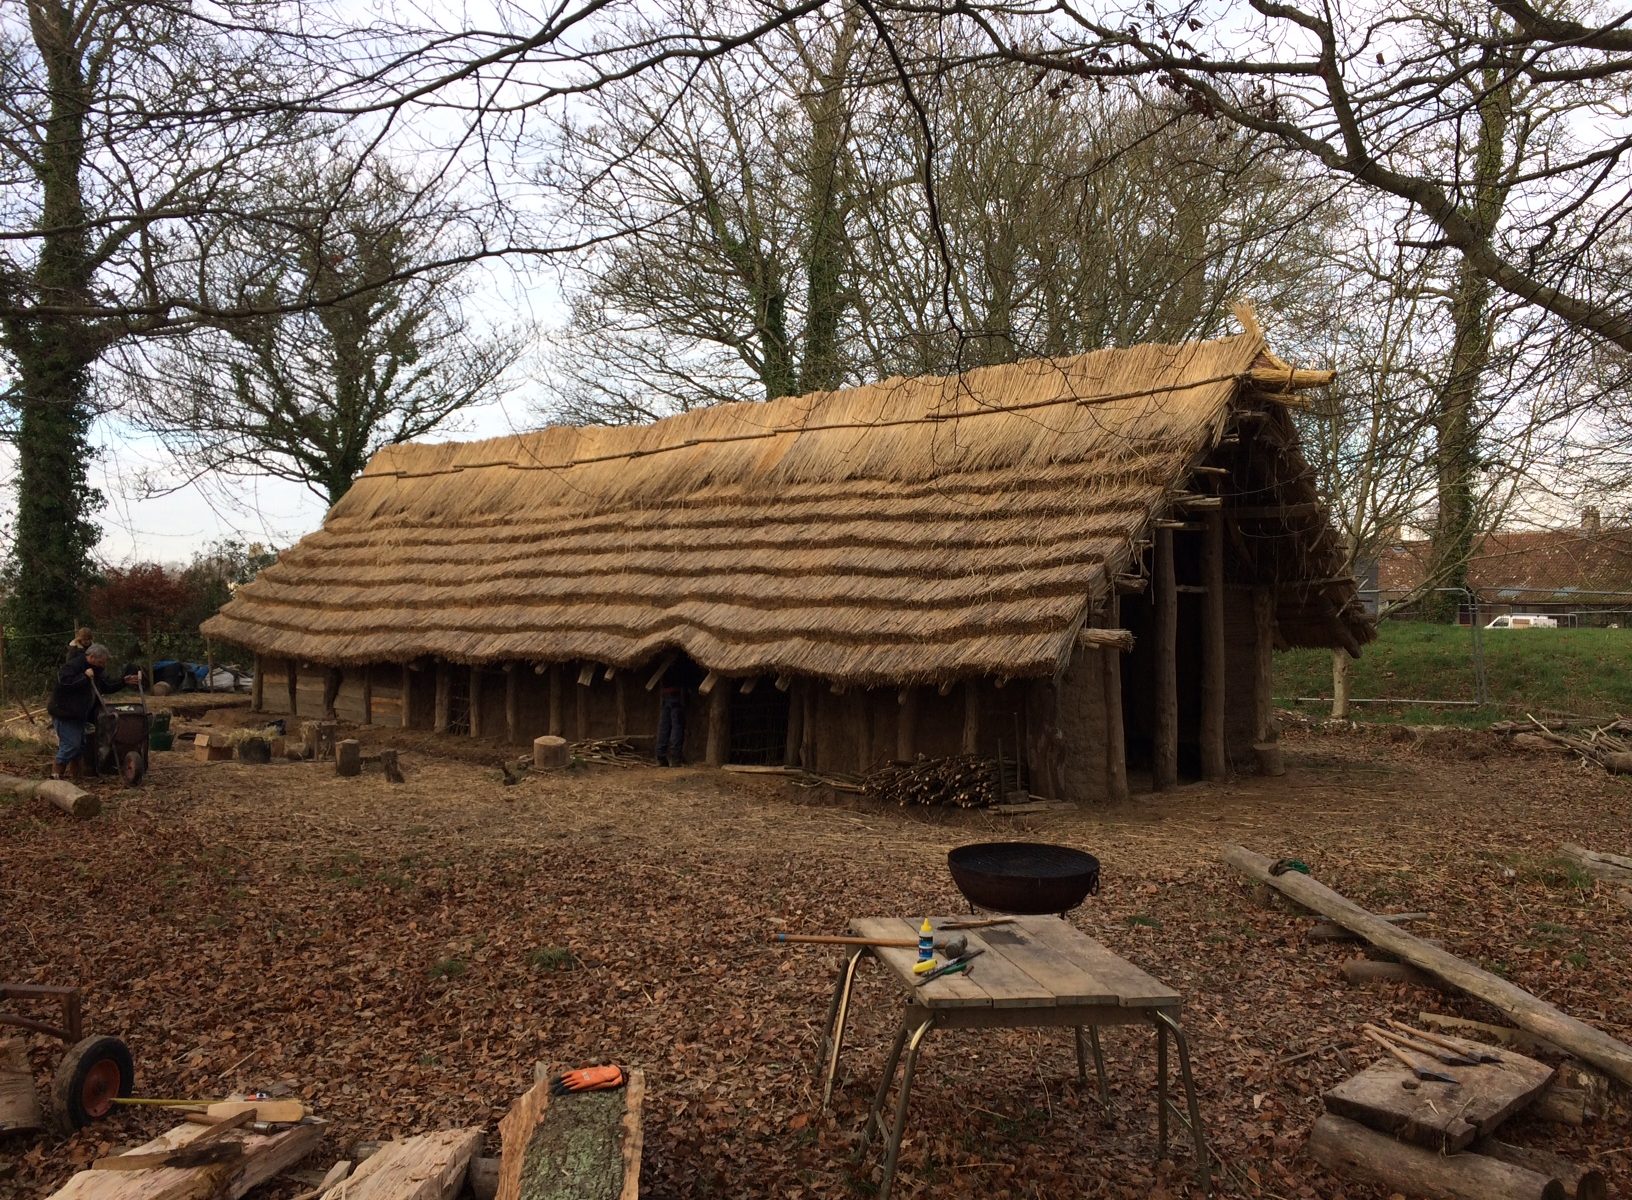
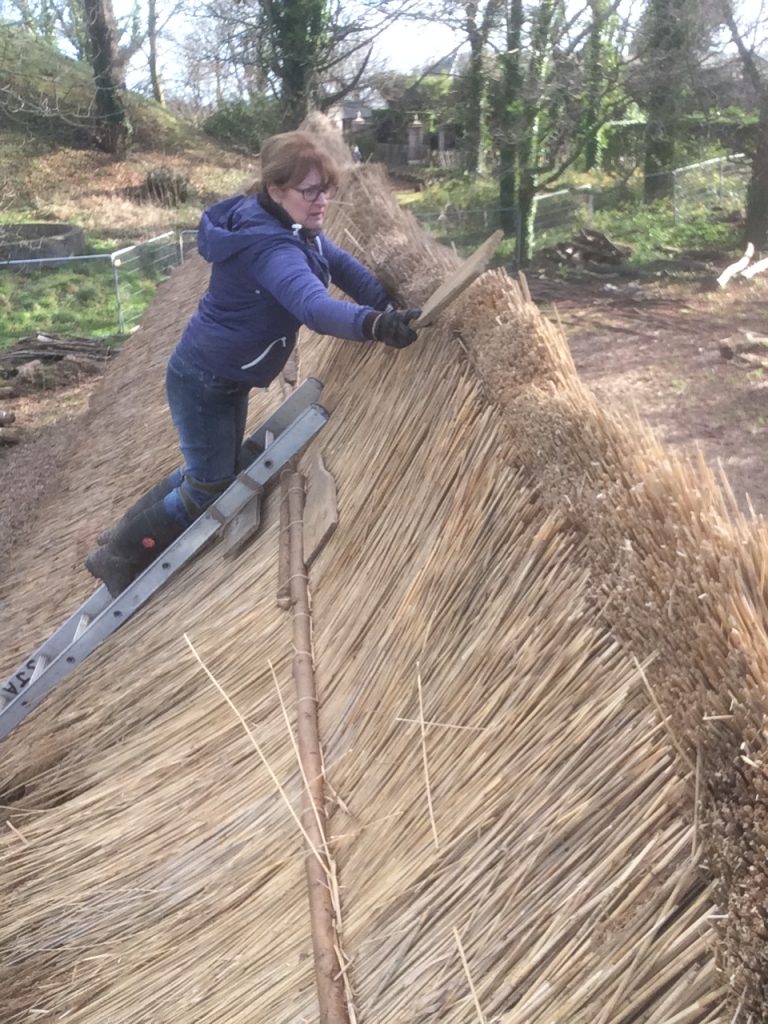
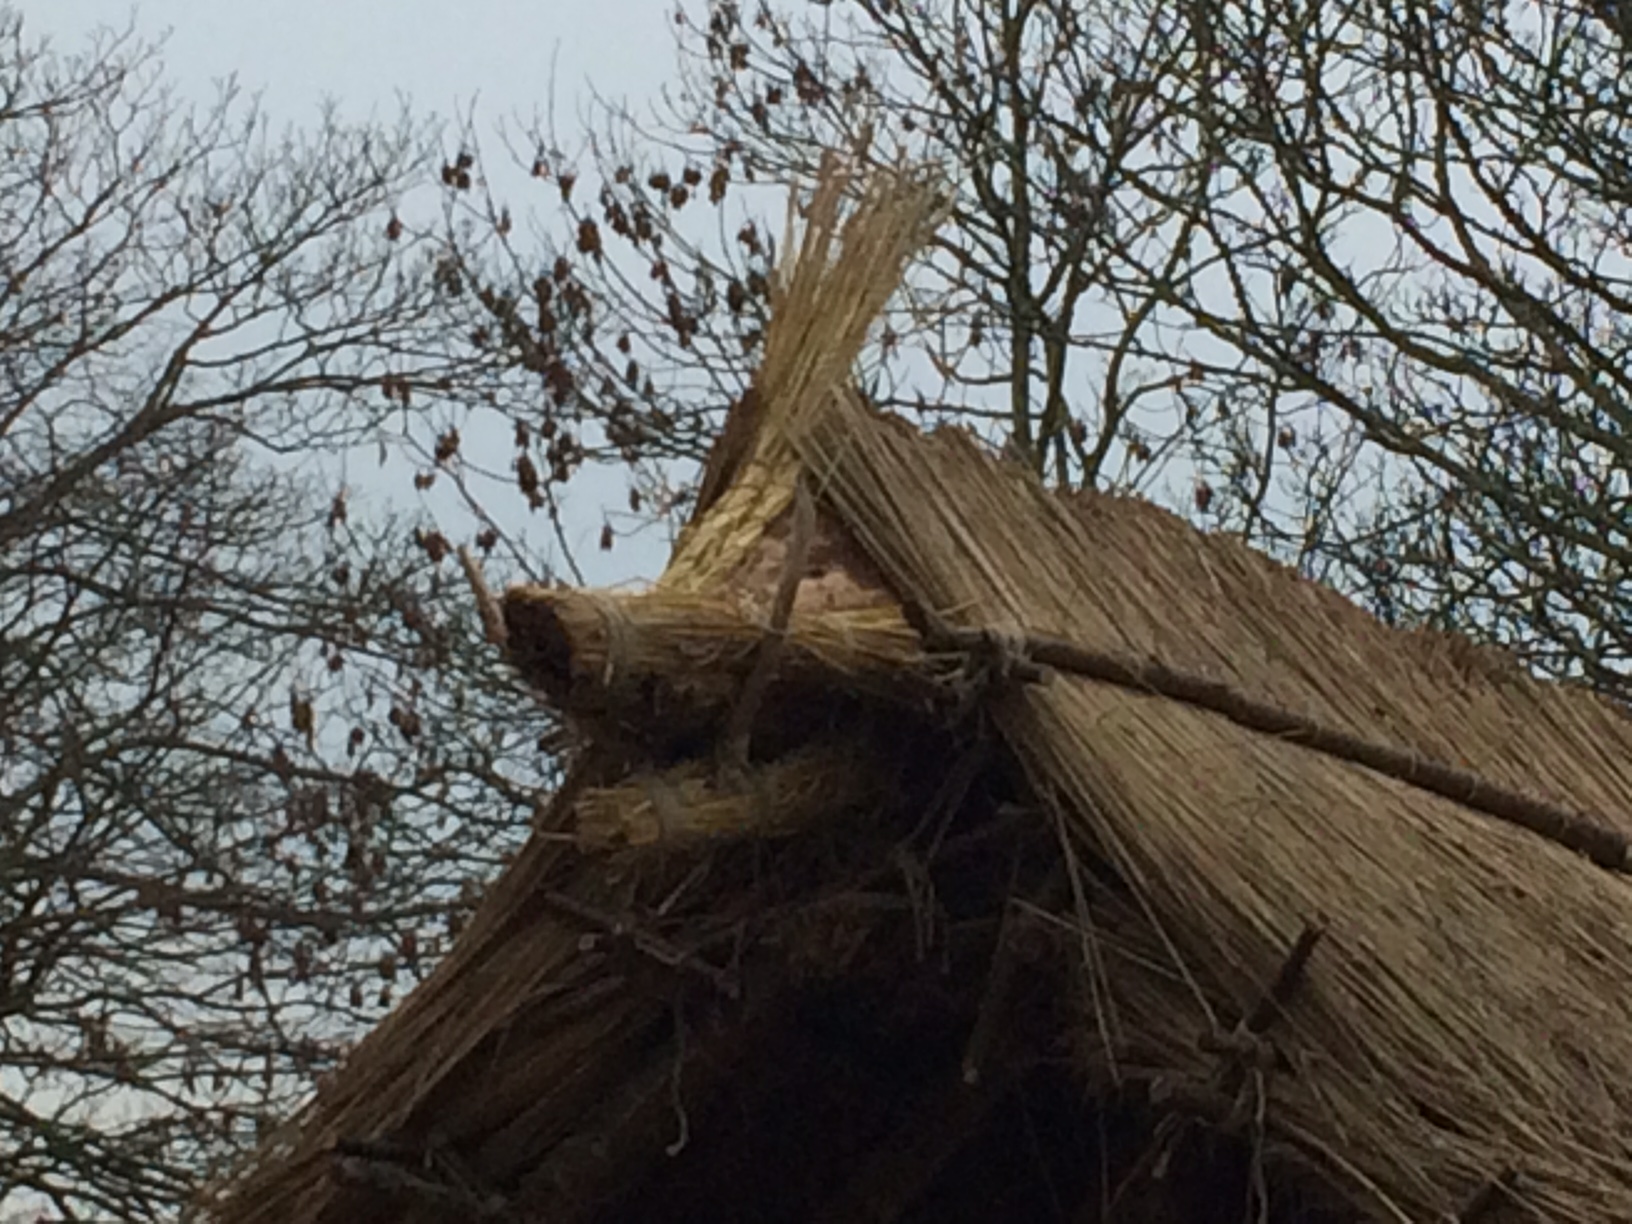
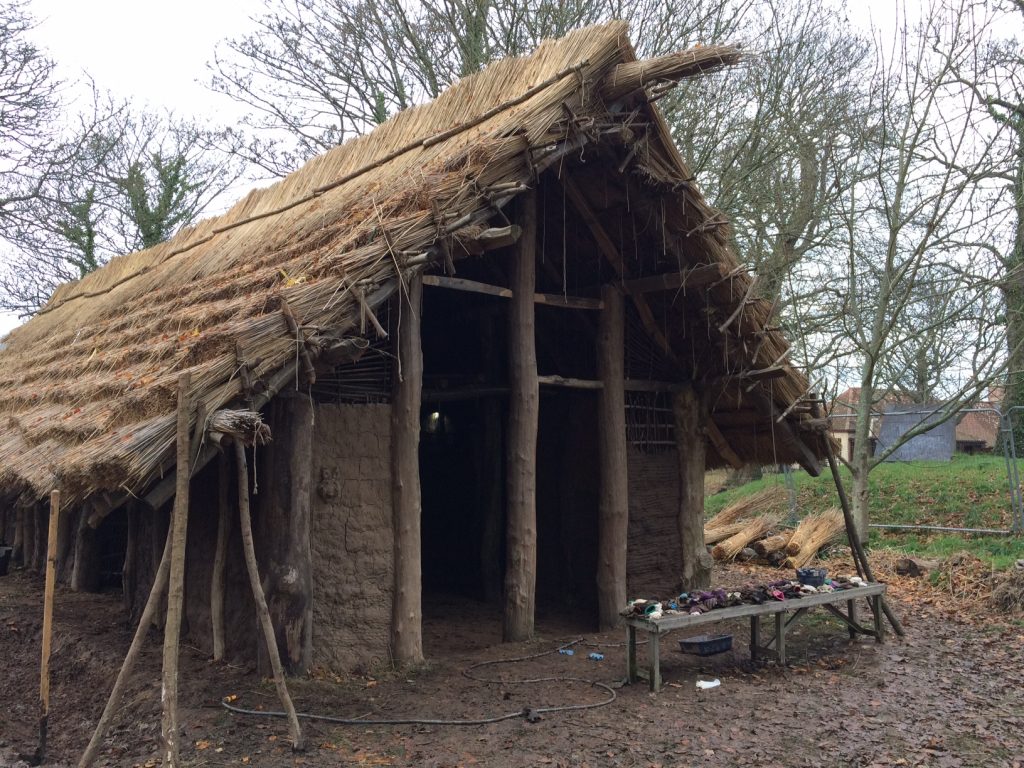
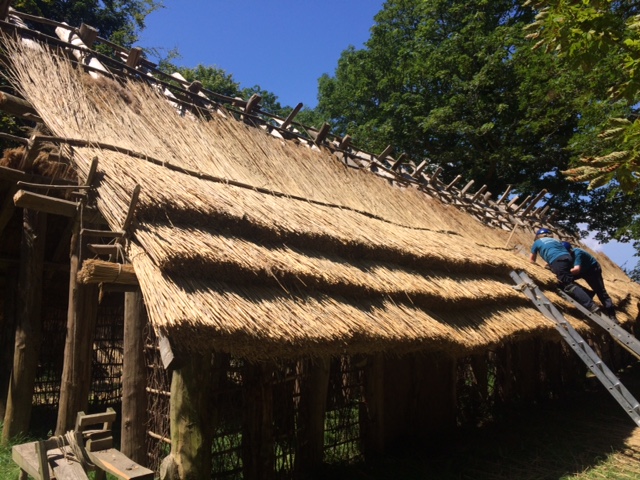
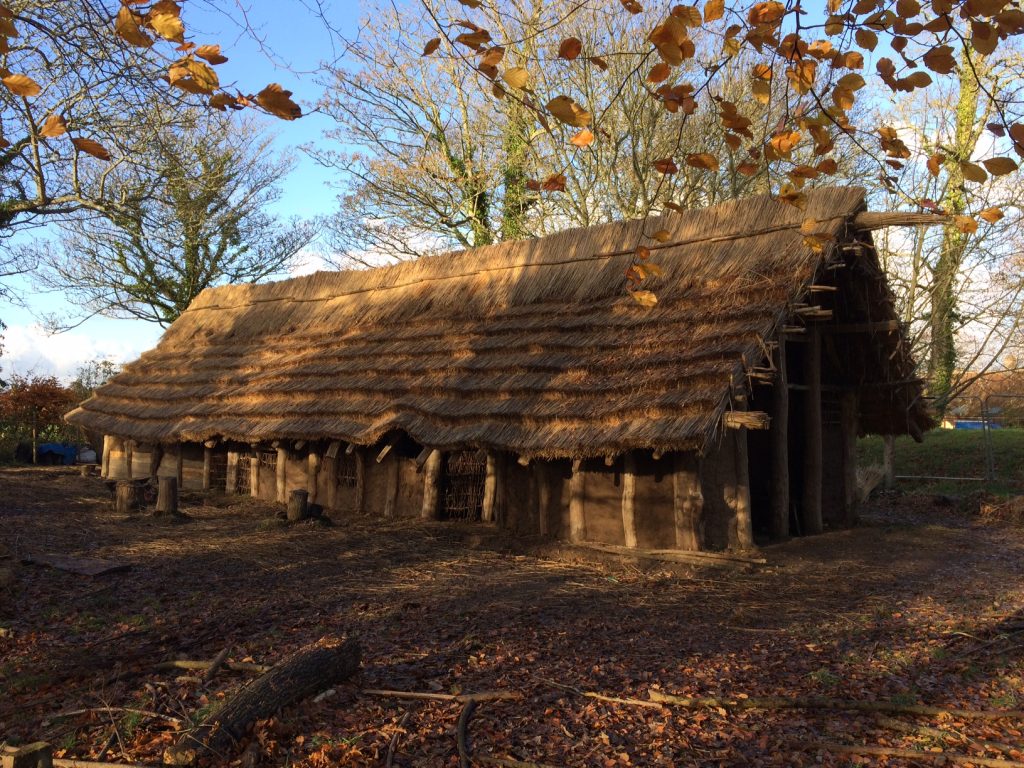
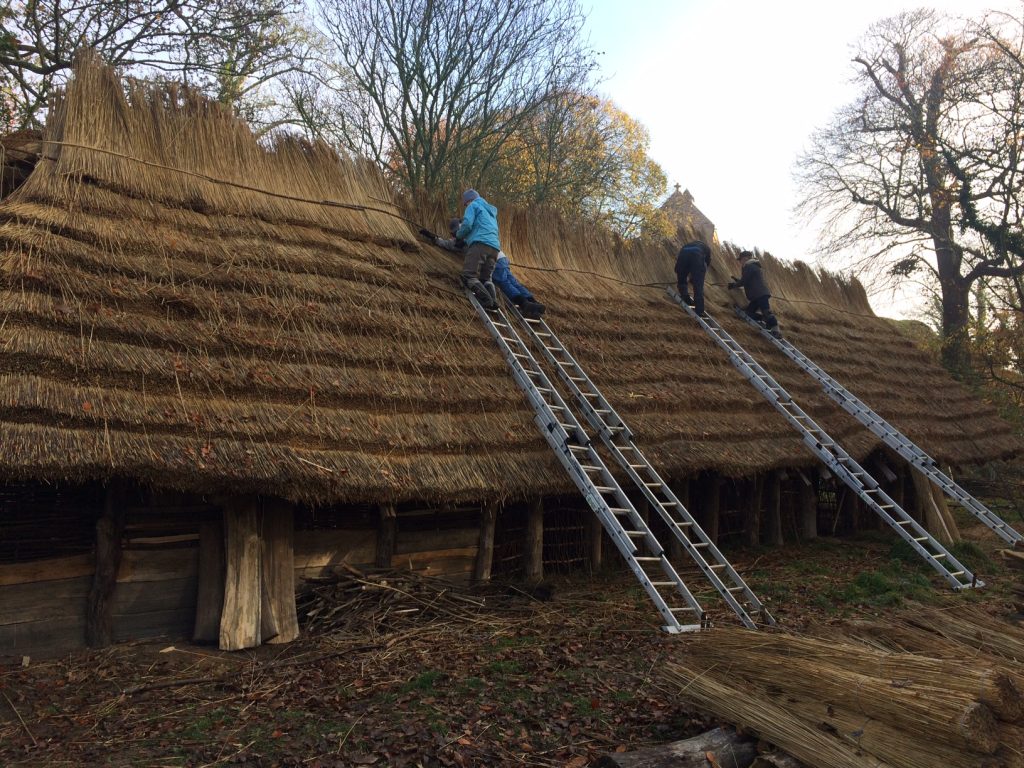
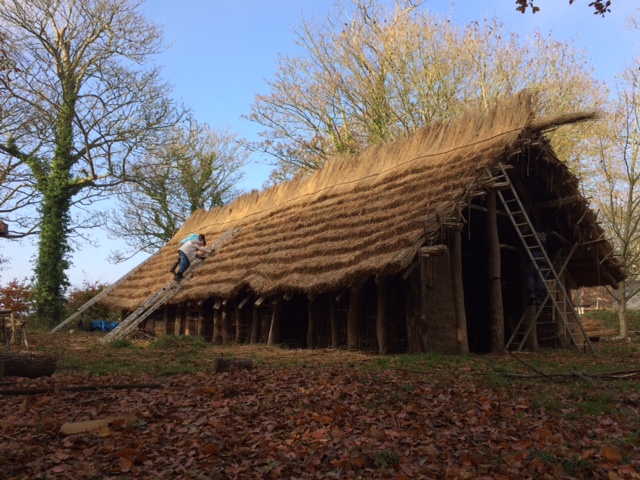
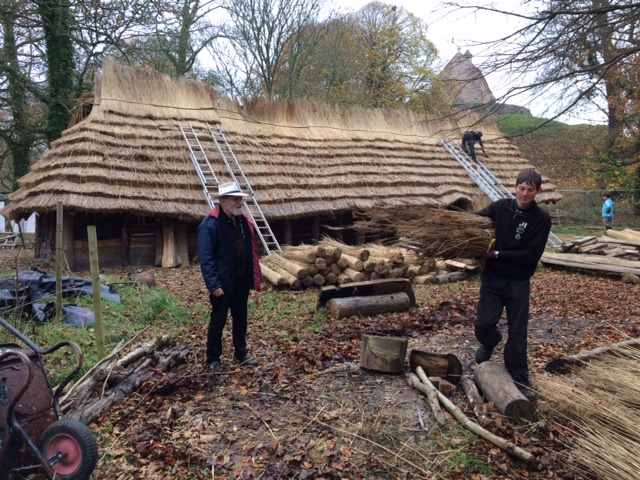
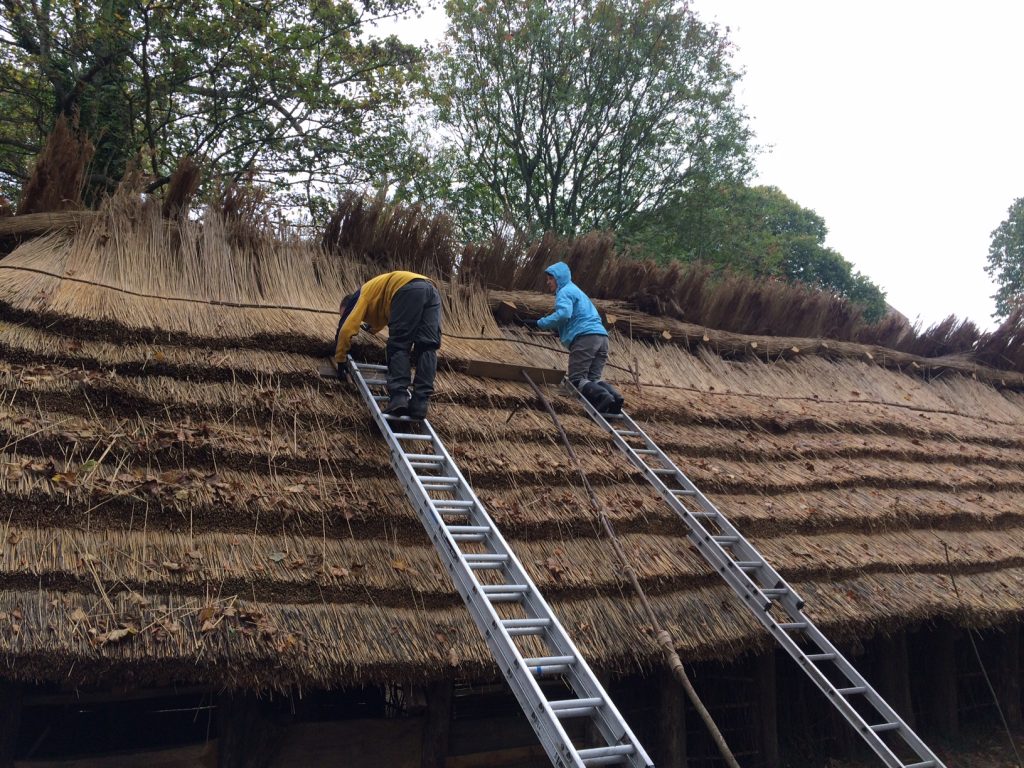
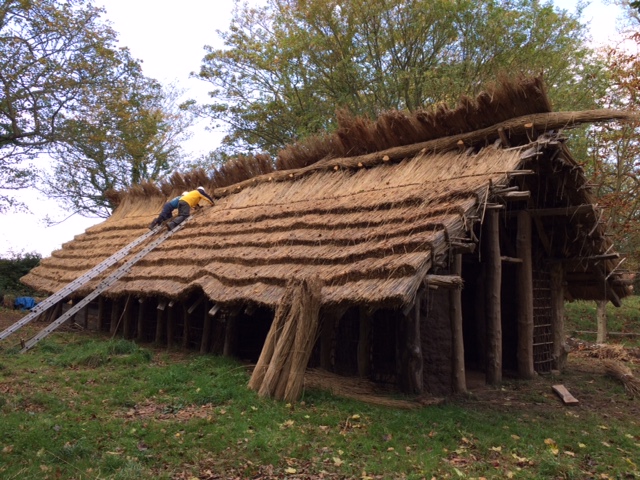
Work begins amid the leaf fall of autumn! The roof is looking a little shaggy at the moment as the short reed from each bundle are blown and weathered out of the roof. This is a natural part of the thatching process if reed is not thoroughly processes when harvested. Traditionally, harvested reed was shaken to remove short lengths and other plants. Modern mechanised harvesting processes cut and bundle the reed without great care. The shaggy appearance at this stage is NOT indicative of a poorly thatched roof though. Only the reed that is too short to be gripped by its sway will make its way out of the roof and so won’t affect the overall tightness of the ties.

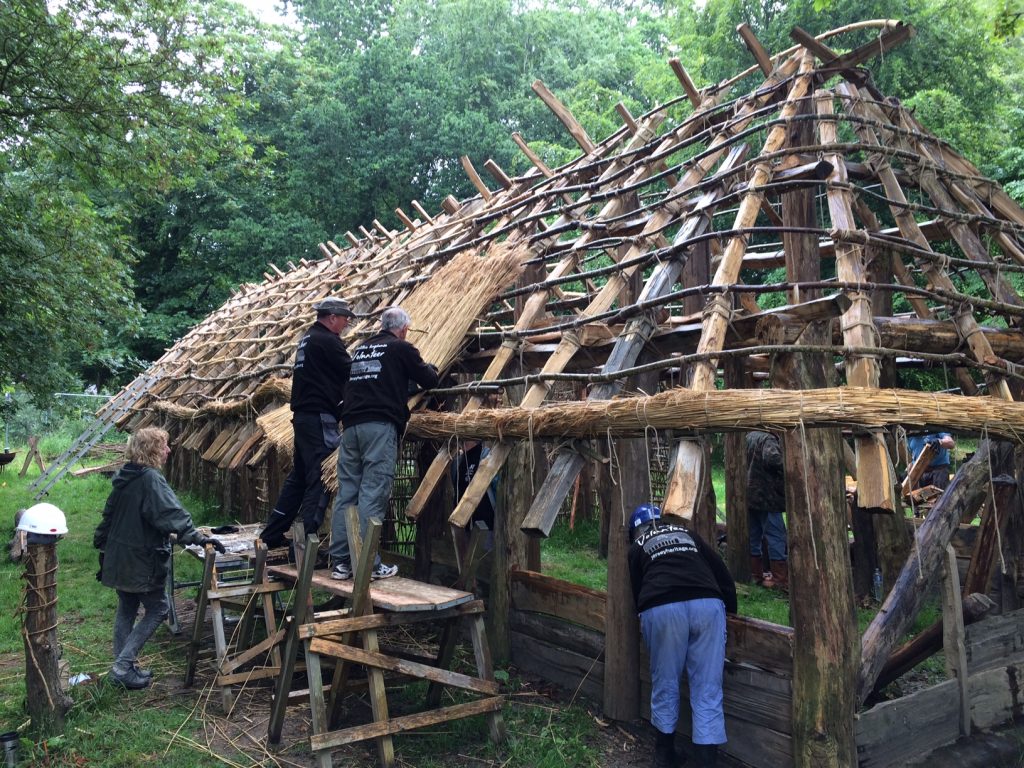
Today, in damp autumnal conditions, we are continuing with layer 7 around the livestock end of the building. This will be the last layer that covers this end of the building, the remaining two will stop short and form a “hood” or “cowl” that gives any potential smoke hole shelter from the weather.

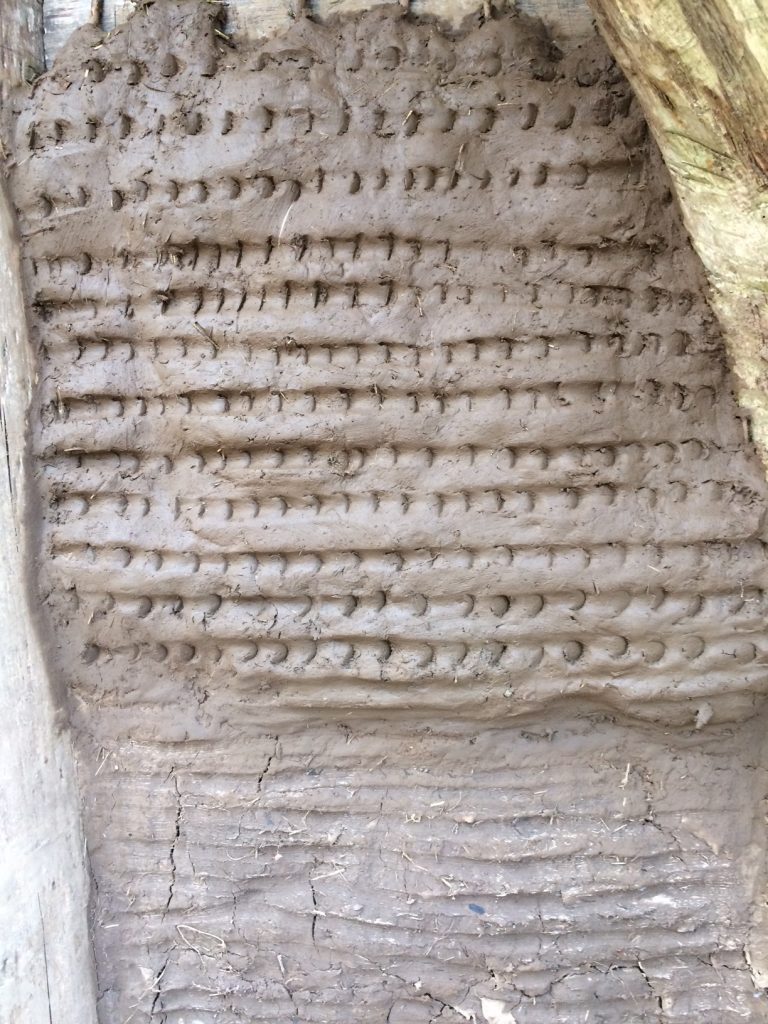
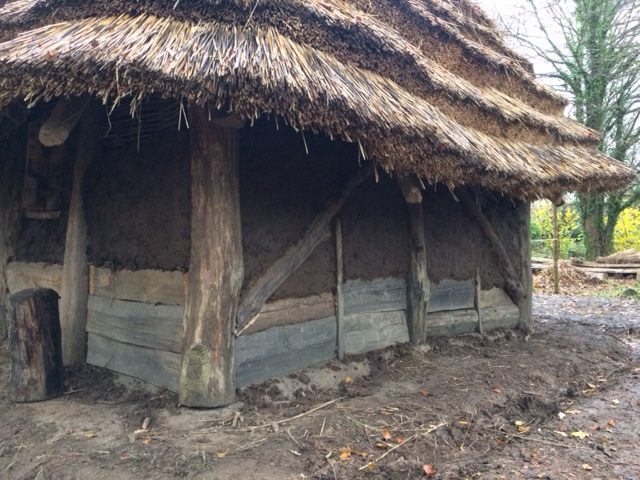
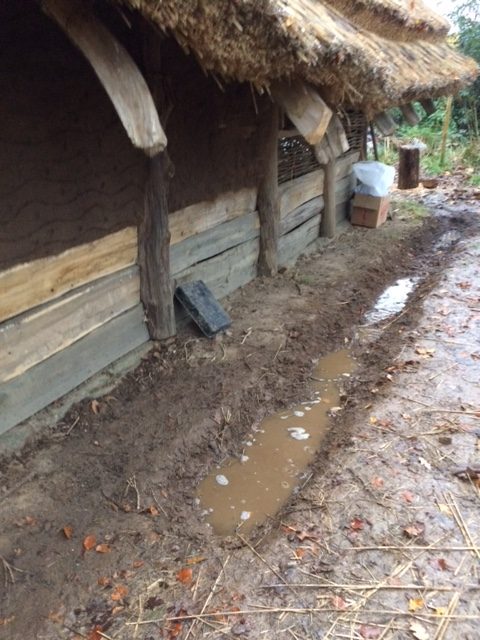
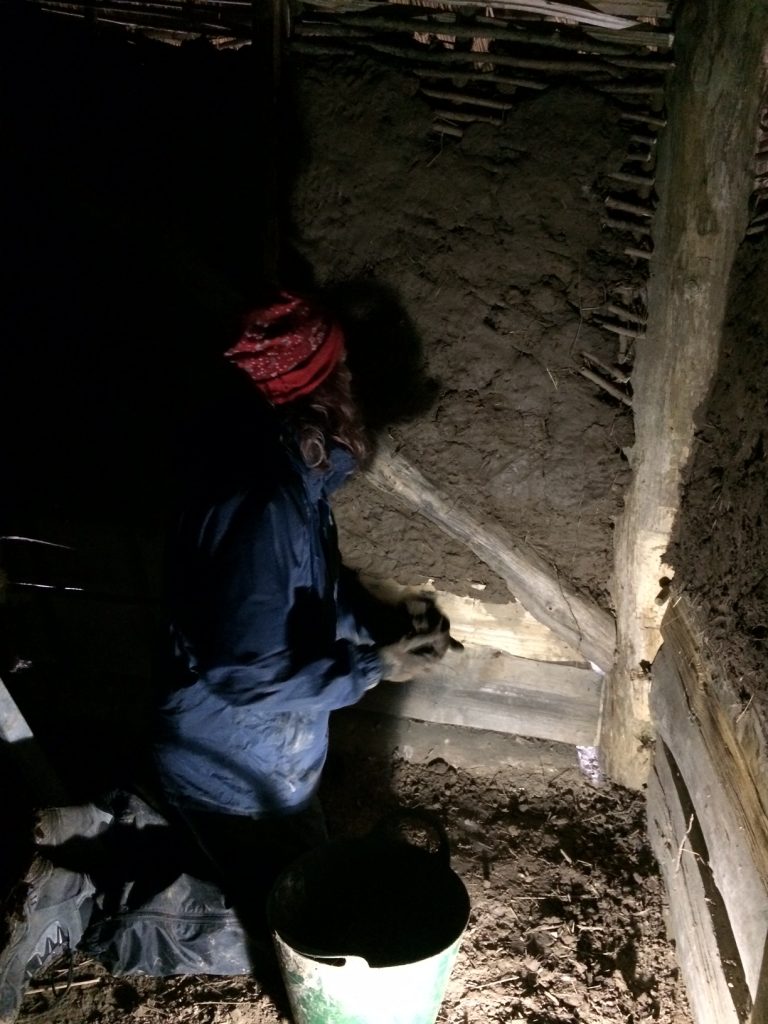
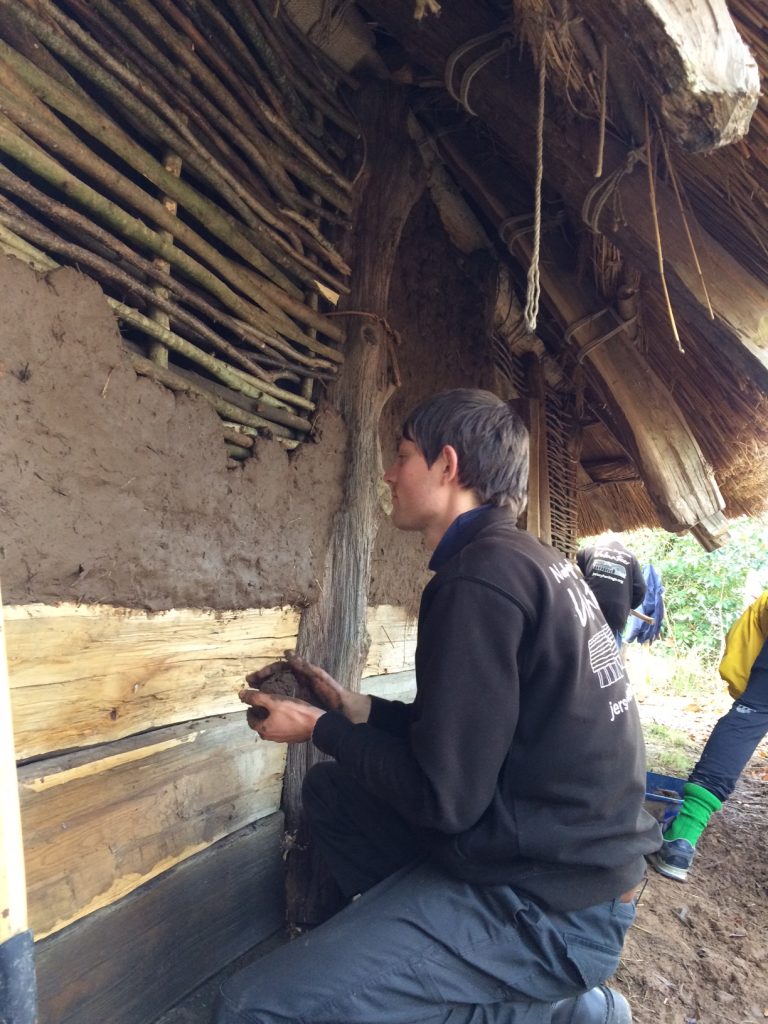
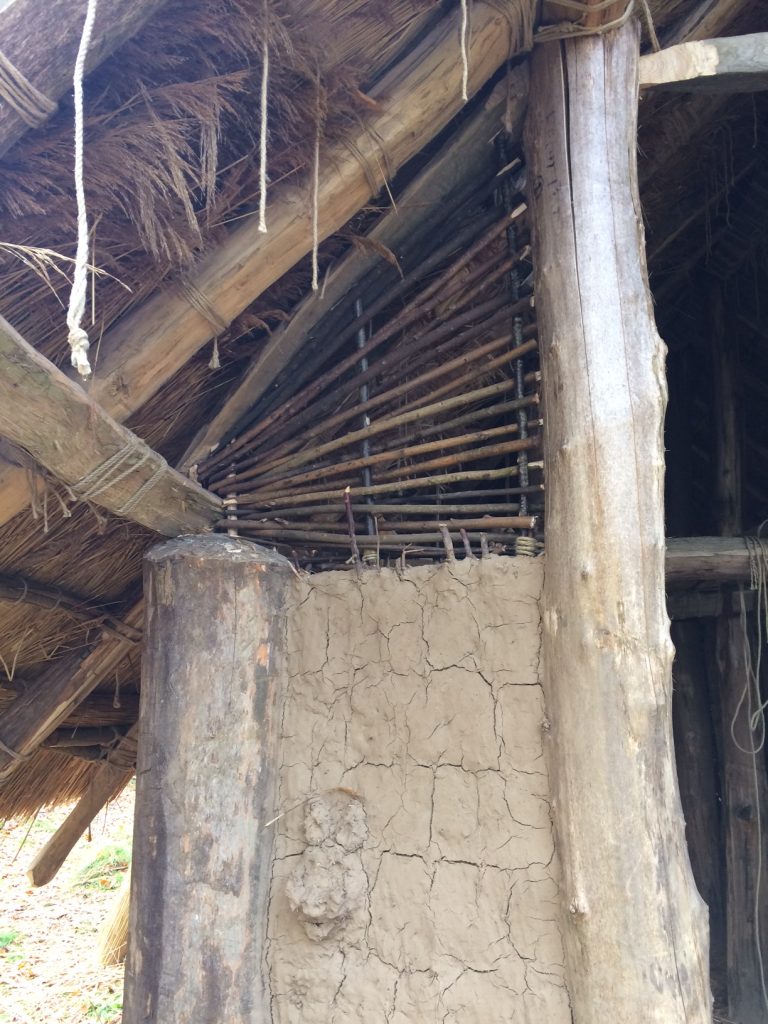
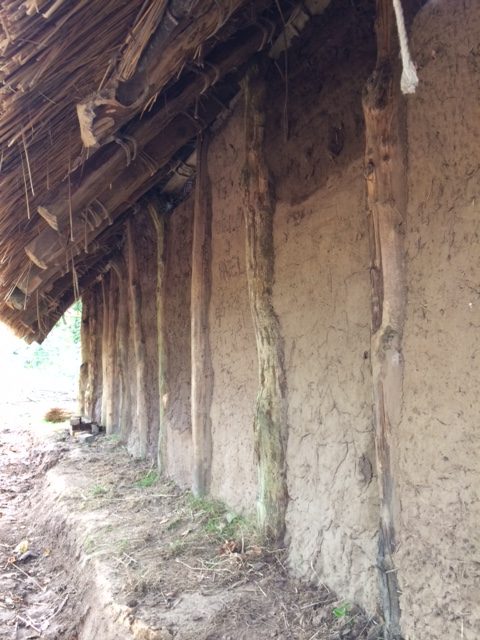
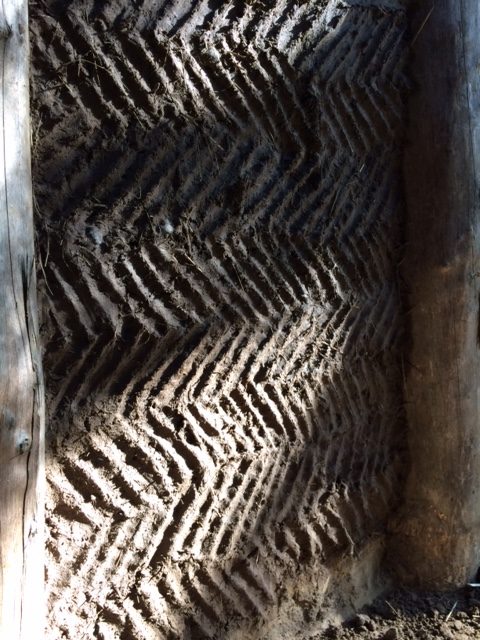
Daubing also continues with the continuation of walls on the northern side.
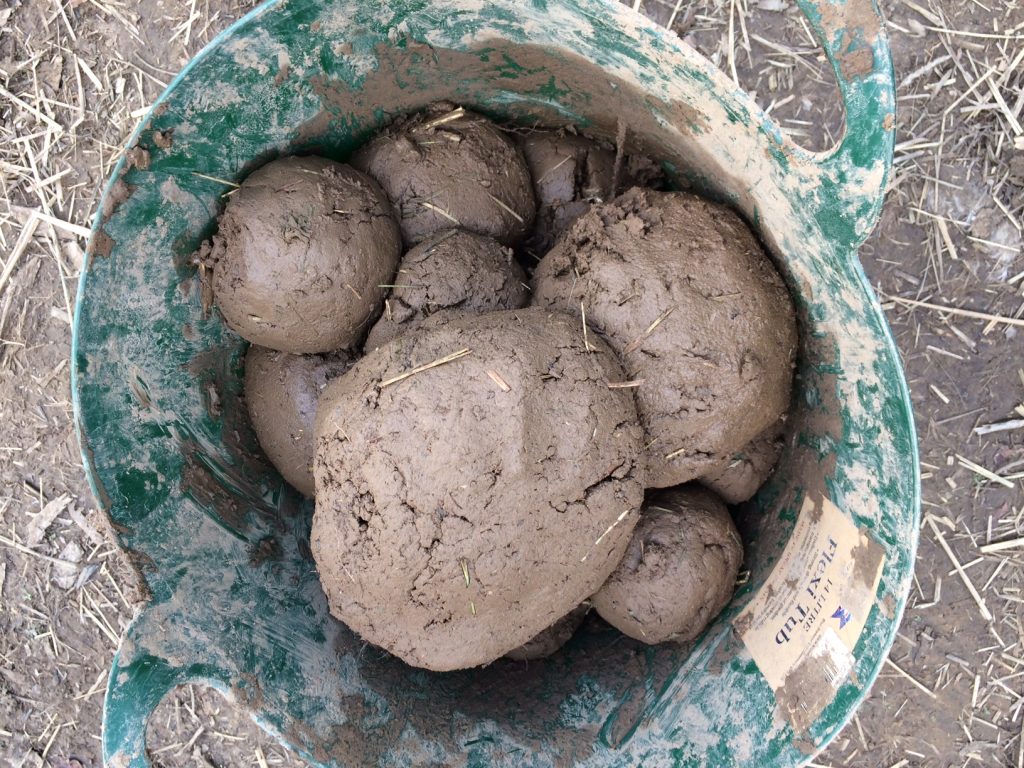
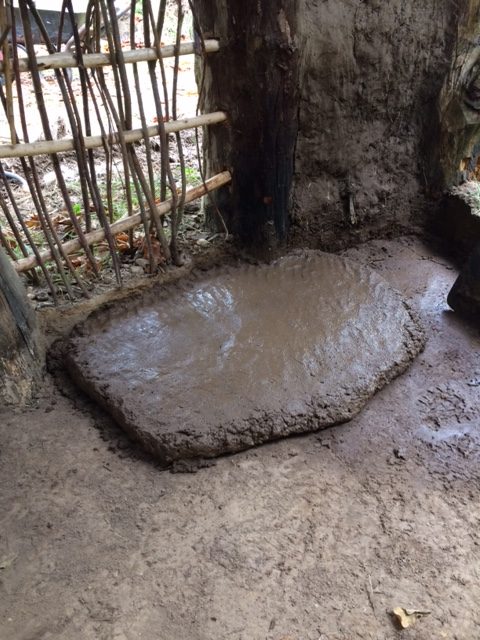
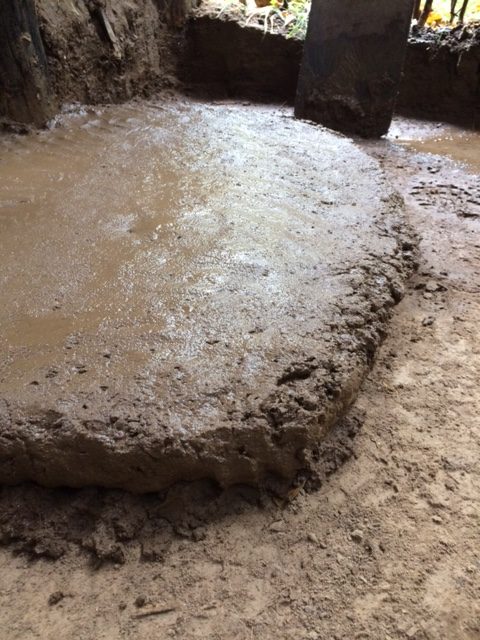
We have conducted a small experiment to see what volume of milk will be required to complete the floor. A 50cm x 50cm x 15cm section of floor was removed by spade and loosened to produce a fine lump-free soil. This was mixed with water in stages until the required consistency was achieved. We found that 8 litres of liquid produced a stiff mix while 10 litres produced a wet mix. To complete the floor (66 square metres) we are looking at around 2500 litres of milk. The test also looked at bonding the floor mix with the levelled soil beneath. An area was chosen and half of it thoroughly wetted, leaving the other half dry. The wet mix was then dumped on the area and levelled by hand to a depth of around 8cm (its natural slump) When this section of floor is “cheese” hard, we will burnish the surface with smooth stones to compress the damp particles and form a hard wearing surface.
By the end of this week we should know more about the best way to approach this kind of floor using the local soil.
Tuesday 16th October 2018
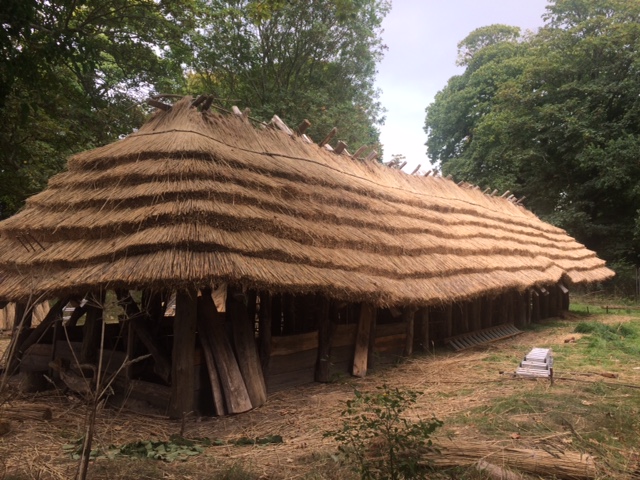
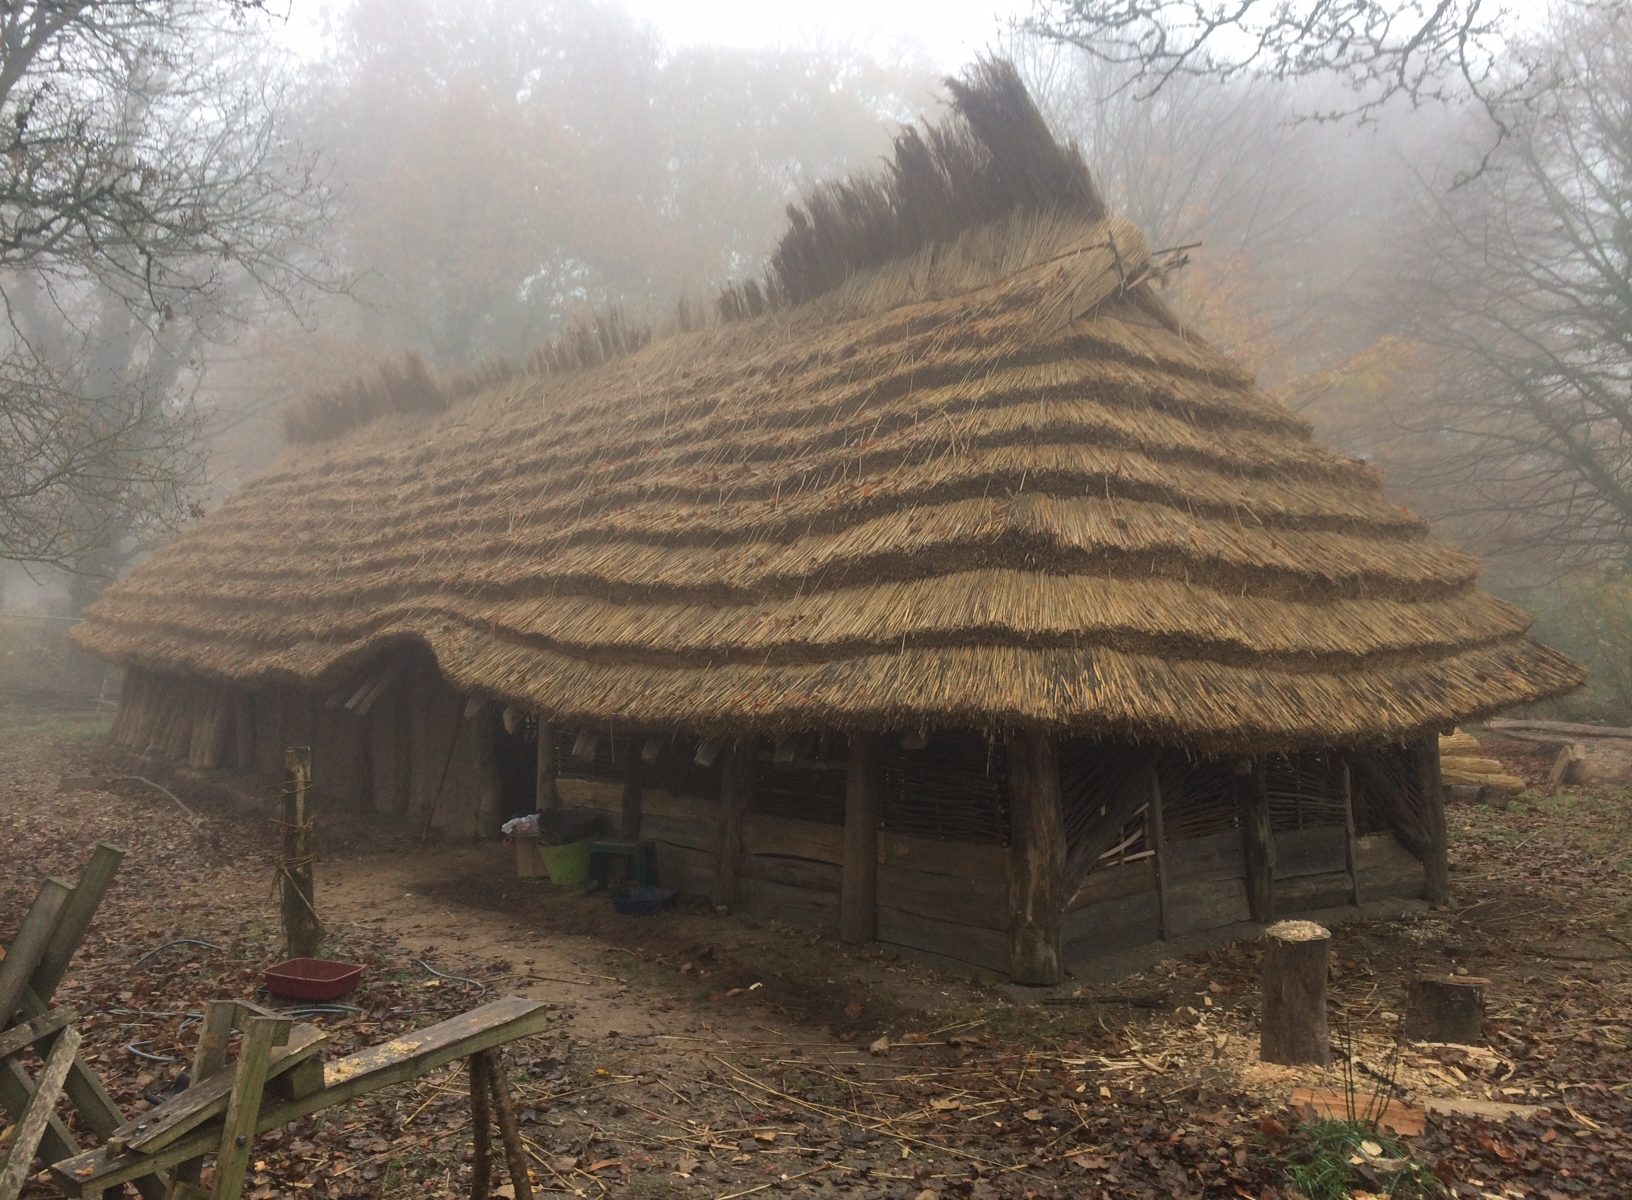
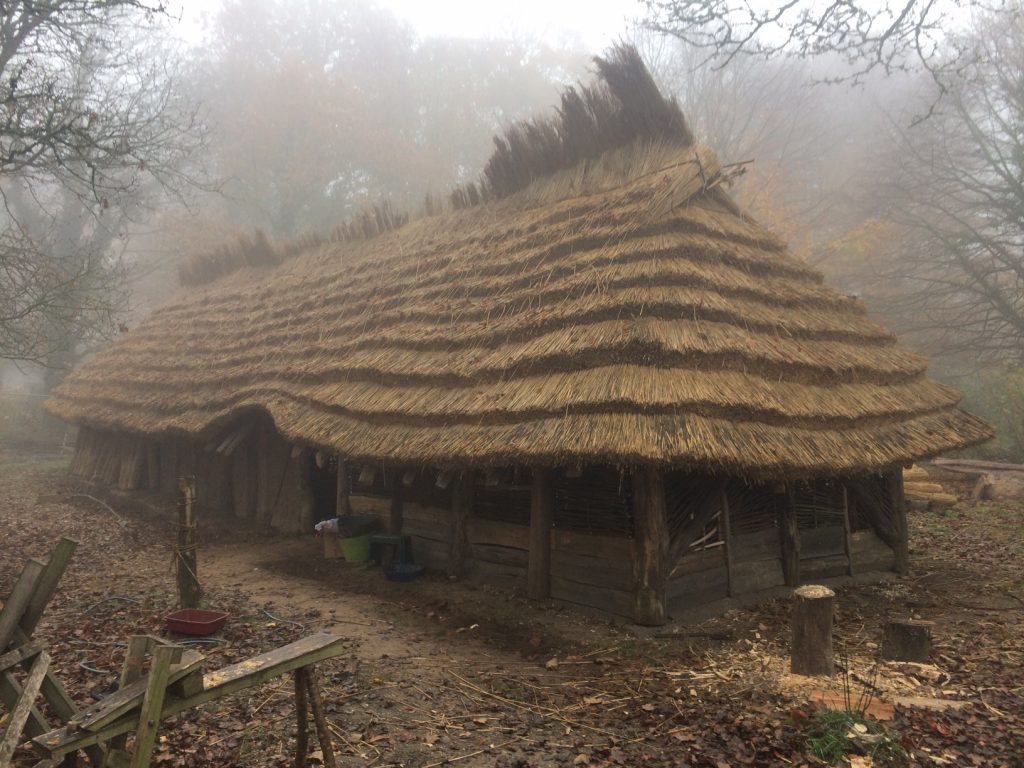
Another damp and misty morning covers the Longhouse.
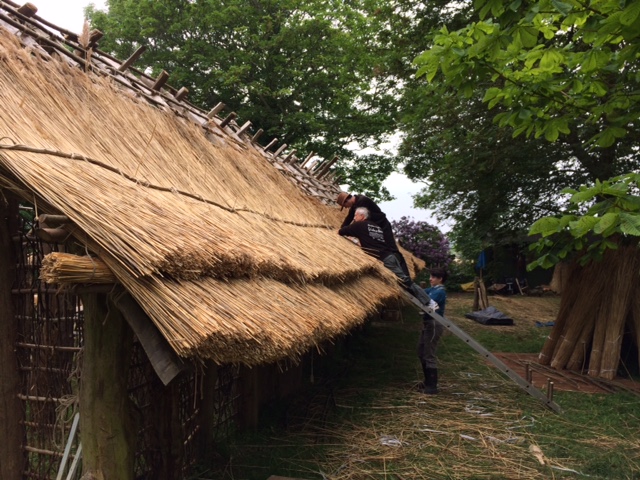
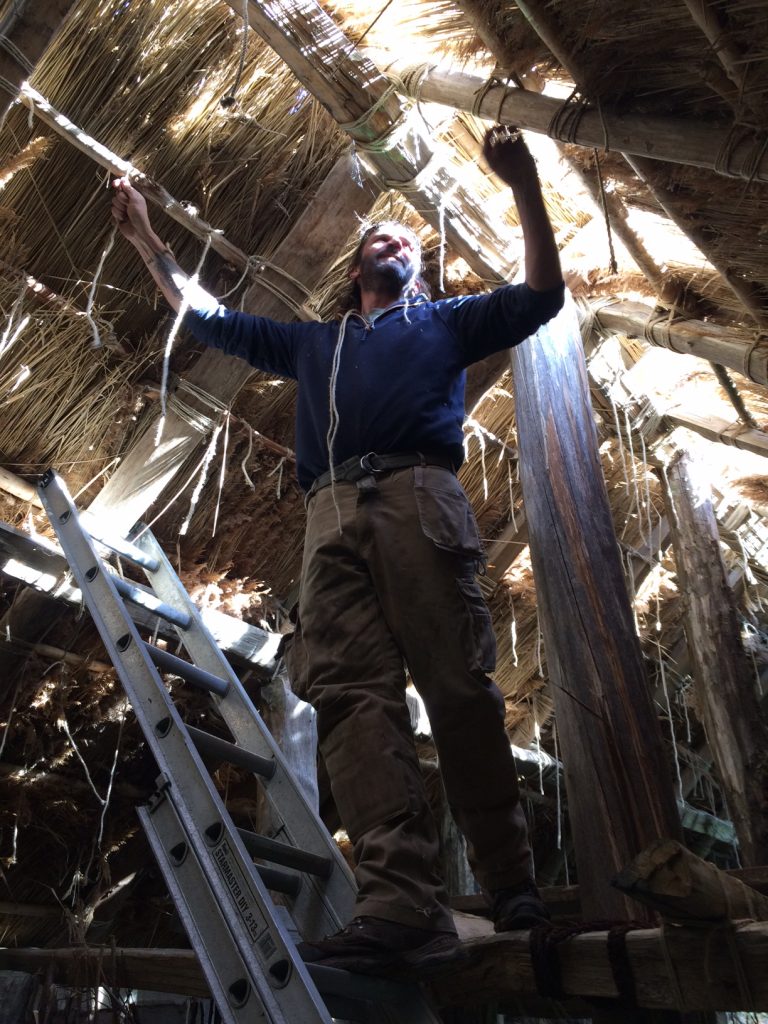
Thatching teams have now finished layer 7 on the north side and are working on layer 8. This will be the first layer to form the hood of a potential smoke hole. Making this reed sweep over the downward curving thatch roll on the ridge will be reasonably tricky, but if we can pull it off it should look great!
Daubing is pressing on today. Remaining panels on the north wall are being filled to produce a solid barrier against the weather. Many months ago, our ideas included leaving gaps at the top of each woven panel to act as openings. The idea was to allow “free” light to enter the building rather than to have to burn materials to create light. Our thinking has changed in part. The north wall will now be solid (those gaps are being filled in with extensions to the wattle frameworks) because there will be little reflected light under the eaves on the north side.
Another consideration is the issue of creating too much moving air in the area of the fire place. Our thinking now is that the north wall is closest to the fire (it is off set towards the north in the original evidence of some buildings) and that ventilation should be minimal to encourage the smoke to rise with the heat of the fire and push through the thatch between the purlin and the ridge beams. Once again, this project illustrates the strength of not having a rigid design at the outset and taking advantage and notice of the options that open themselves as construction continues. The downside of course, is the possibility of forever changing things and frustrating the workforce!
Wednesday 17th October 2018
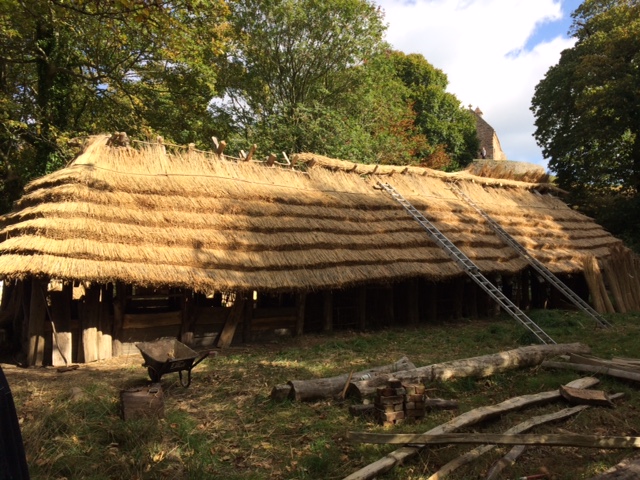
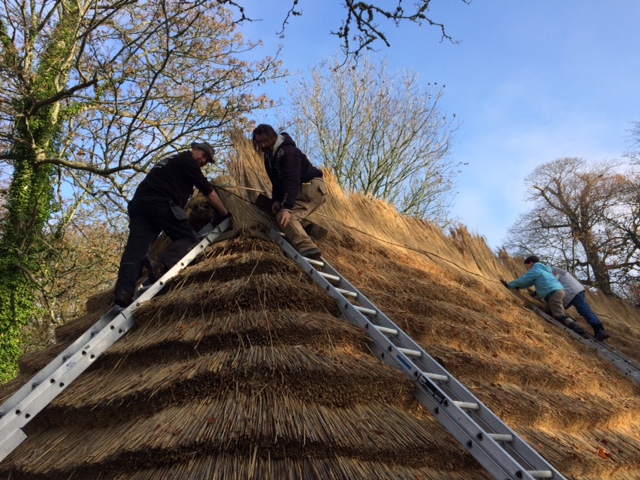
Glorious weather has greeted us today on site. The sun is out and the weather is calm.
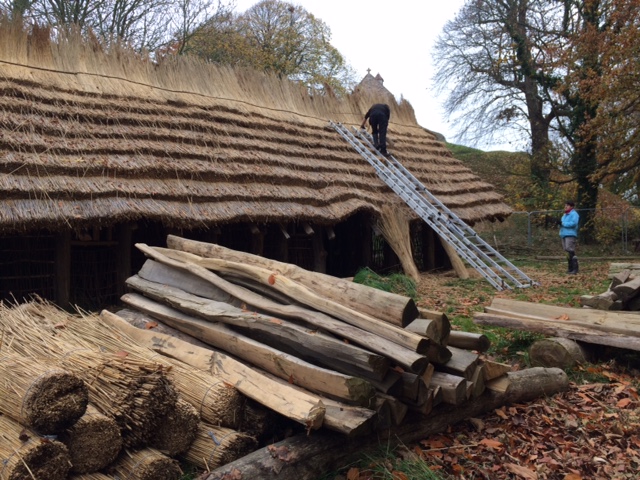
Today, Our willing volunteers are pressing on with thatch layer 9 on the north side of the roof. Our mission is to finish these final layers of thatch this week so we can then move on to the south side next visit.
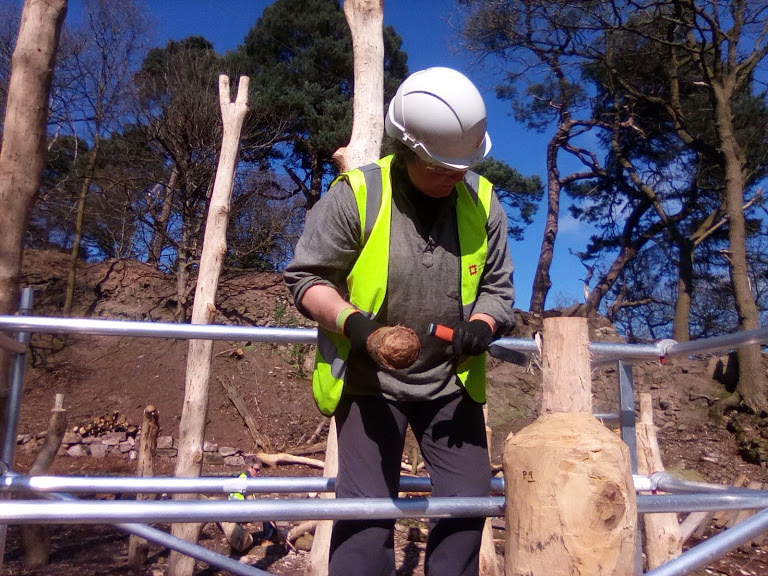
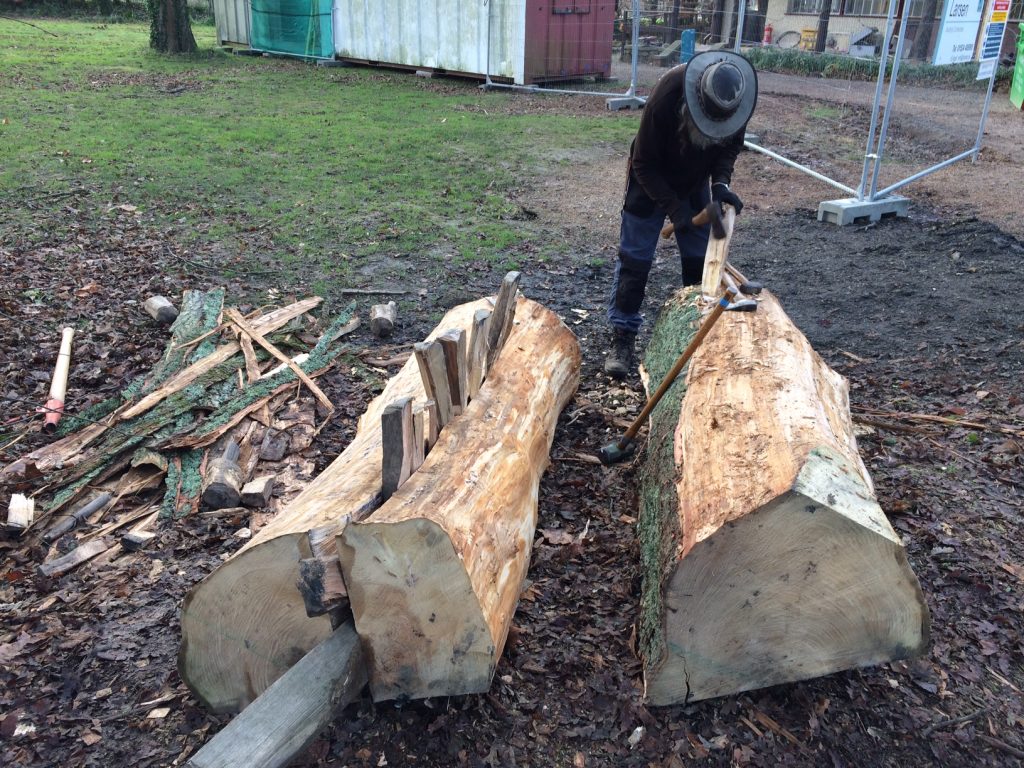
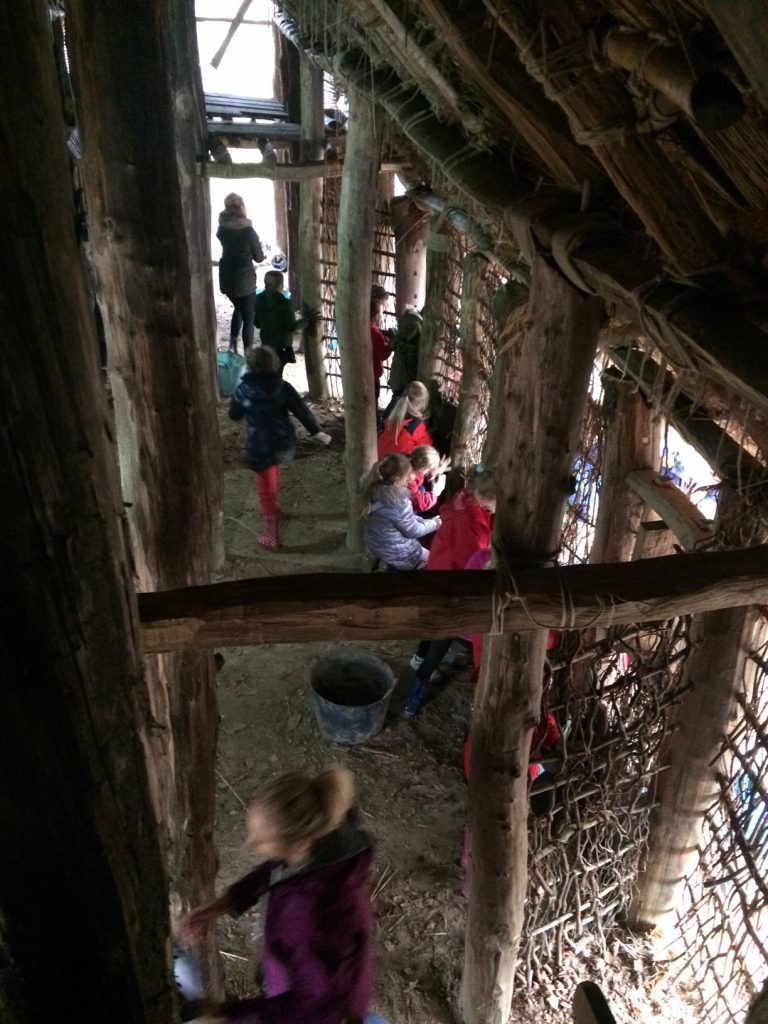
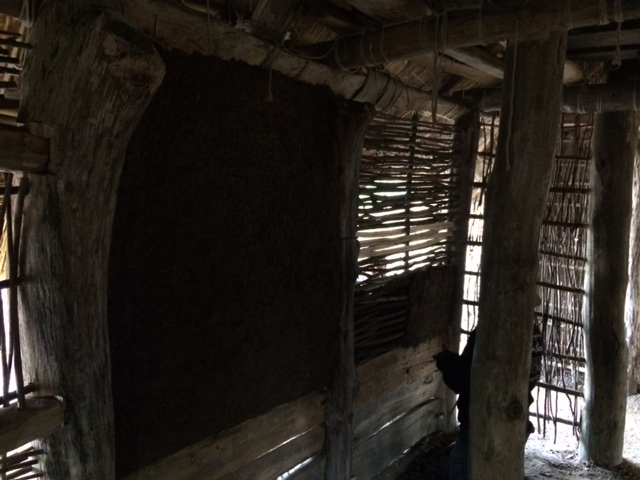
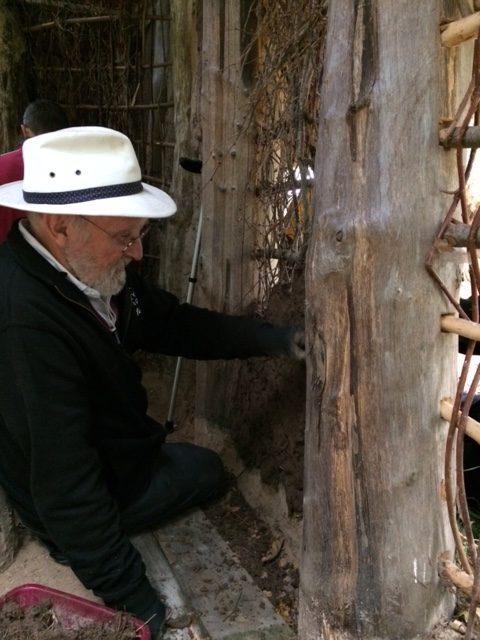
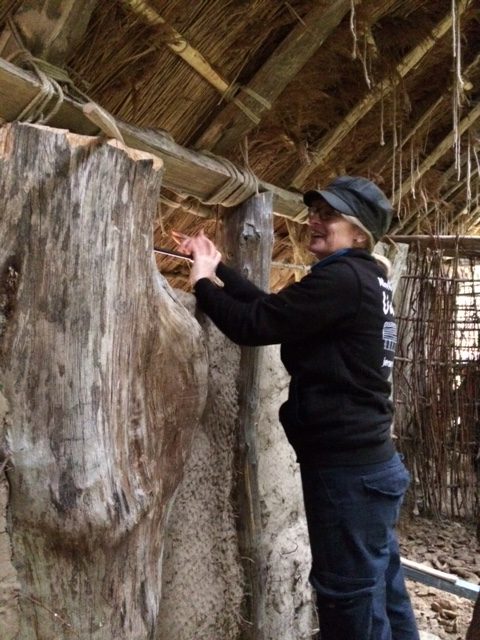
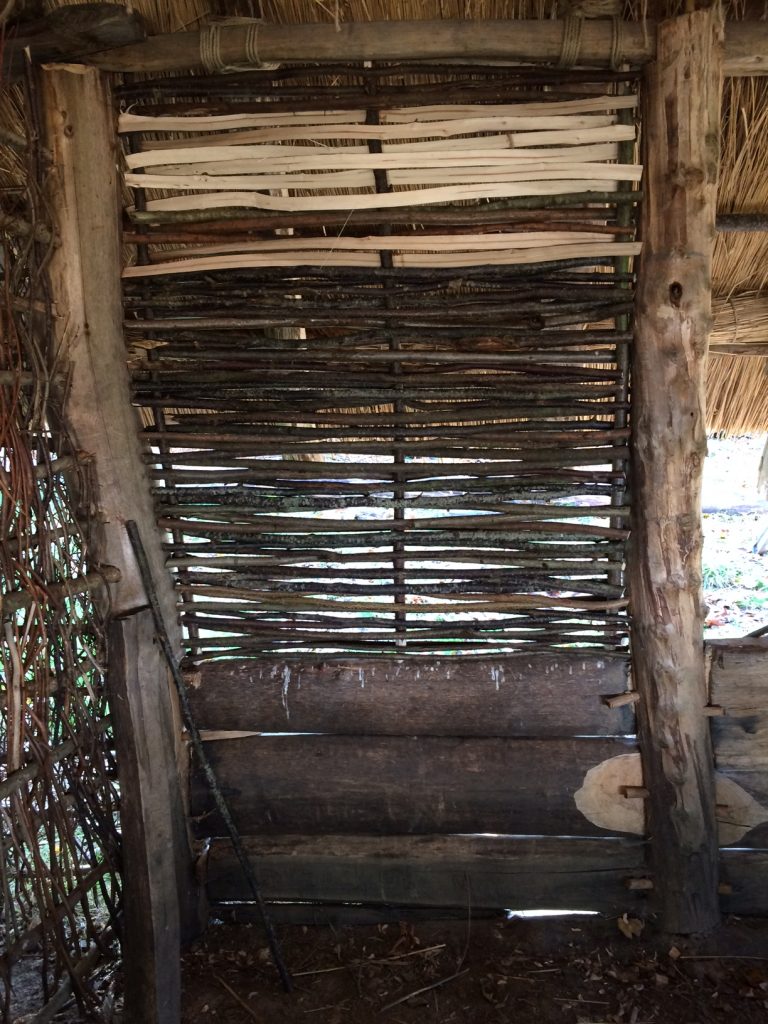
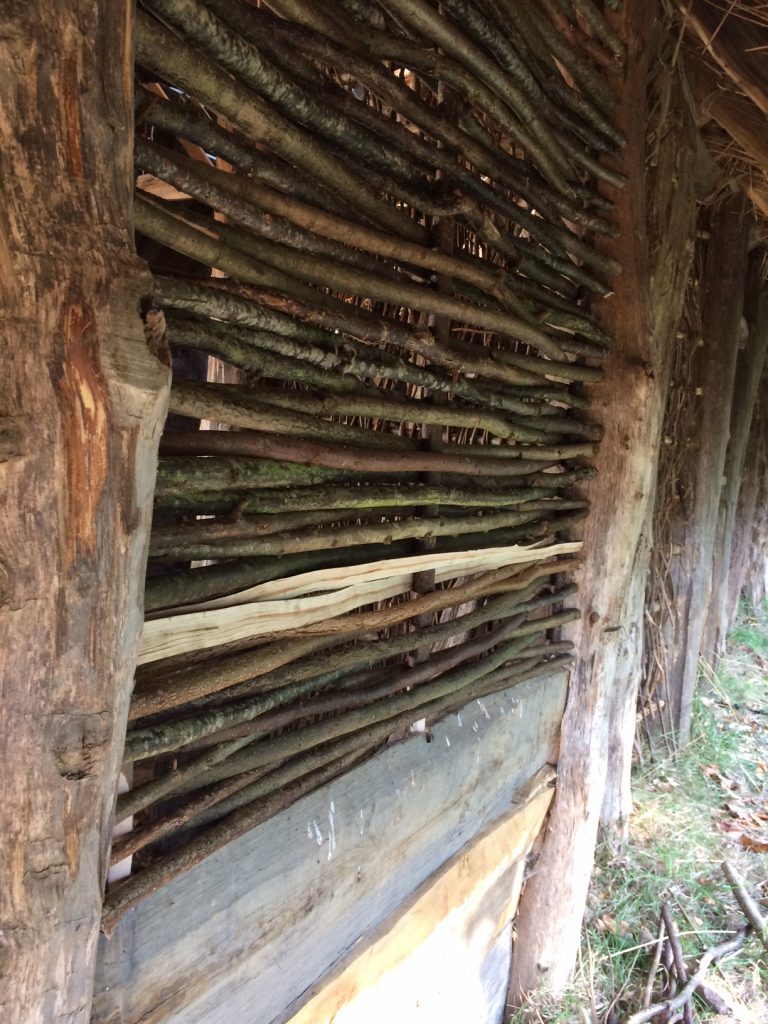
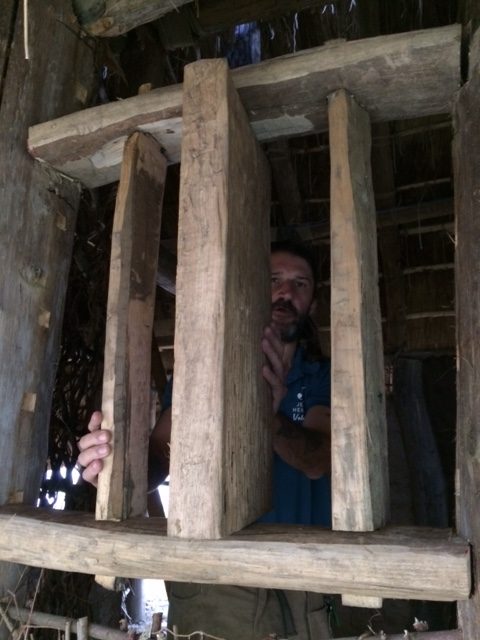
Inside, we are testing the use of wattle to finish the planked walls in the livestock end of the building. The results are reasonably speedy and very sturdy. Three uprights are enough to provide tension in our somewhat “dry” hazel and willow on site. Ideally we would probably harvest fresh materials for this task, but we have so much material left over from last winter it seemed a waste to not try and use it.
Thursday 18th October 2018
This morning we have two thatching teams on the roof. Team 1 (Astra, Iris and Christopher) are working on layer 7 on the south side of the roof, while Team 2 (Danny, Tim and Mike) are working on layer 9 on the north side of the roof.

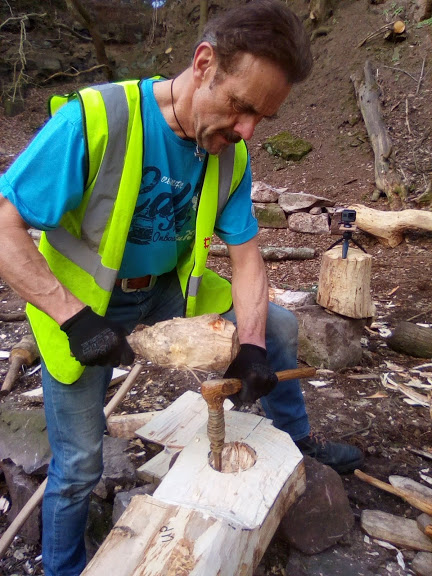
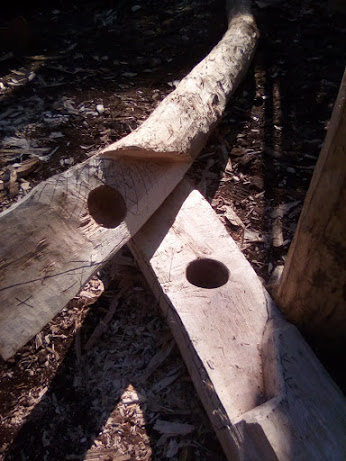
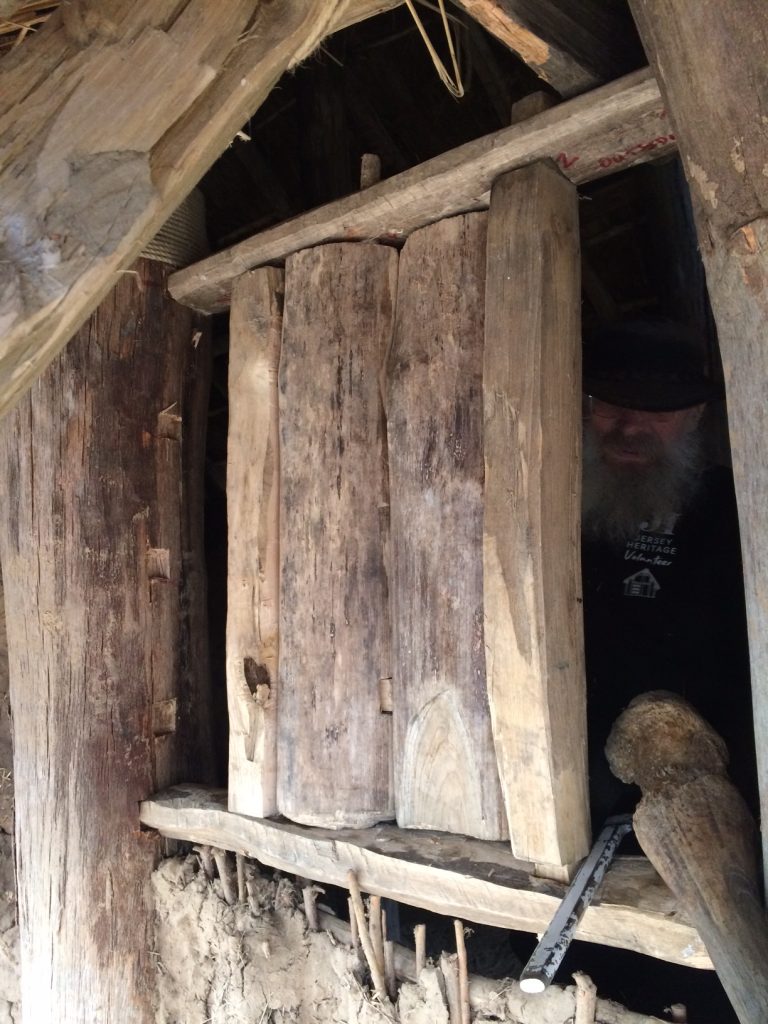
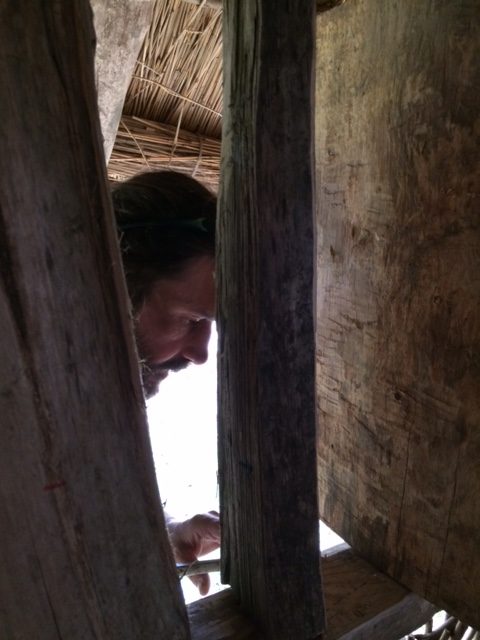
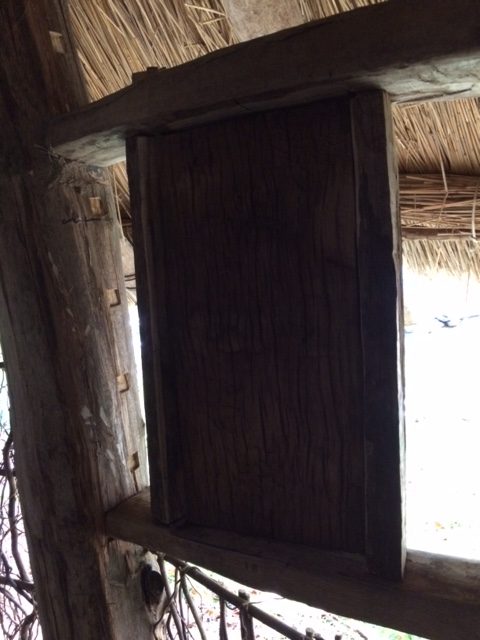
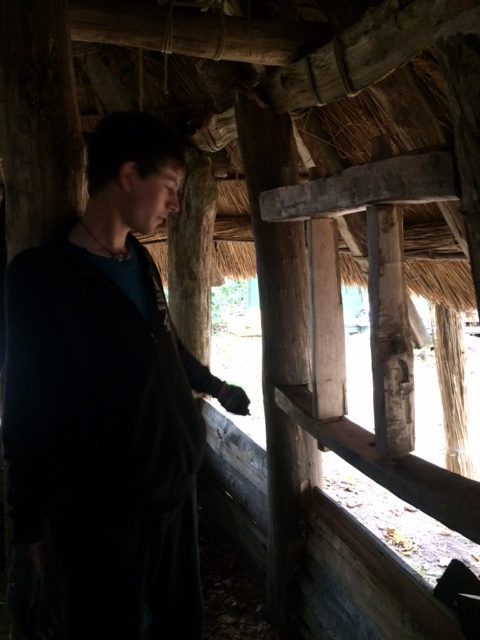
Other jobs continue inside the building including the fitting of Edwards finished Shutter and frame into the livestock end of the building, the construction of wattle panels around Derek’s finished window and the filling of other gaps.

Daubing also continues on the north side of the house to complete the walls.
Friday 18th October 2018
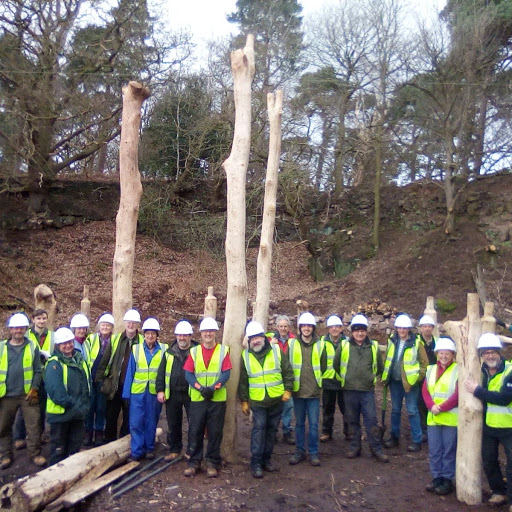
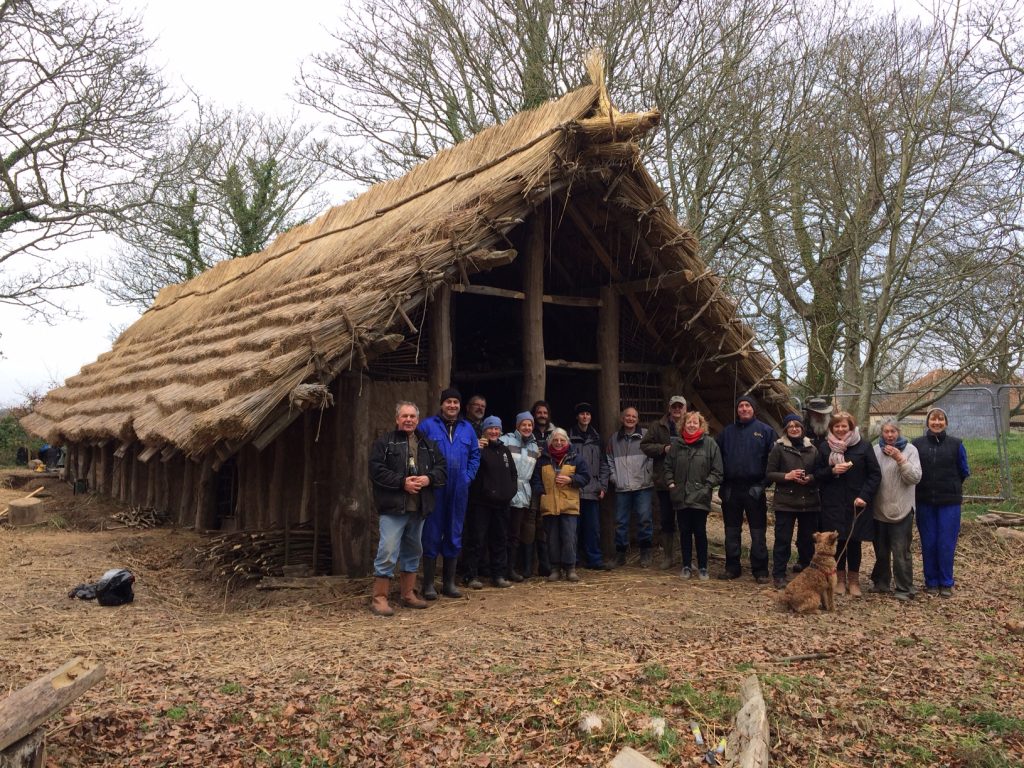
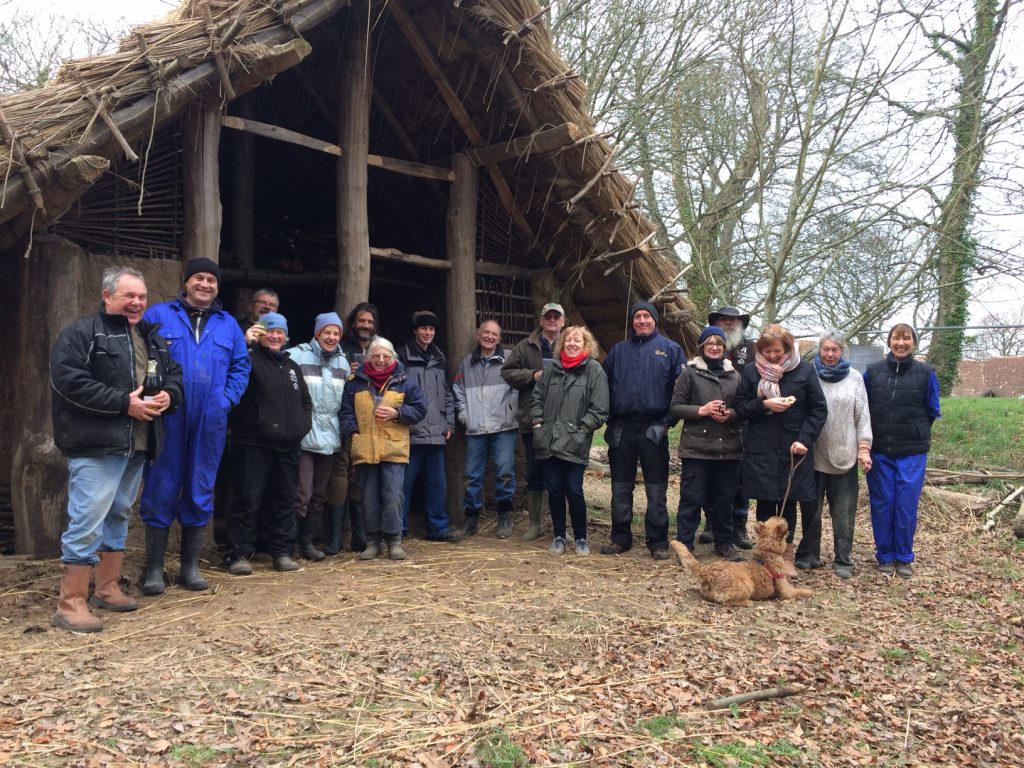
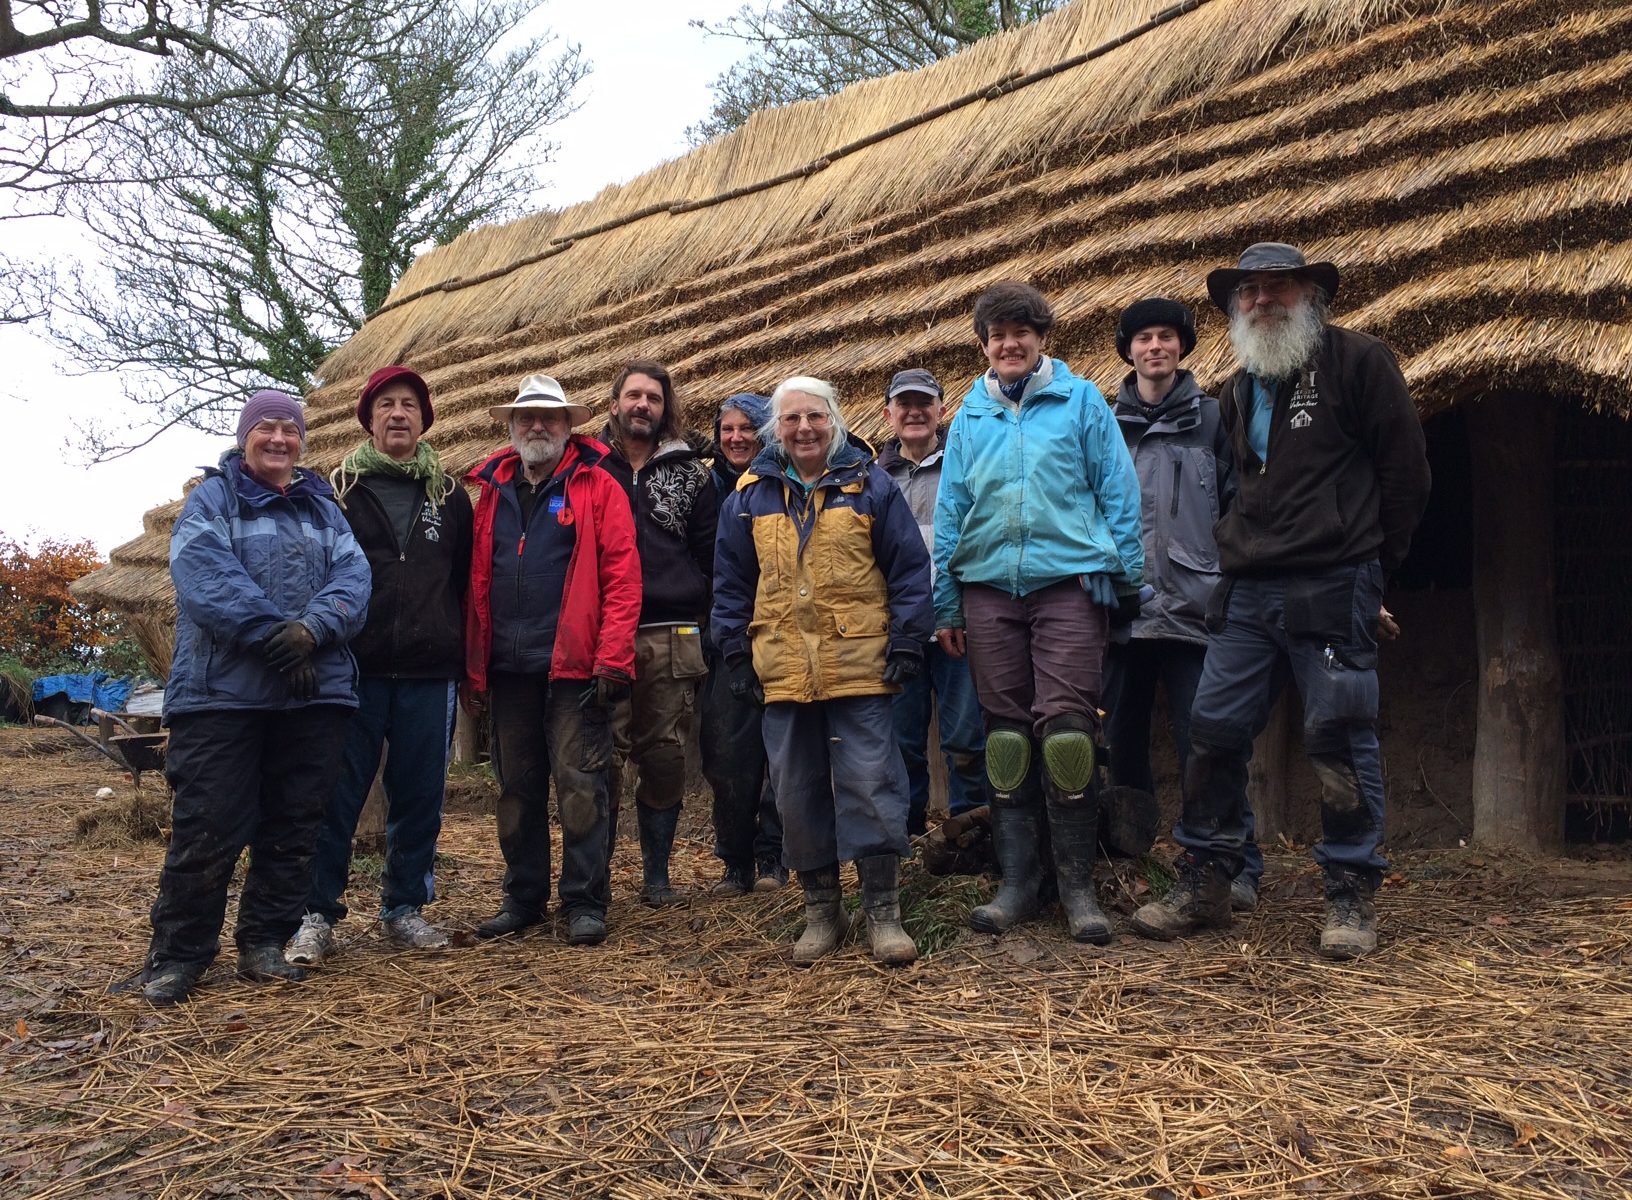
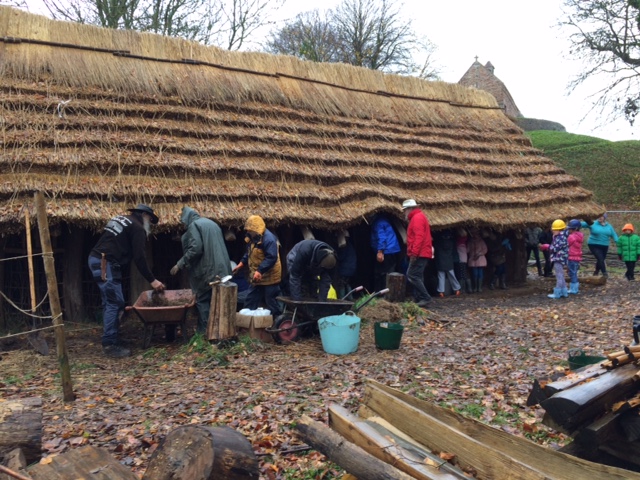
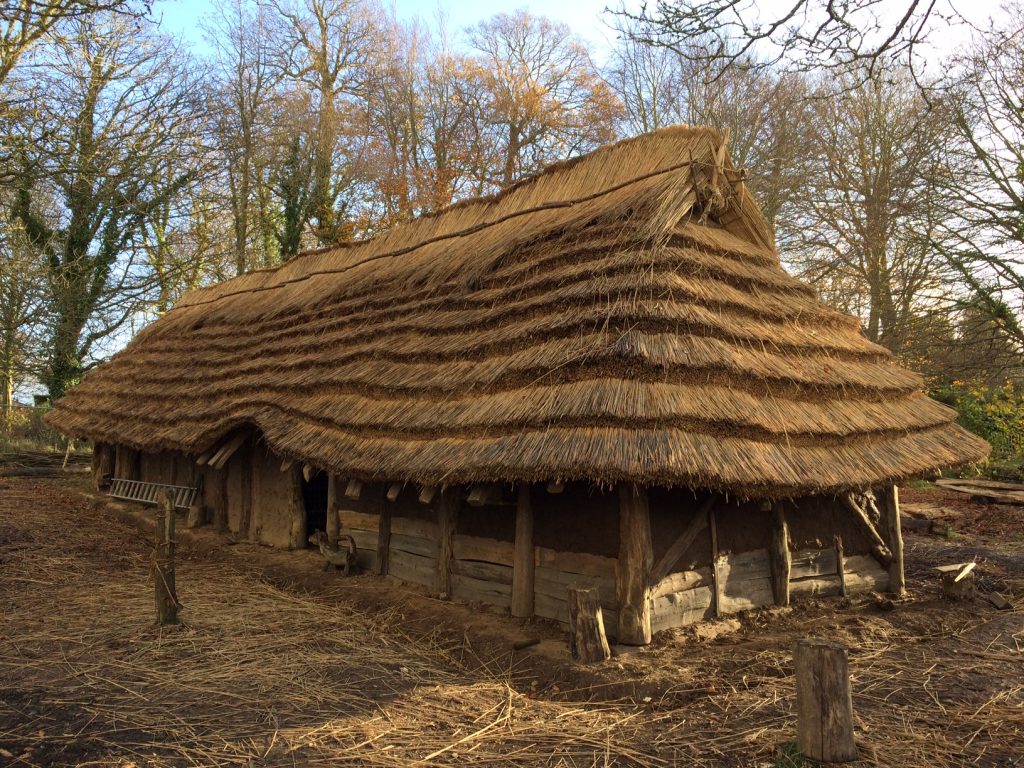
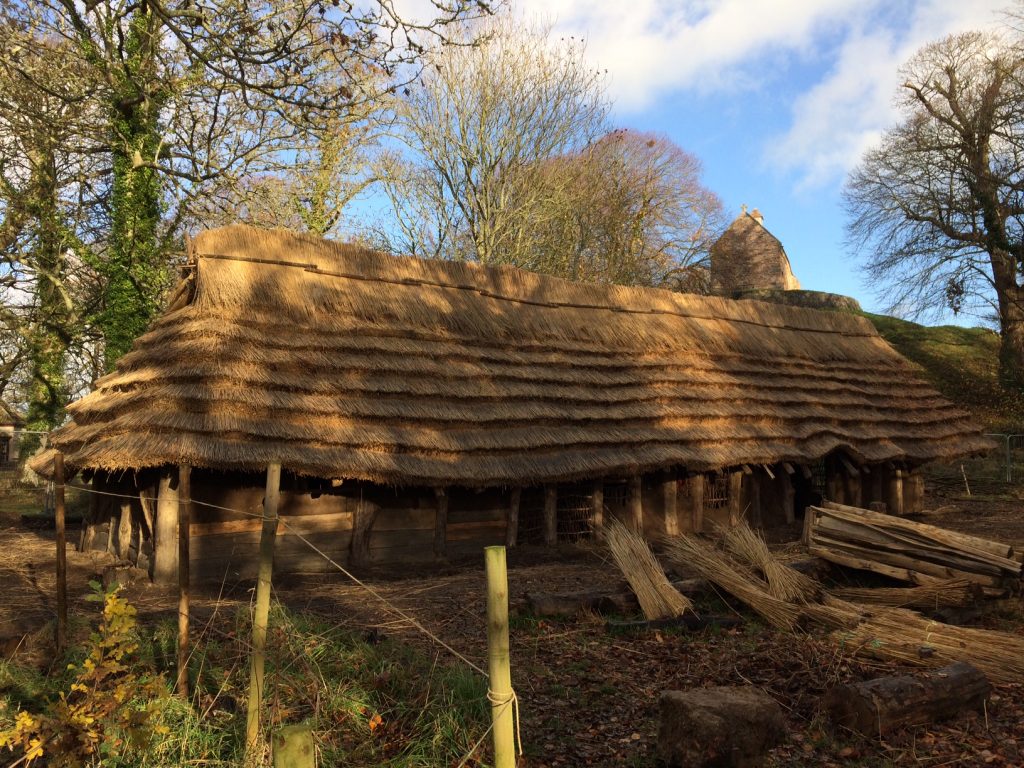
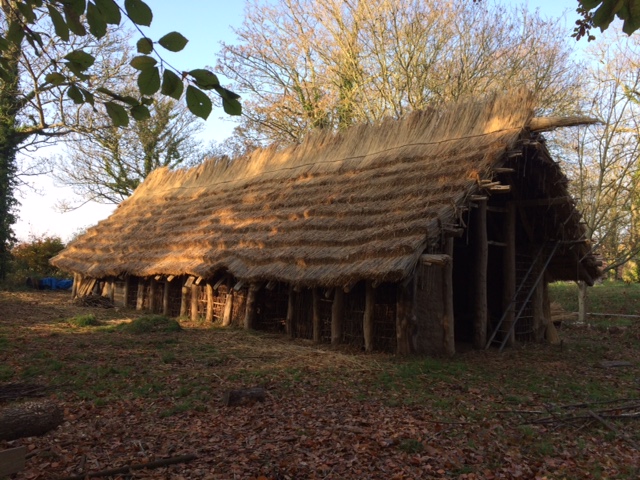
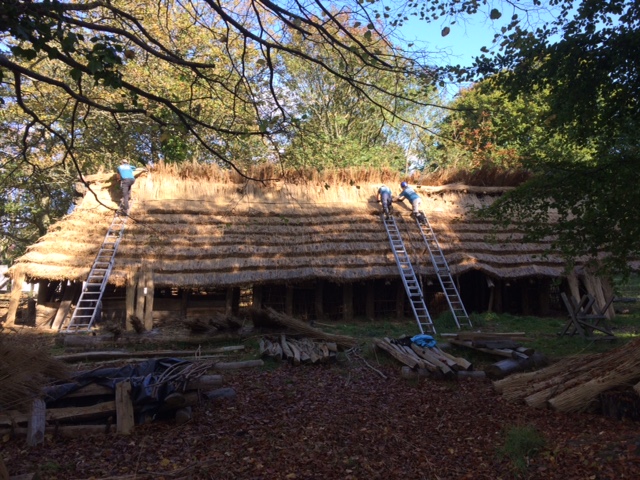
The work week is ending with another fine and bright day. Overall we have been incredibly lucky with the weather over the last two years! This week marks the projects two year anniversary – and its amazing to see where we’ve come from. Our visitors this week have included schools who came to us a year ago and it is encouraging to see their reactions to what has been achieved. The volunteers have turned from a group of random individuals to a team of friends who are skilled and comfortable with any new challenge the building demands. Along with this, the standard of work has improved dramatically, from the early days when the materials and methods were so new and alien, to the levels of skill that can only come from a deep familiarity with materials, tools and techniques. Overall, the journey has been impressive for all of those involved.
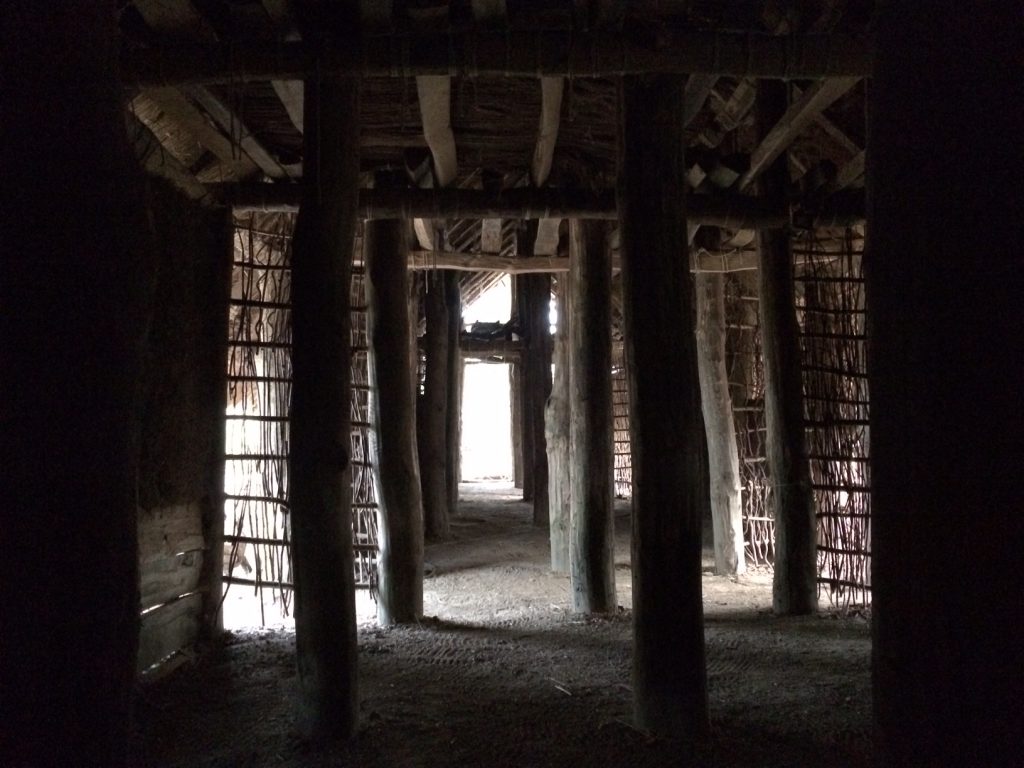
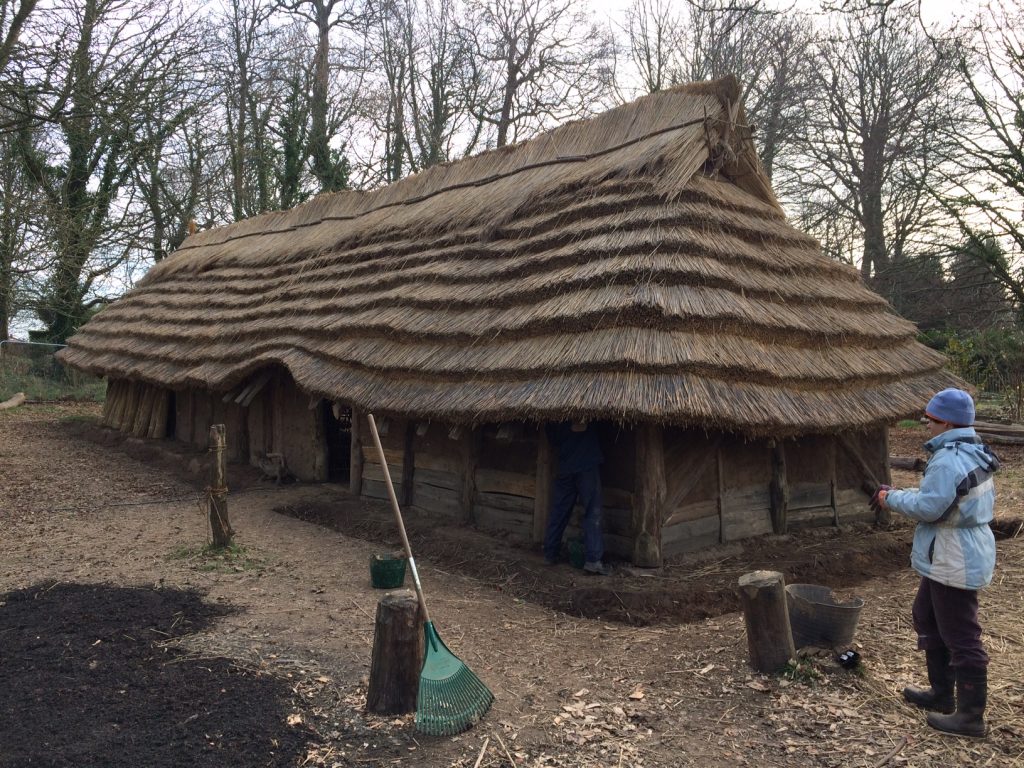
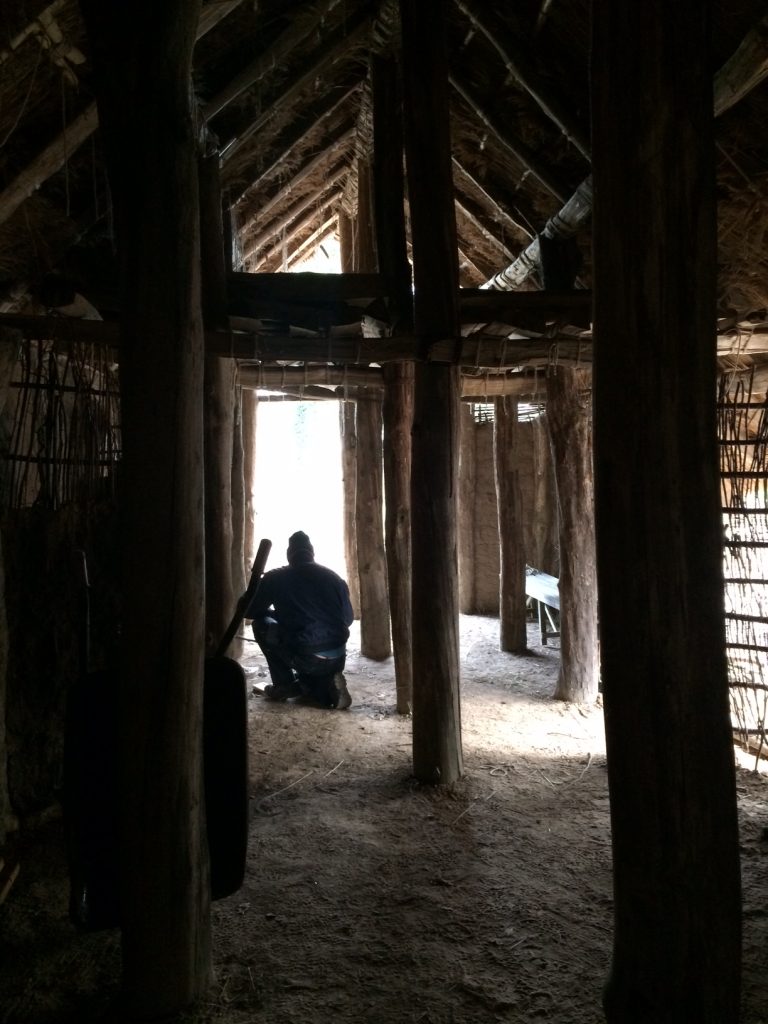
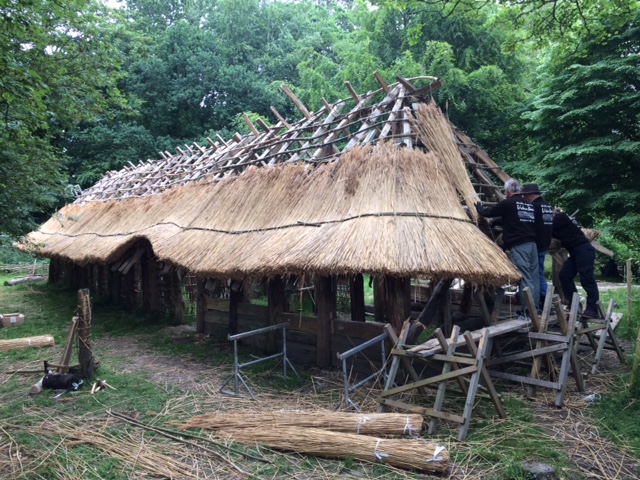
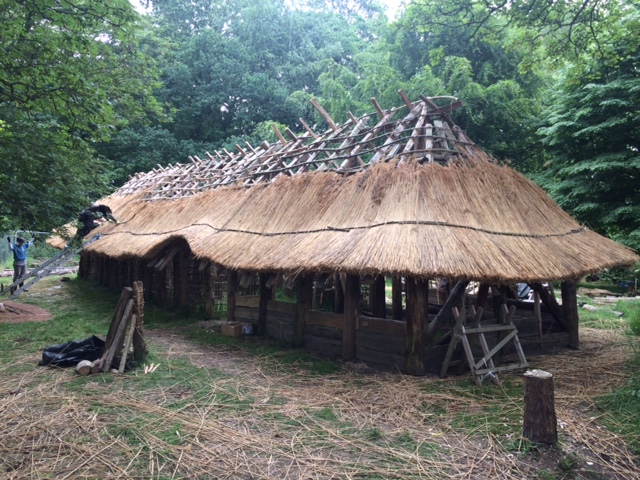
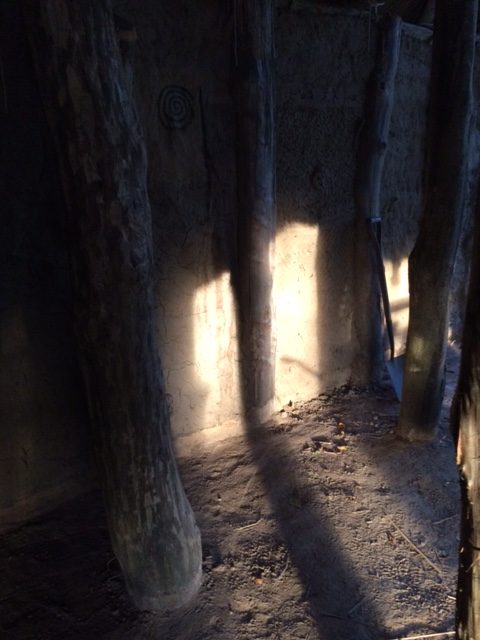
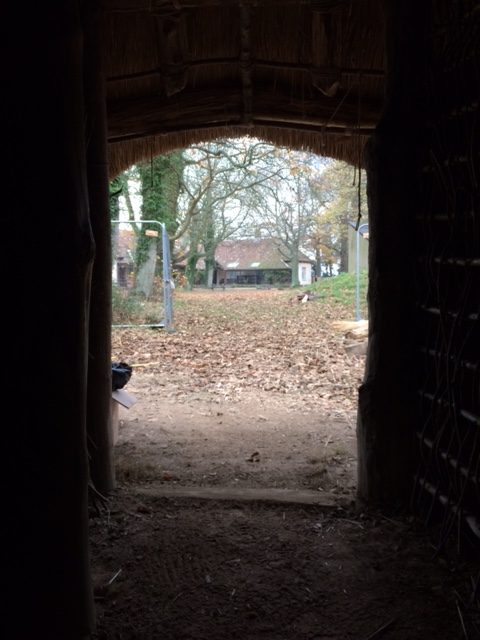
Today the sun is bathing the stunning longhouse in its autumnal light and, after many weeks of thatching, the roof is nearing completion. An even more dramatic impact of this, and the daubing of walls, is the dramatic drop of light levels inside the house. We all have to let our eyes adjust to the new dimness of an interior upon entering. Once again, it raises the question of openings (windows especially) in houses such as these.
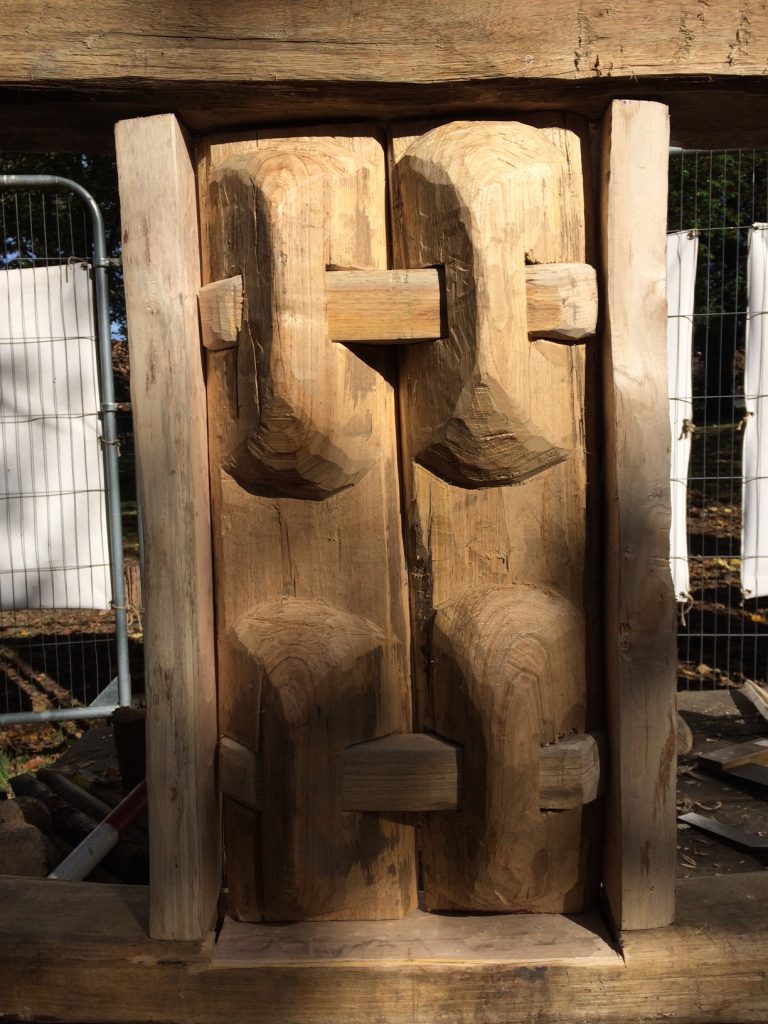
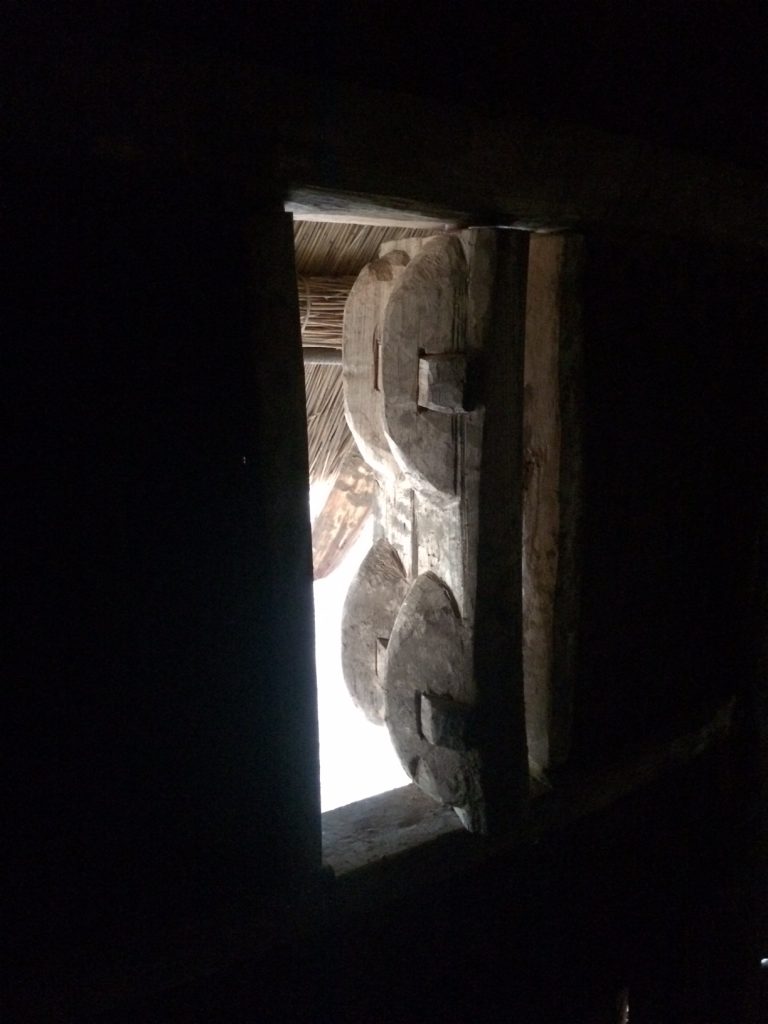
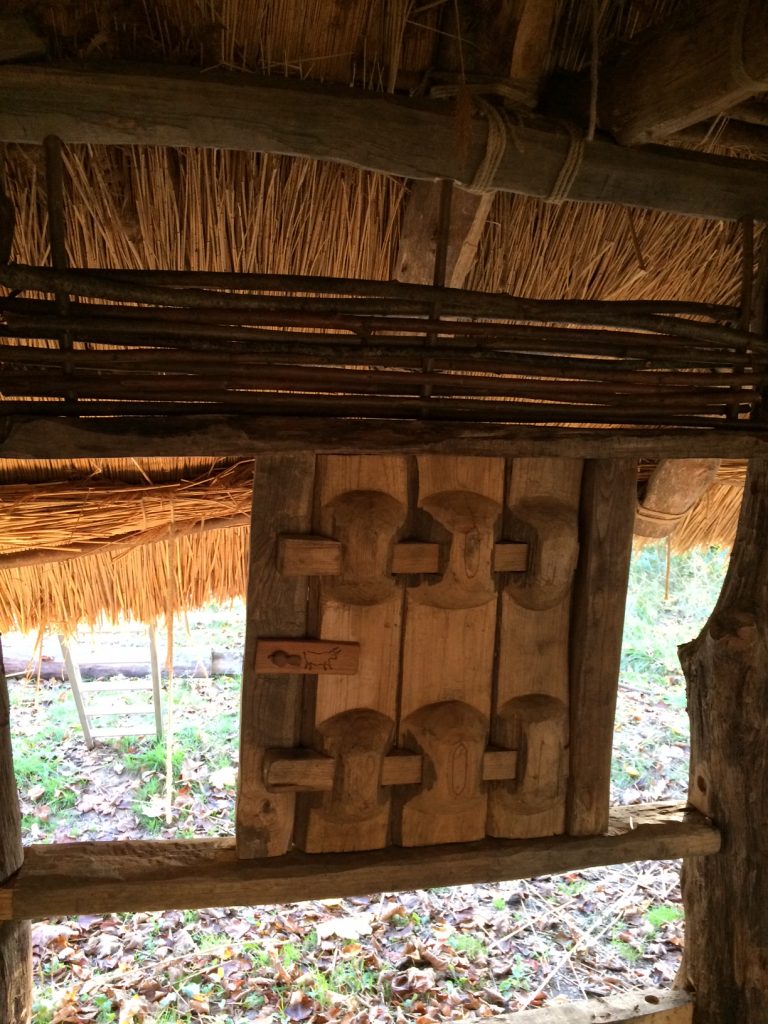
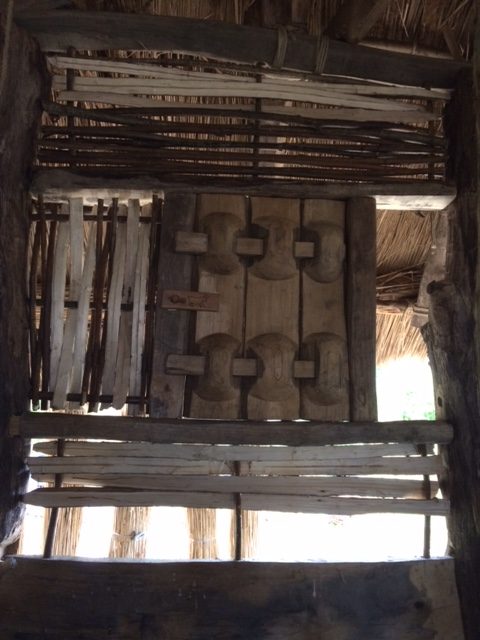
Our decision to incorporate a few shutters in the living space and livestock section is already having a visible effect on light levels. I personally have no doubt that windows would have been included in these structures. For me the availability of “free” light combined with their known ability to fill holes with well carpentered solutions (like the Zurich door) suggests the use of shutters or similar openings in the buildings.
The livestock end of the building is really coming together with the installation of strong wattle panels. This part of the building now feels like a room with the walls nearing completion and the joists of the mezzanine floor creating the feel of a ceiling.

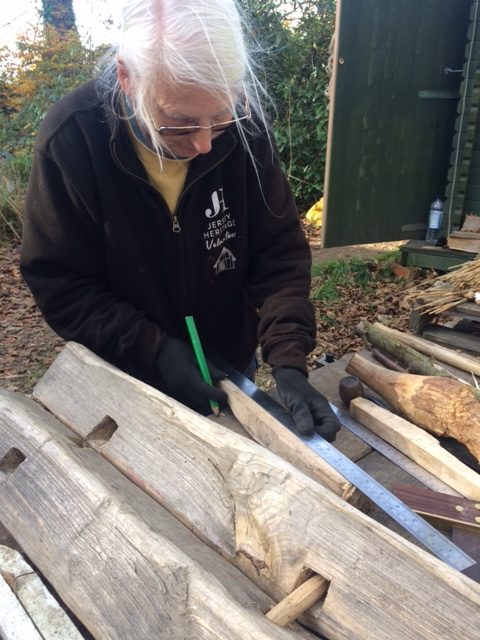
Daryl and Edward have finished shutters 2 and 3. It is fascinating to see how different brains work with a similar starting point of evidence and materials. Edward has followed Derek’s lead and produced a lovely miniature version of the Zurich door using two narrow planks to fill his frame. Daryl was interested in pursuing a different method and used a broad plank with a central pivot to do the same task. The differences are obvious and interesting, both use known technology from the period (hinge pegs and box frames) but the shape of the starting raw material suggested different solutions. Again, this highlights the issue of limited evidence. As archaeologists we tend to fixate on specific artefacts rather than the broad technology they represent. This can result in specific methods being used across broad geographical areas – in which there are often very different material sets. From the beginning, we have looked at the broad models of technology based on the archaeological evidence and applied then to solving the problems we have encountered using the local materials we have available.
Another good week from the volunteers. Our next visit should see the roof completed!